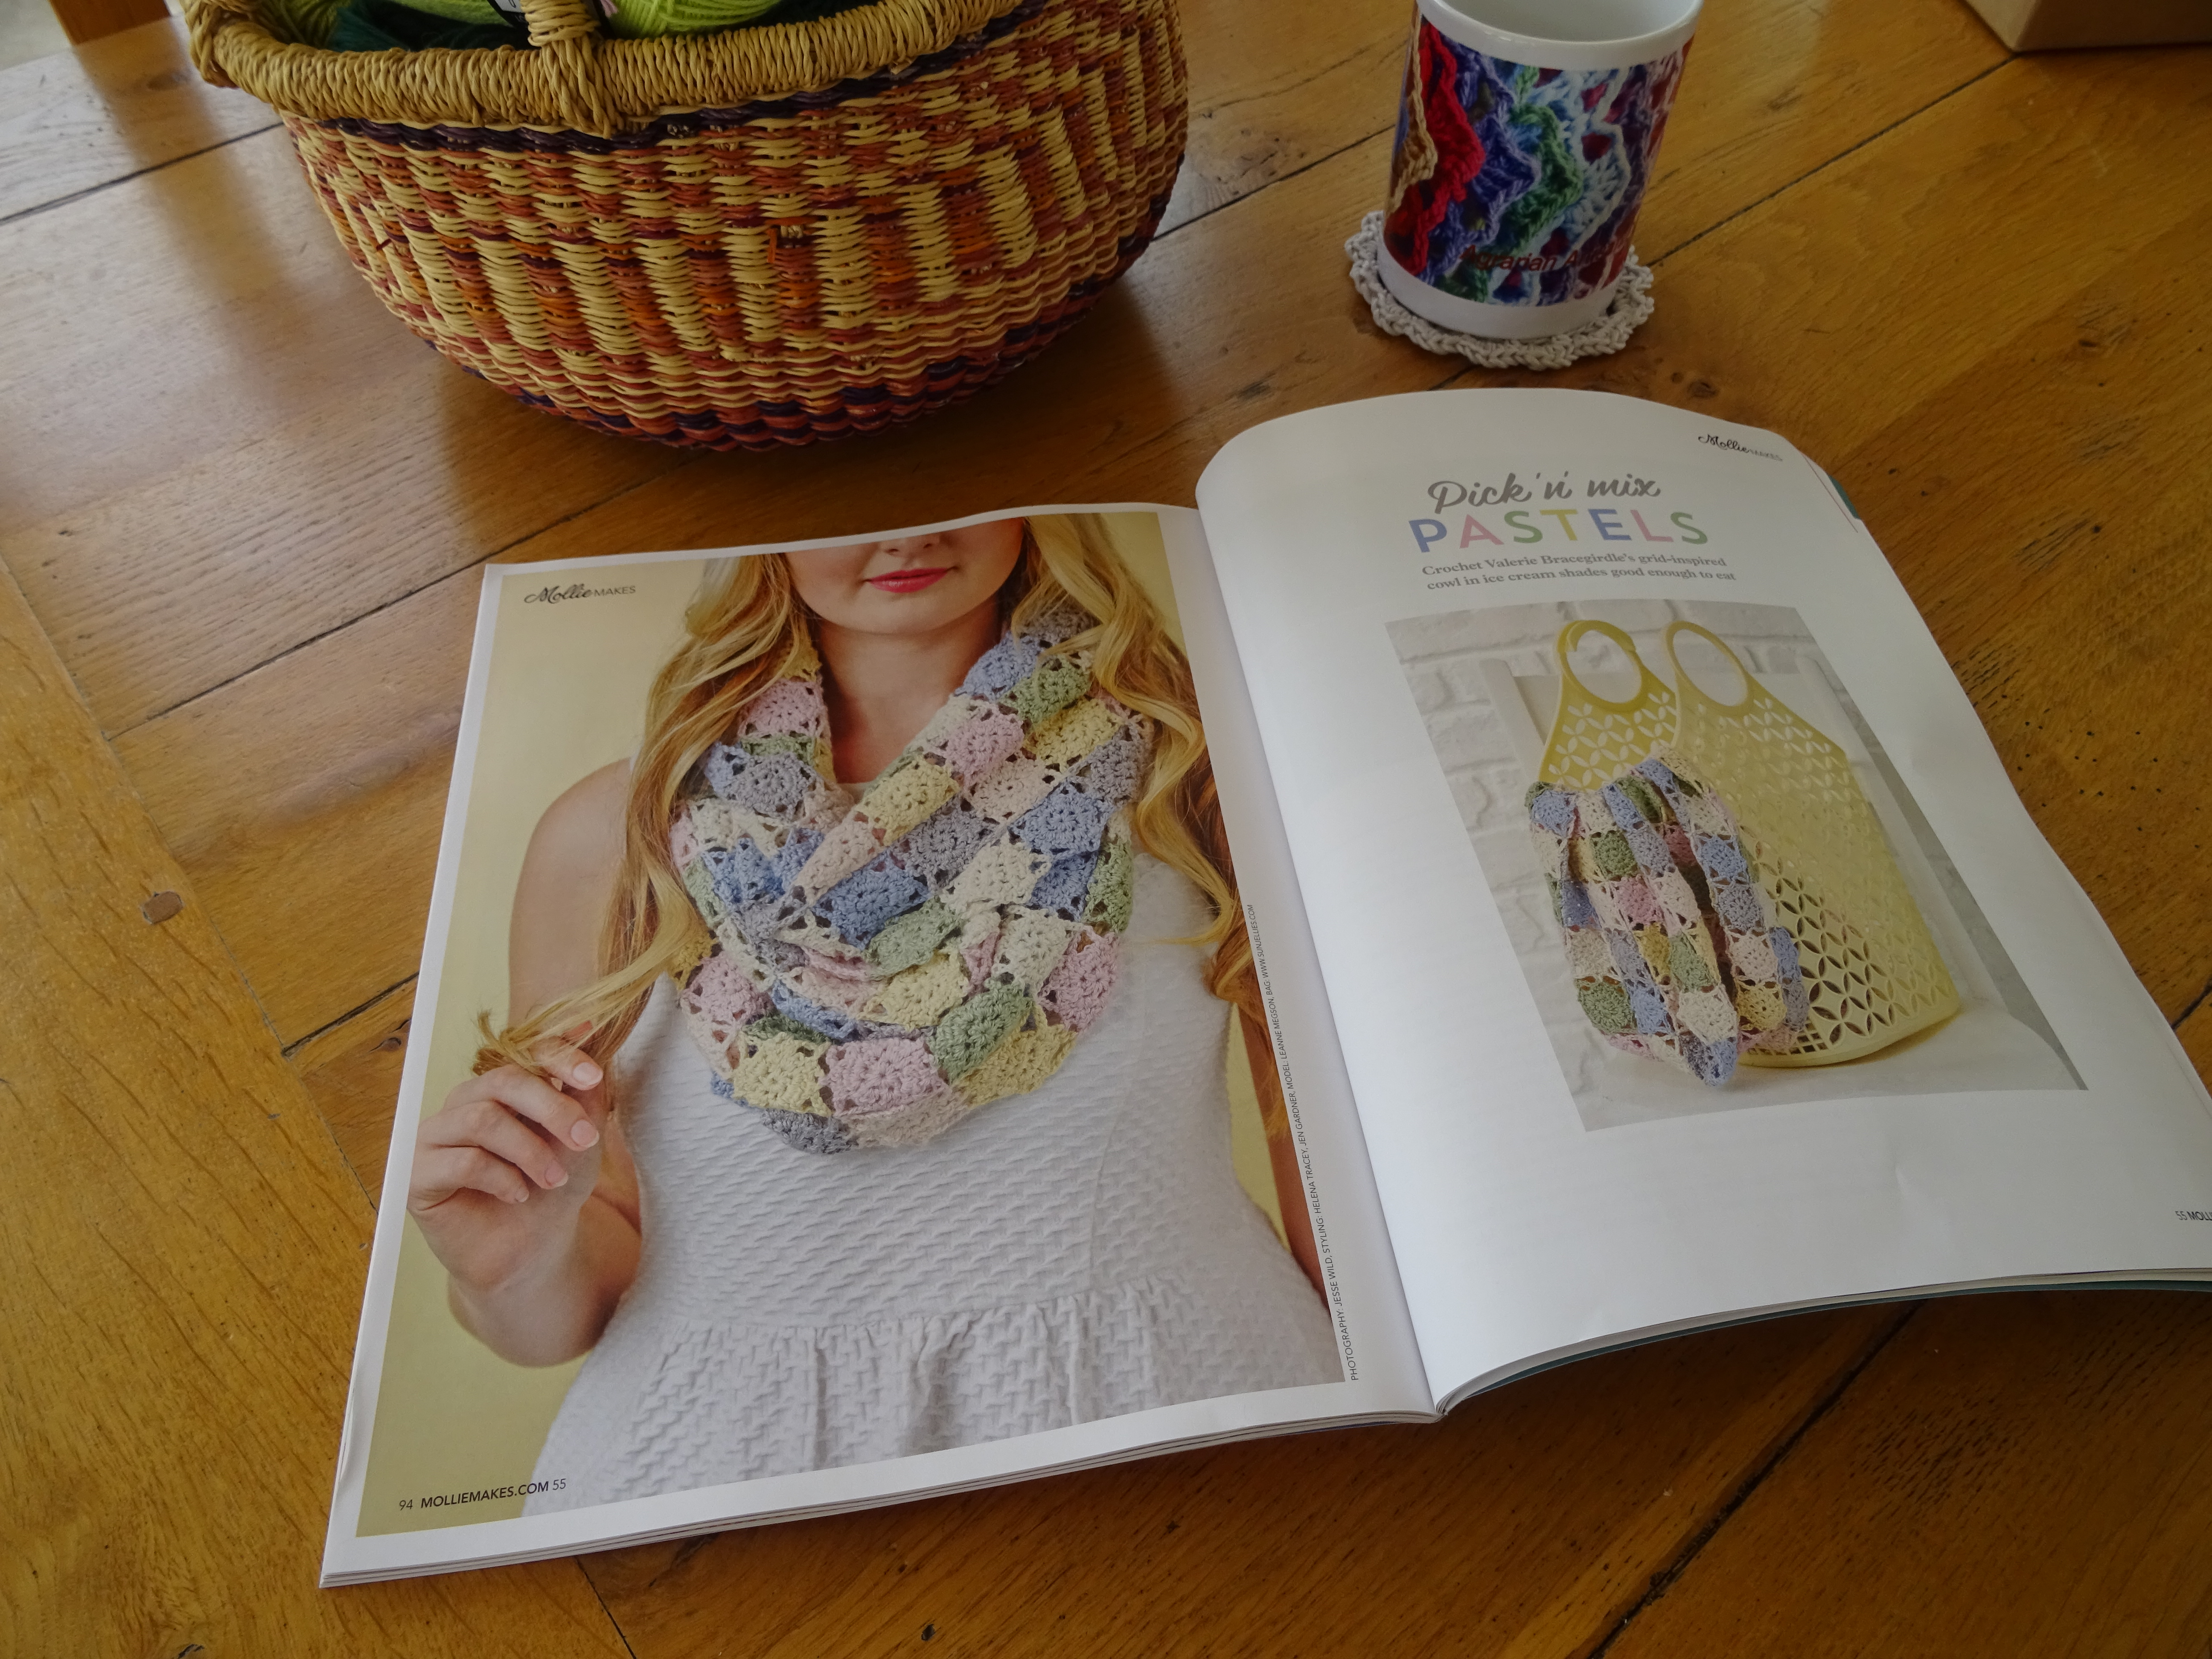
I love cowls, it’s no secret and I’ve told you many times before. A cowl is circular (normally) so the best way to make them in the world of crochet is ‘in the round’. Of course, you can make them lengthways and join them like I did on this one:

But there is one thing that really annoys me….. people who make cowls lengthways and join them with an ugly seam! I can’t think of anything worse; beautifully made stitches the whole length of the cowl then….shudder……an ugly, untidy seam.
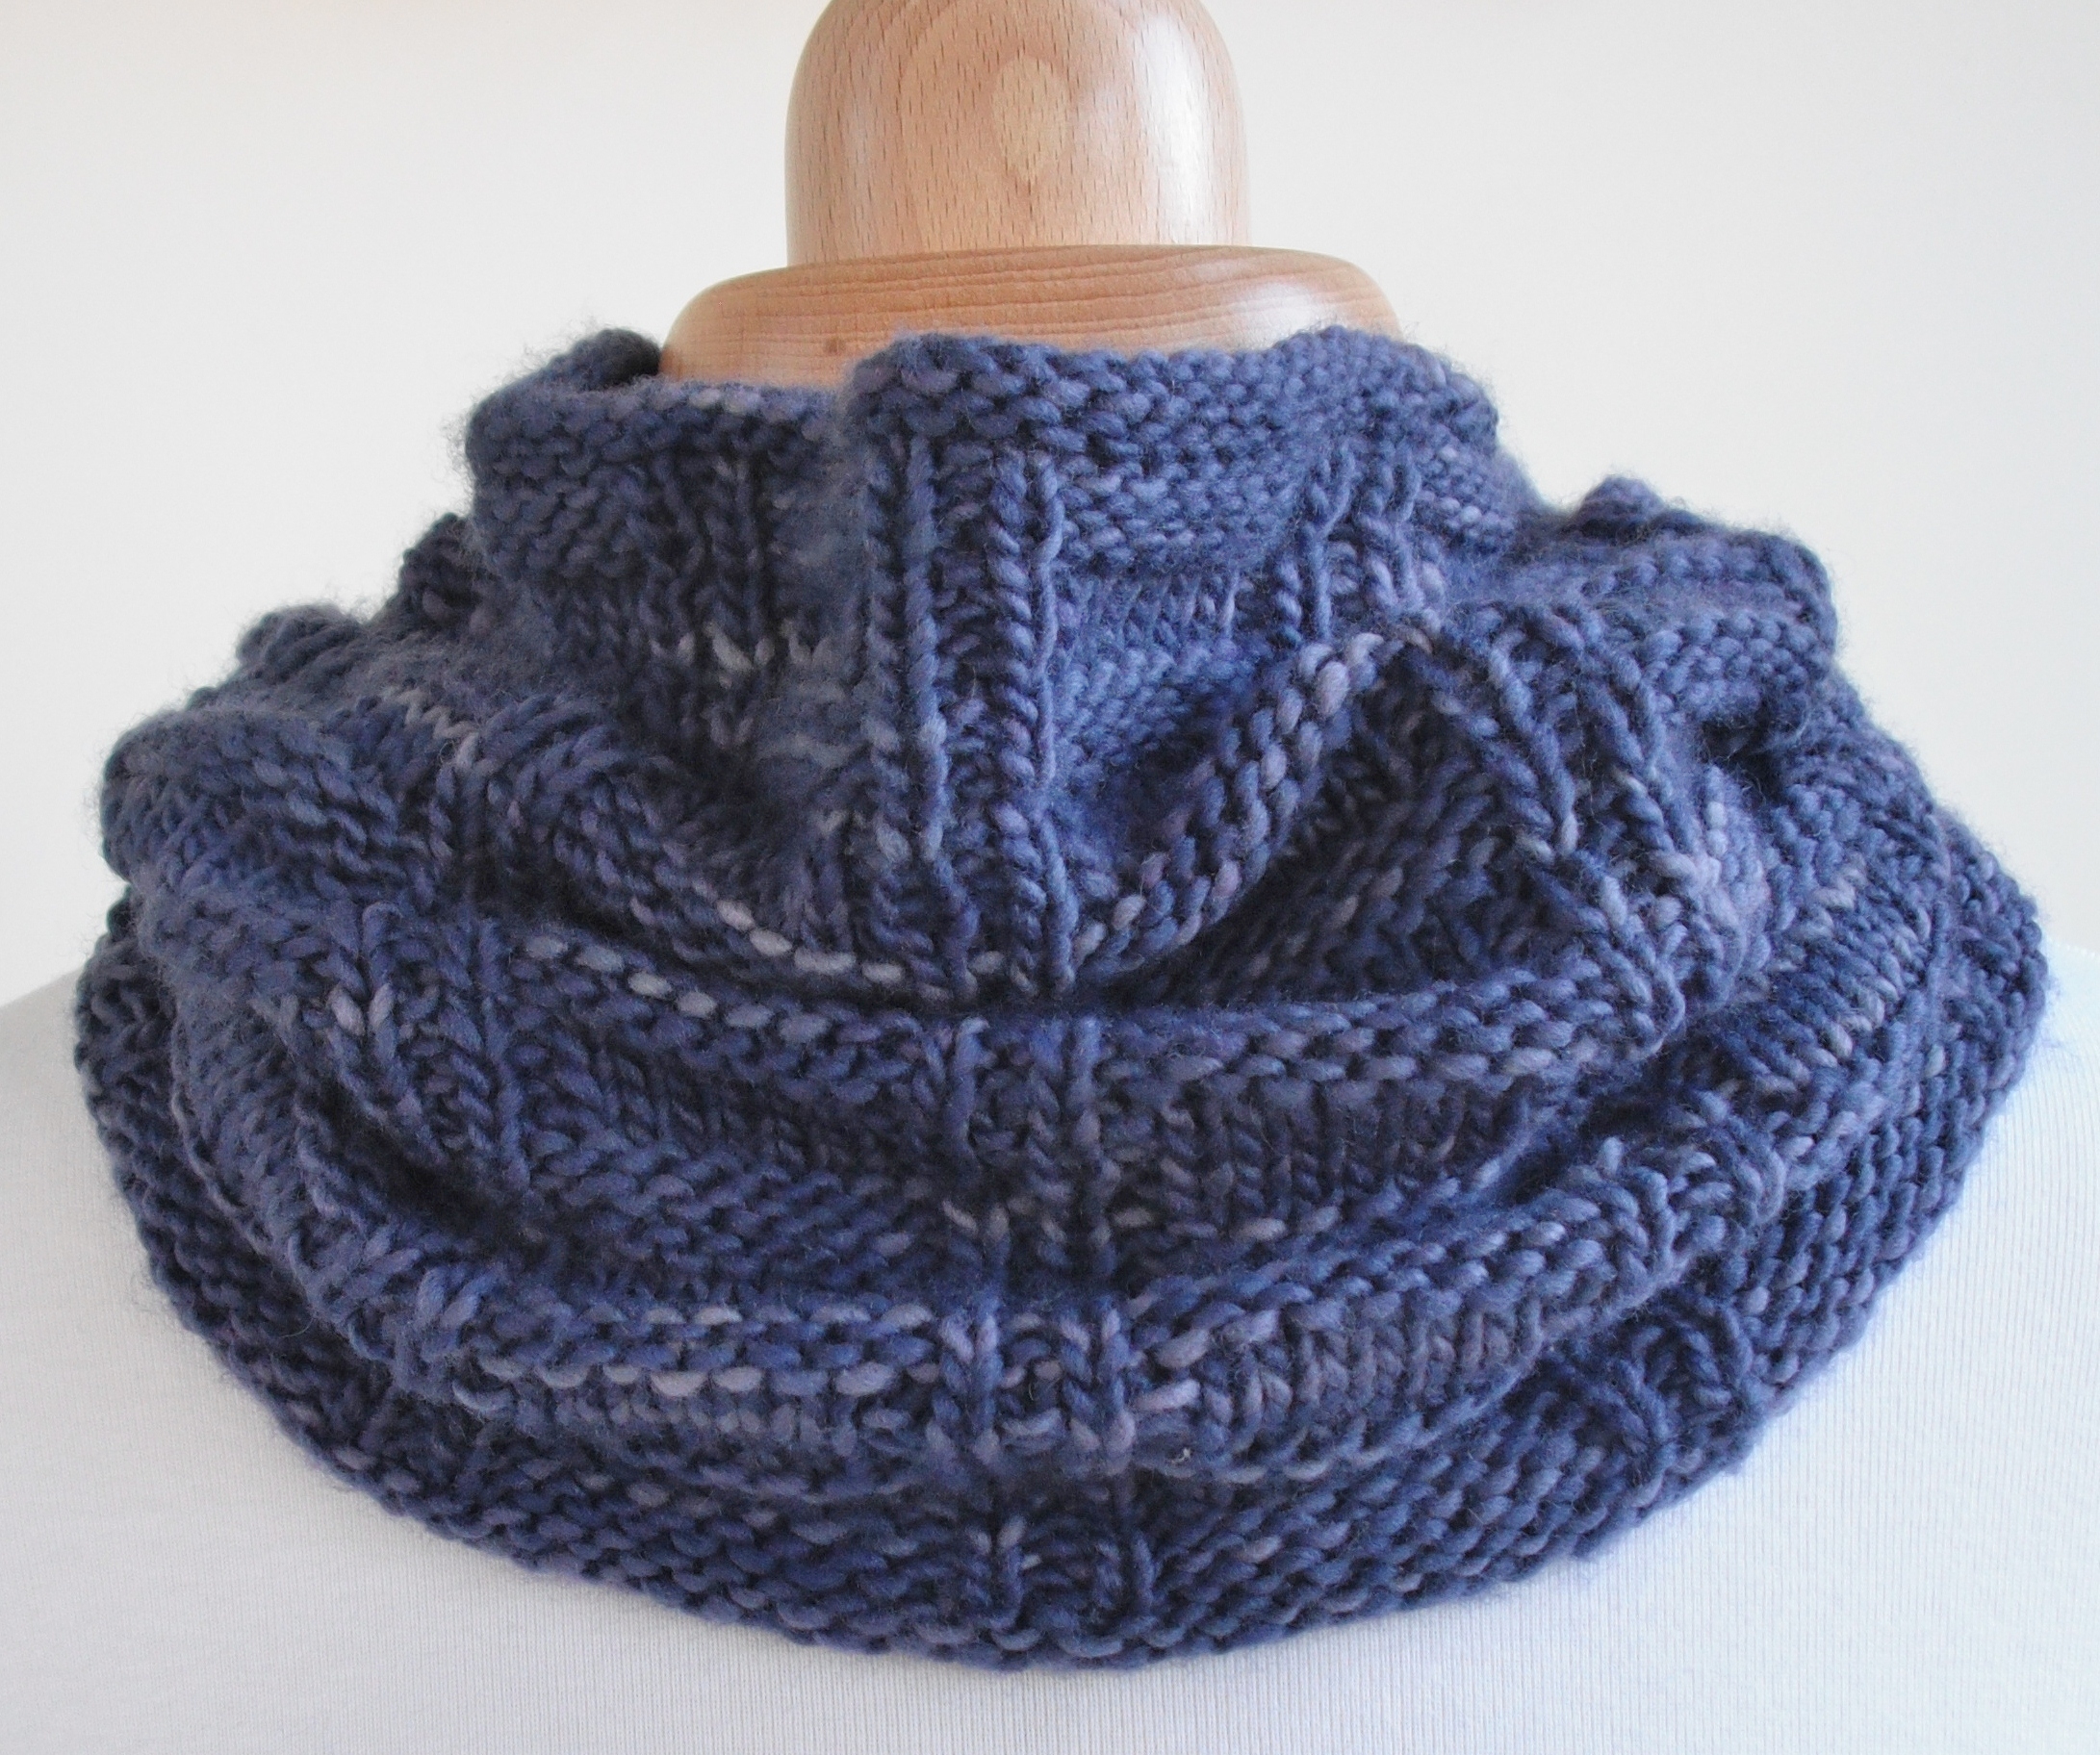
Why do people do this? It isn’t necessary at all, crochet is so incredibly versatile that you can join without the need for a seam. Want to see how? Have a look at this join:
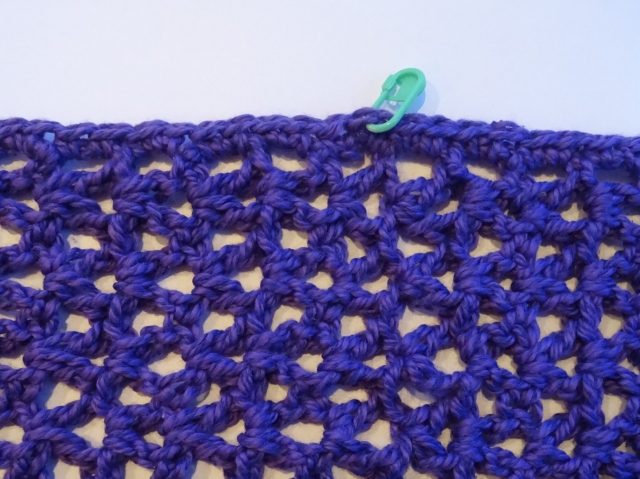
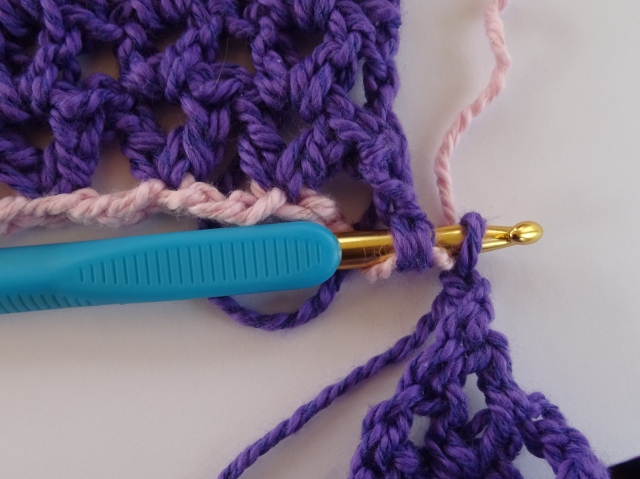
OK, I made it a bit tricky by adding a double crochet border to cover any ends. But you can’t see it can you? The join is just below the stitch marker on this photo:
So follow me and find out how I did it, and how you can do it also…..
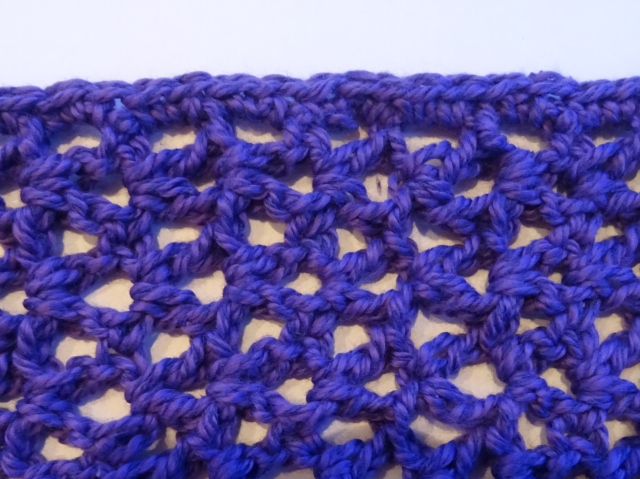
I’m going to make a cowl lengthways using the V stitch. The V stitch is easy, you work the stitch into a chain space which is easy to spot and work into. But you need to add an edge stitch like the treble (this post is all in English crochet terms, so a treble is a double crochet if you crochet US-style).
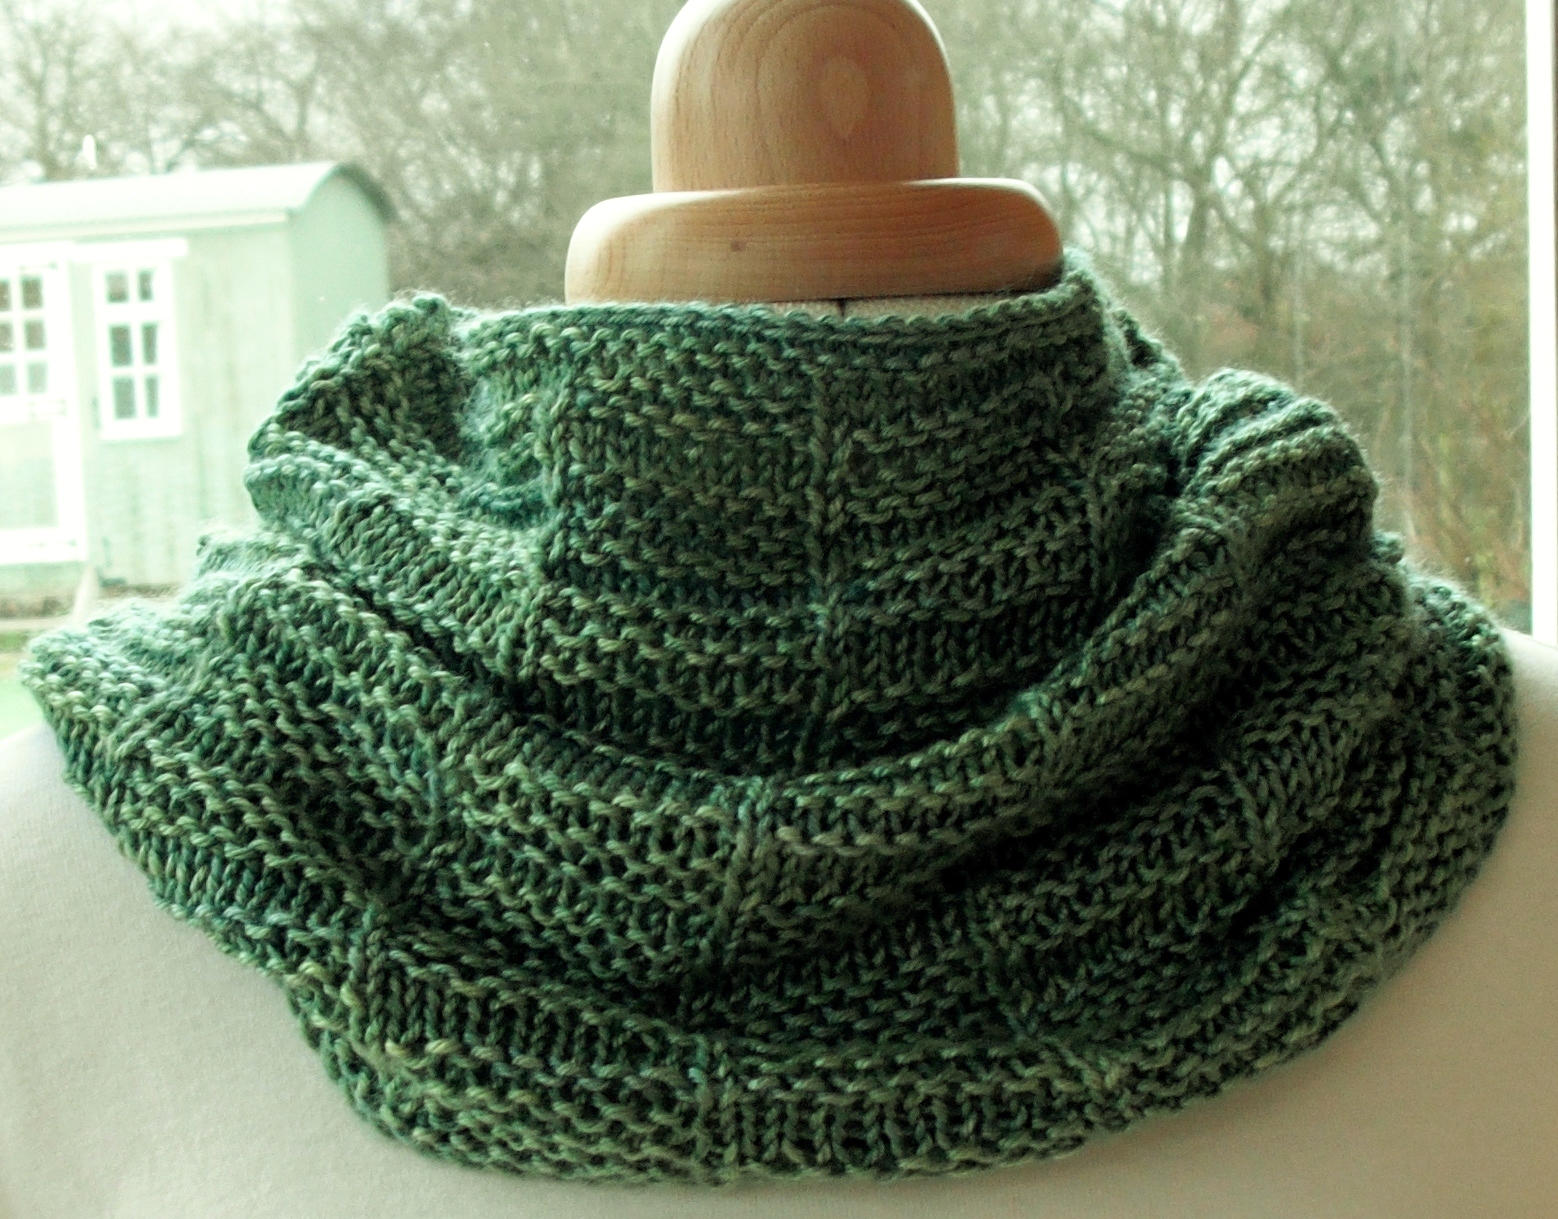
Here’s my example using 100g of aran weight yarn. I used Stylecraft Malabar a cotton/silk blend which is soft to the touch. It is also a ever so slightly uneven in the spin, giving the finished item a slightly irregular but lovely look. I used a 5mm crochet hook and one stitch marker.
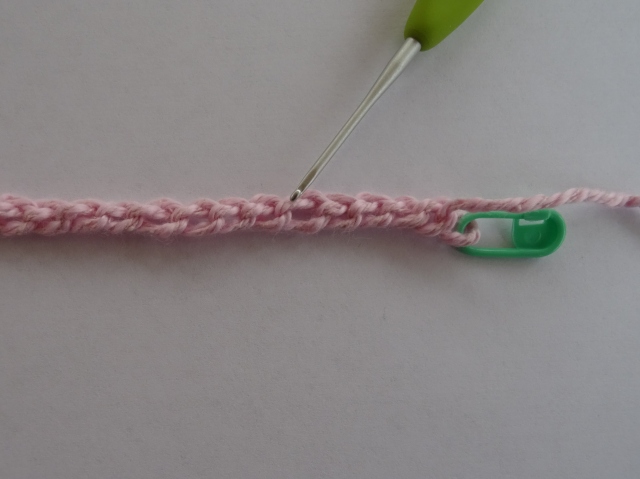
STEP 1: First I take some scrap aran yarn and crochet a foundation chain, at least as long as the pattern requires. It is best to use a slightly larger hook, I used 5.5mm. I made mine 32 chain long. I don’t fasten off, I just put a stitch marker in the last stitch to lock the chain, this is because I will undo the chain when I join.
Now I work into the foundation chain just as I would with the pattern. But I turn the chain over and work the stitches into the BACK LOOP of the foundation chain. The back loops are the bumps on the back, this is a loop here:
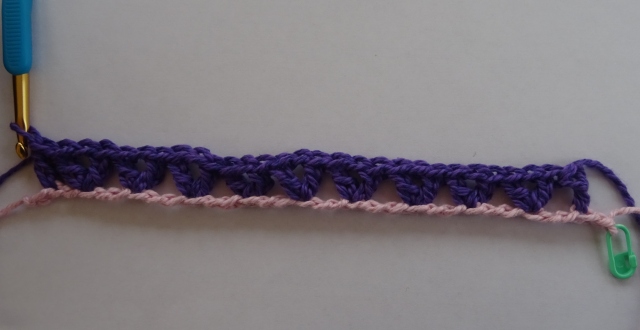
STEP 2: Using your cowl yarn, start with a standing treble into the first back loop (I like a standing treble but if you don’t know how to do this, just slip stitch into the back loop and work 3 chain). *Miss 2 stitches and work (1 treble, 1 chain, 1 treble) in the next stitch (remember to do this in the back loop), repeat this (from *) across your foundation chain until you have done it a total of 9 times. Now miss 1 stitch and work the final stitch – a treble – in (the back loop) of the next stitch (you will have one or two stitches left on the foundation chain, but that doesn’t matter). This is my first row:
Now turn and start the pattern.
STEP 3: Pattern Row: 3 chain (counts as your first treble), (1 treble, 1 chain, 1 treble) in each 1 chain space along, finish with 1 treble in the top of the 3 chain you started with on the previous row. Turn.
This pattern row is repeated as many times as you like until you have the cowl the length you want. I worked until my cowl was just under 90cm long, but make sure you finish with you hook at the same edge of the crochet piece as the stitch marker (if you don’t, you’ll have a moebius cowl!). Bring the end of the last row of your crochet up to the beginning, ready to do the joining row. Now this is the tricky bit, but it is worth the effort.
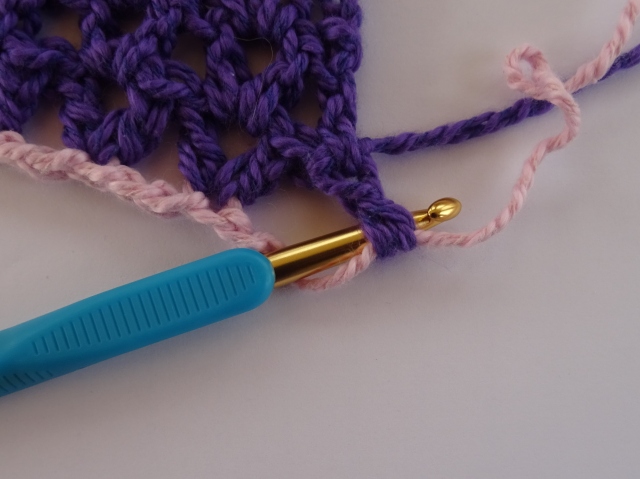
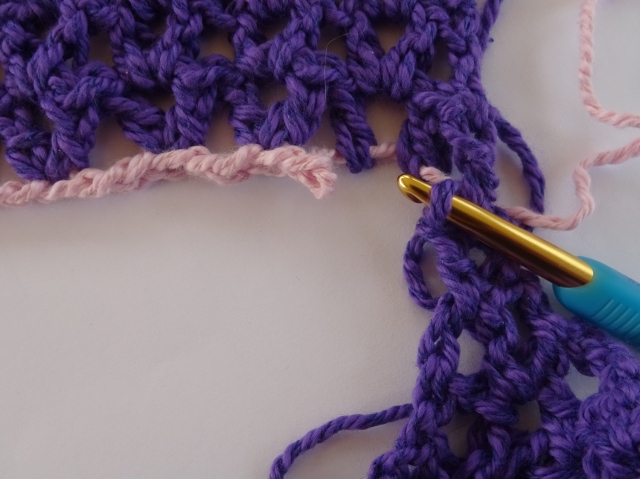
STEP 4: First undo the stitch marker at the end of your foundation chain and pull the first chain out – you will find that your first stitch of Row 1 now sits on a strand of yarn, that’s the 2 loops shown below (it’ll look a little different if you started Row 1 with 3 chain, but it is just the base of your first stitch):

Work the first 2 chain of the next row of your cowl, then take your hook off your working crochet and insert it in the 2 loops from left to right:
Now put the loop from your working crochet back onto the hook and pull it through the 2 loops:
Yes, all the way through:

What you’ve done is put the first stitch from Row 1 of the cowl onto the 3rd chain at the start of your final row. Make the final chain to secure it.
STEP 5: Now continue your final row by working the first treble of your first V stitch into the first 1 chain space, make one chain. Pull the foundation yarn a little more so the next 2 stitches from Row 1 sit on a single thread:
You want to put your working loop through these 2 stitches. So remove your hook, place it through the 4 loops forming the base of these 2 stitches, and replace your working loop on the hook:
Pull the loop through and lock it with a chain, then complete the 2nd treble of the V stitch.
Repeat STEP 5 until you have done all your V stitches on your last row.
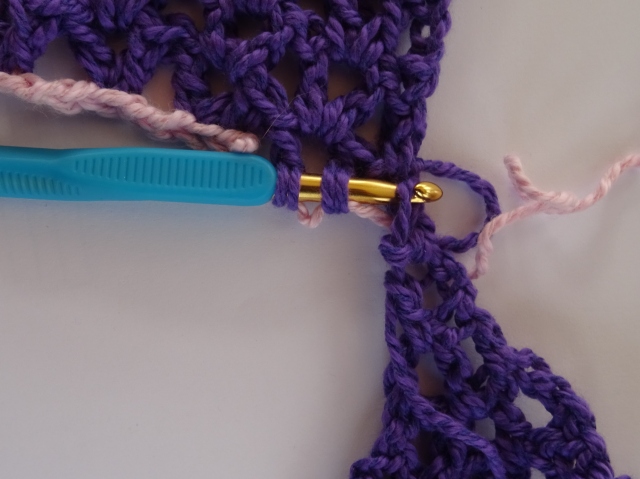
STEP 6: Now work the final treble. Pull your foundation chain again until the last stitch of Row 1 sits on a single strand.
Remove your hook from the work, and slip it into the these 2 loops on the strand from left to right. Put you working loop back on the hook:
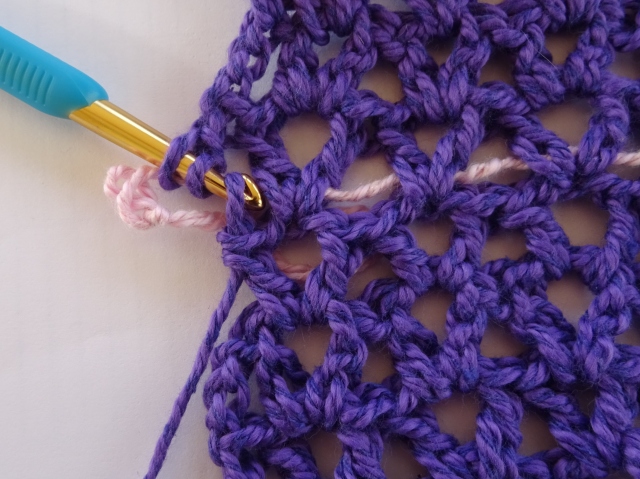
And pull it all the way through the 2 loops, and work your final treble into the top of the 3 chain. Your join will look like this:
You can see exactly where the foundation yarn sits along the ‘join’.
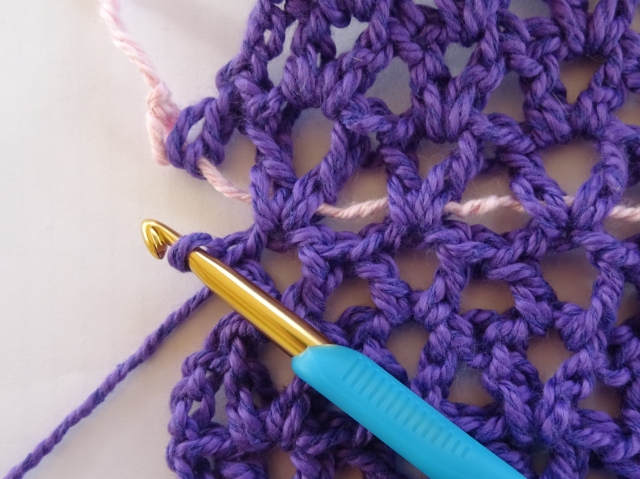
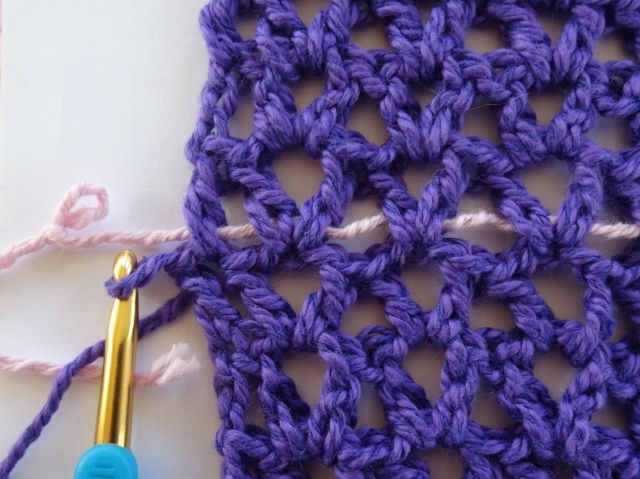
All you have to do now is pull the foundation yarn out and finish your cowl. I finished mine with a row of double crochet along each edge (2 in each row end).
I think this is the neatest way to join a lengthways cowl, and there is no ugly seam. The process can be adapted to just about any crochet stitch, all you are doing is working the top of your last row through the base of your first row. Yes, it’s fiddly to start with, but the end result is worth the effort 🙂
Have a go and let me know how you get on.
If you have any questions about this technique, please feel free to ask on the blog, or on my facebook page or in my Ravelry group.
ETA: there is an even neater way to do the join on this, which involves crocheting the final row, cutting the working yarn and then ripping the final row back and threading the working yarn through the base of some of the stitches from Row 1 as well…….but that would have been a much longer blog post!
Happy crocheting xx
Legal note: the photos and instructions are copyright and for your personal use only. Please don’t copy them, but feel free to direct people to my blog to help them with this joining technique.