Round Again CAL – Part 1

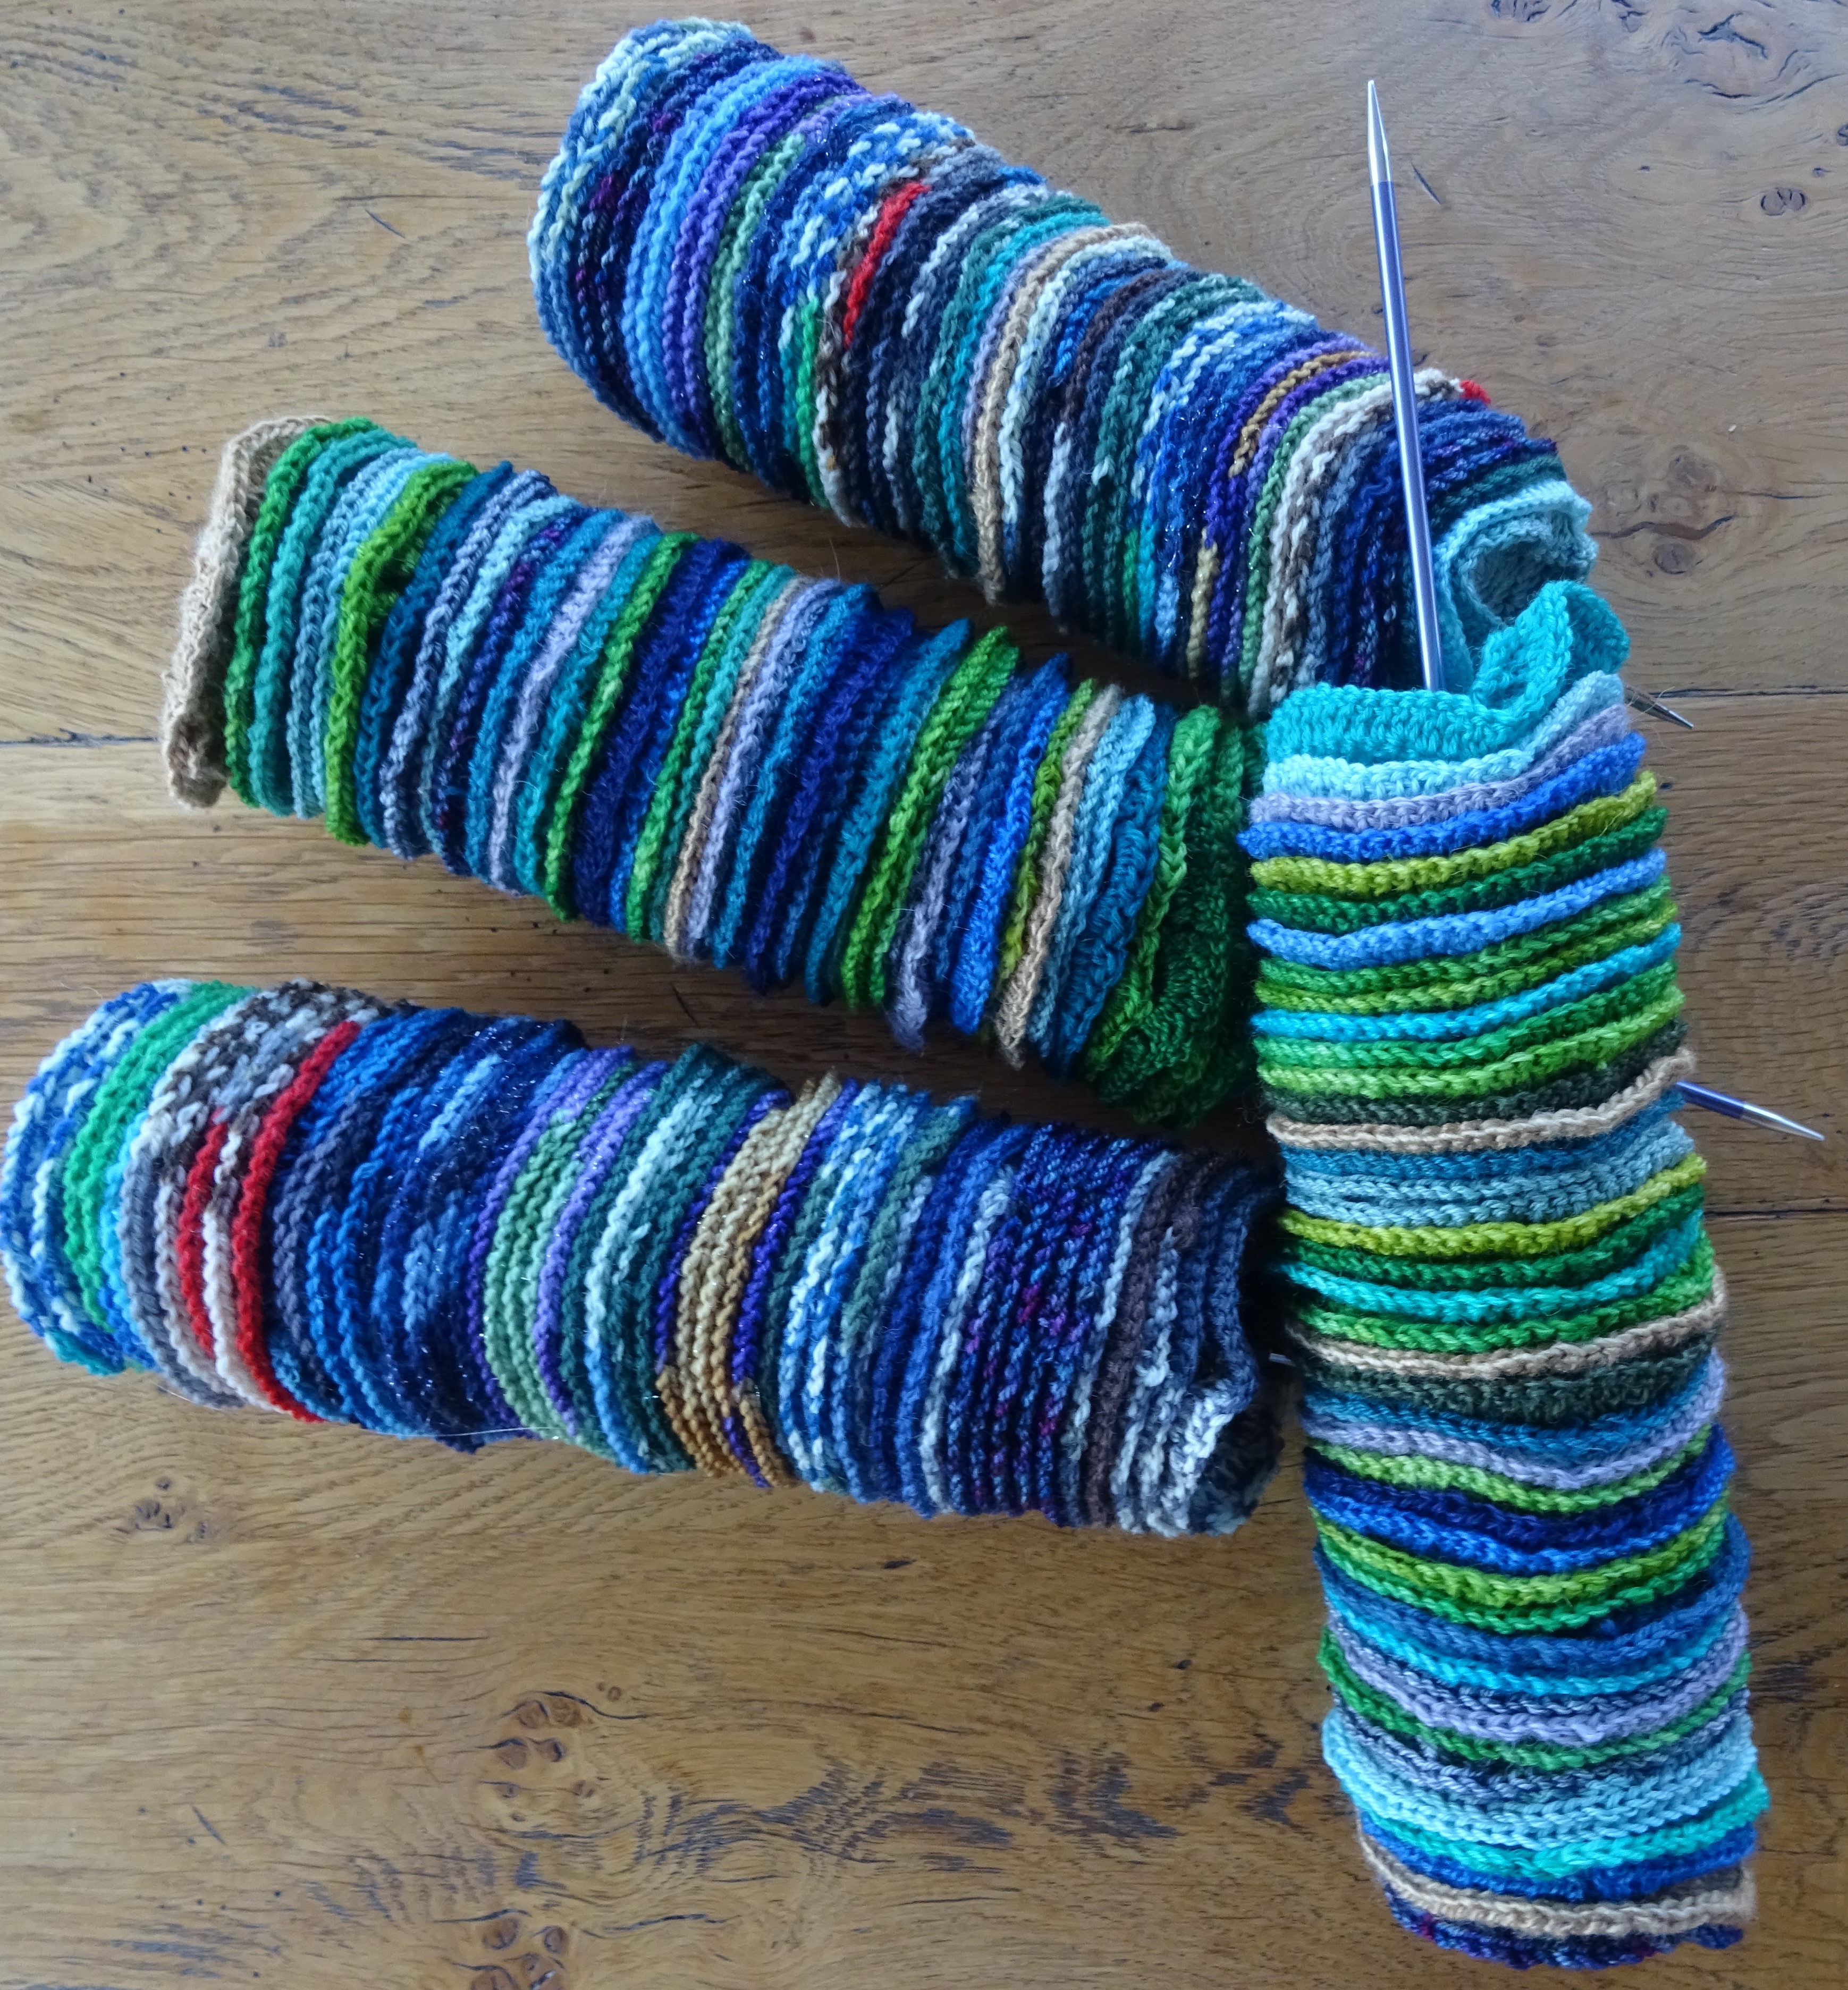
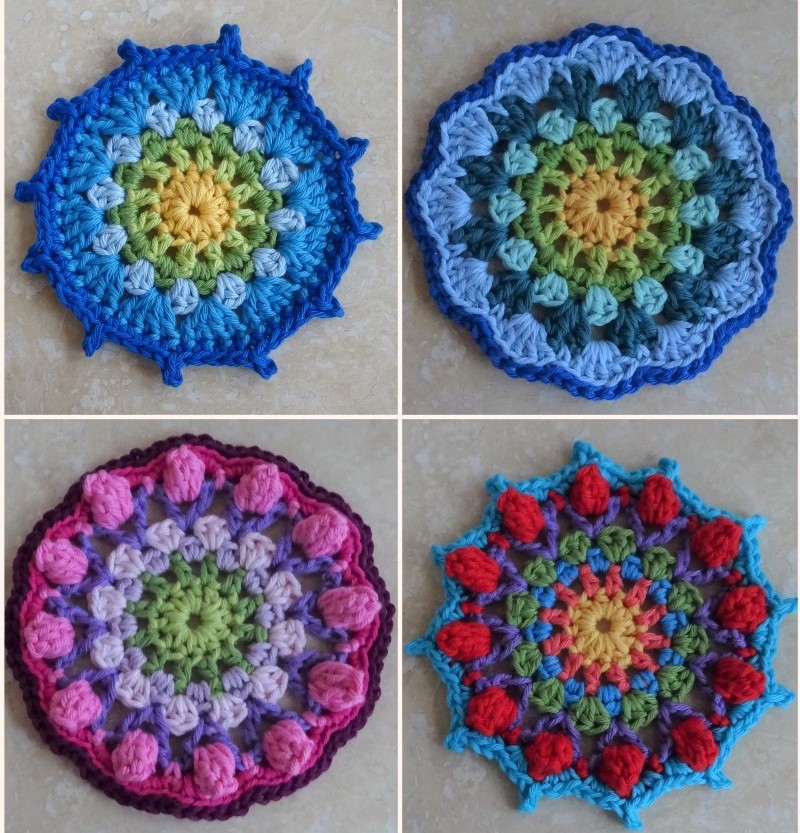
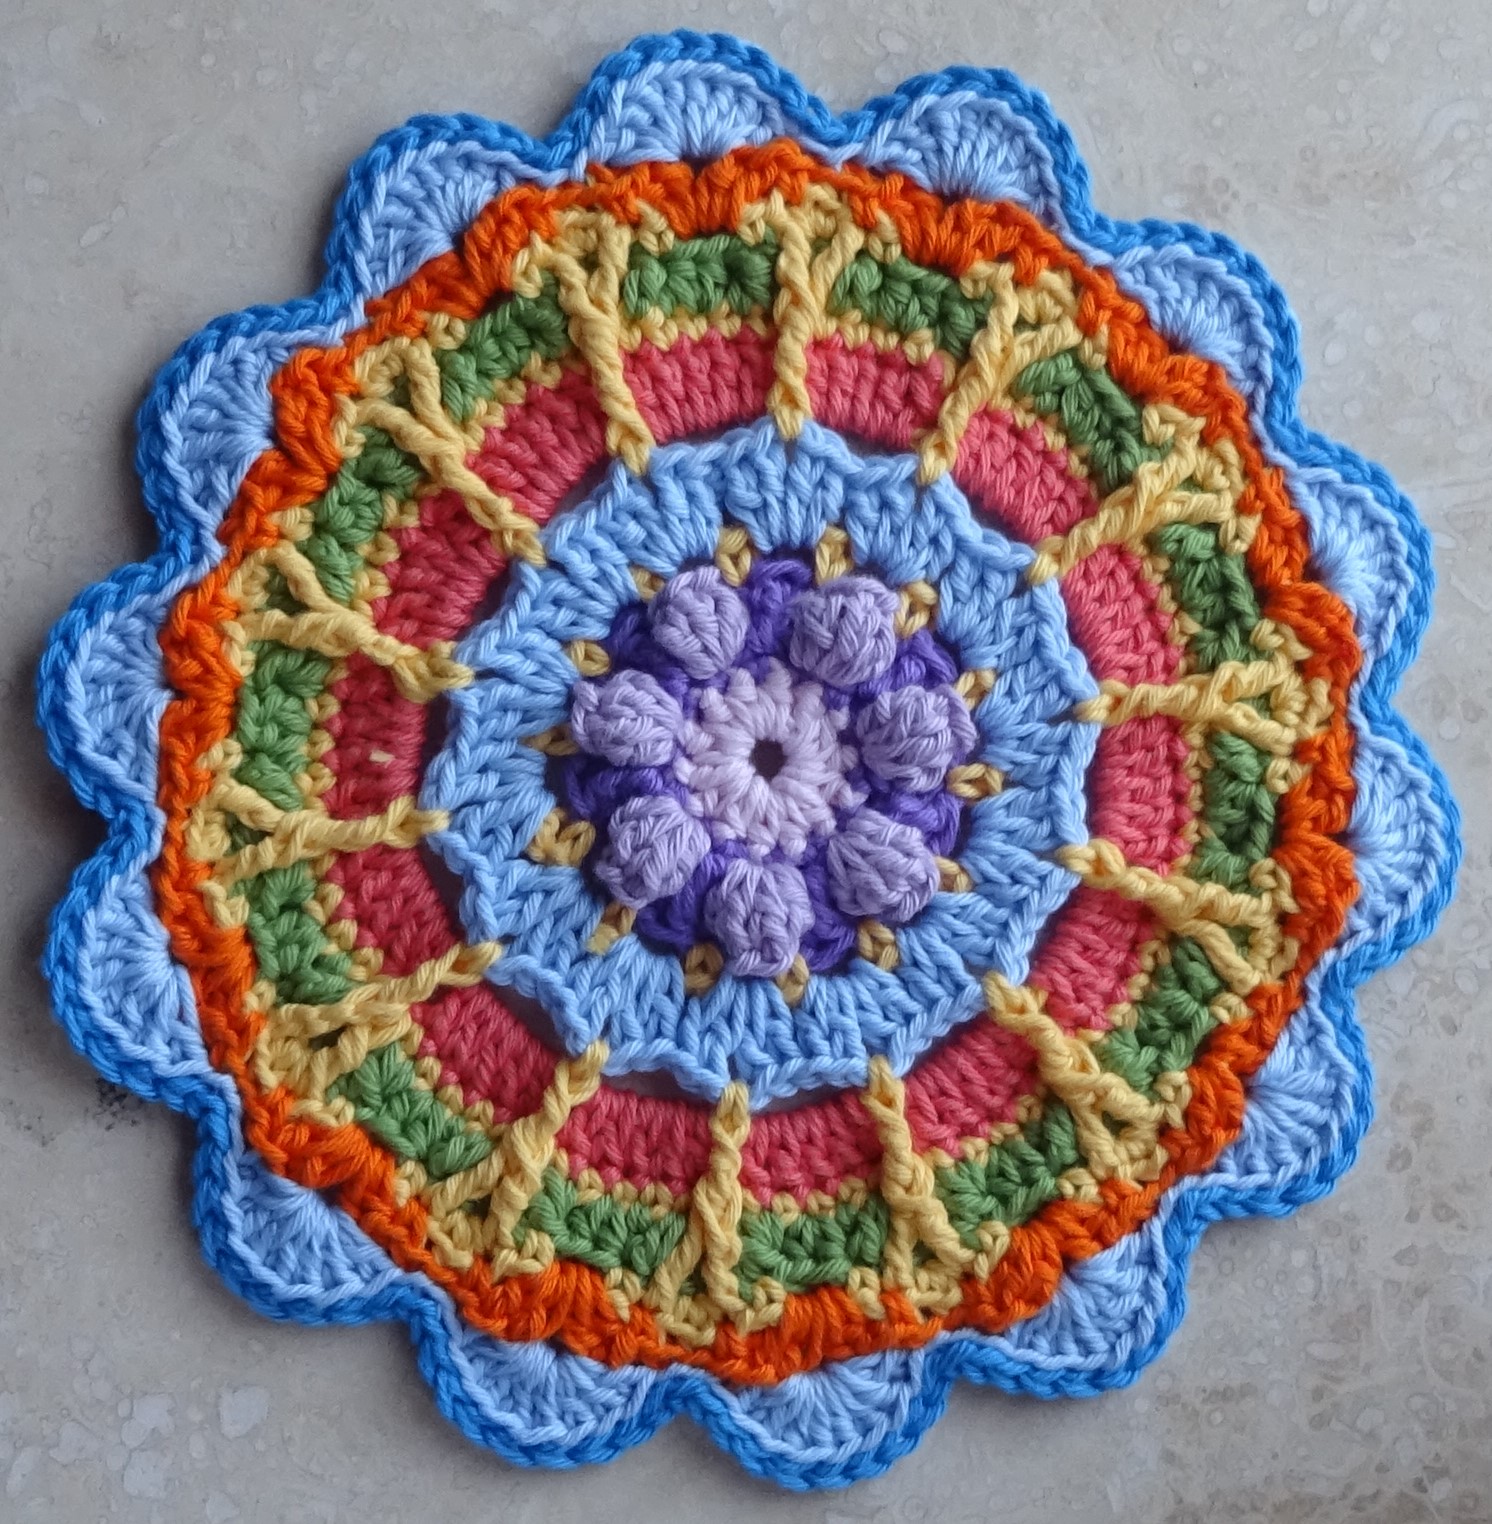
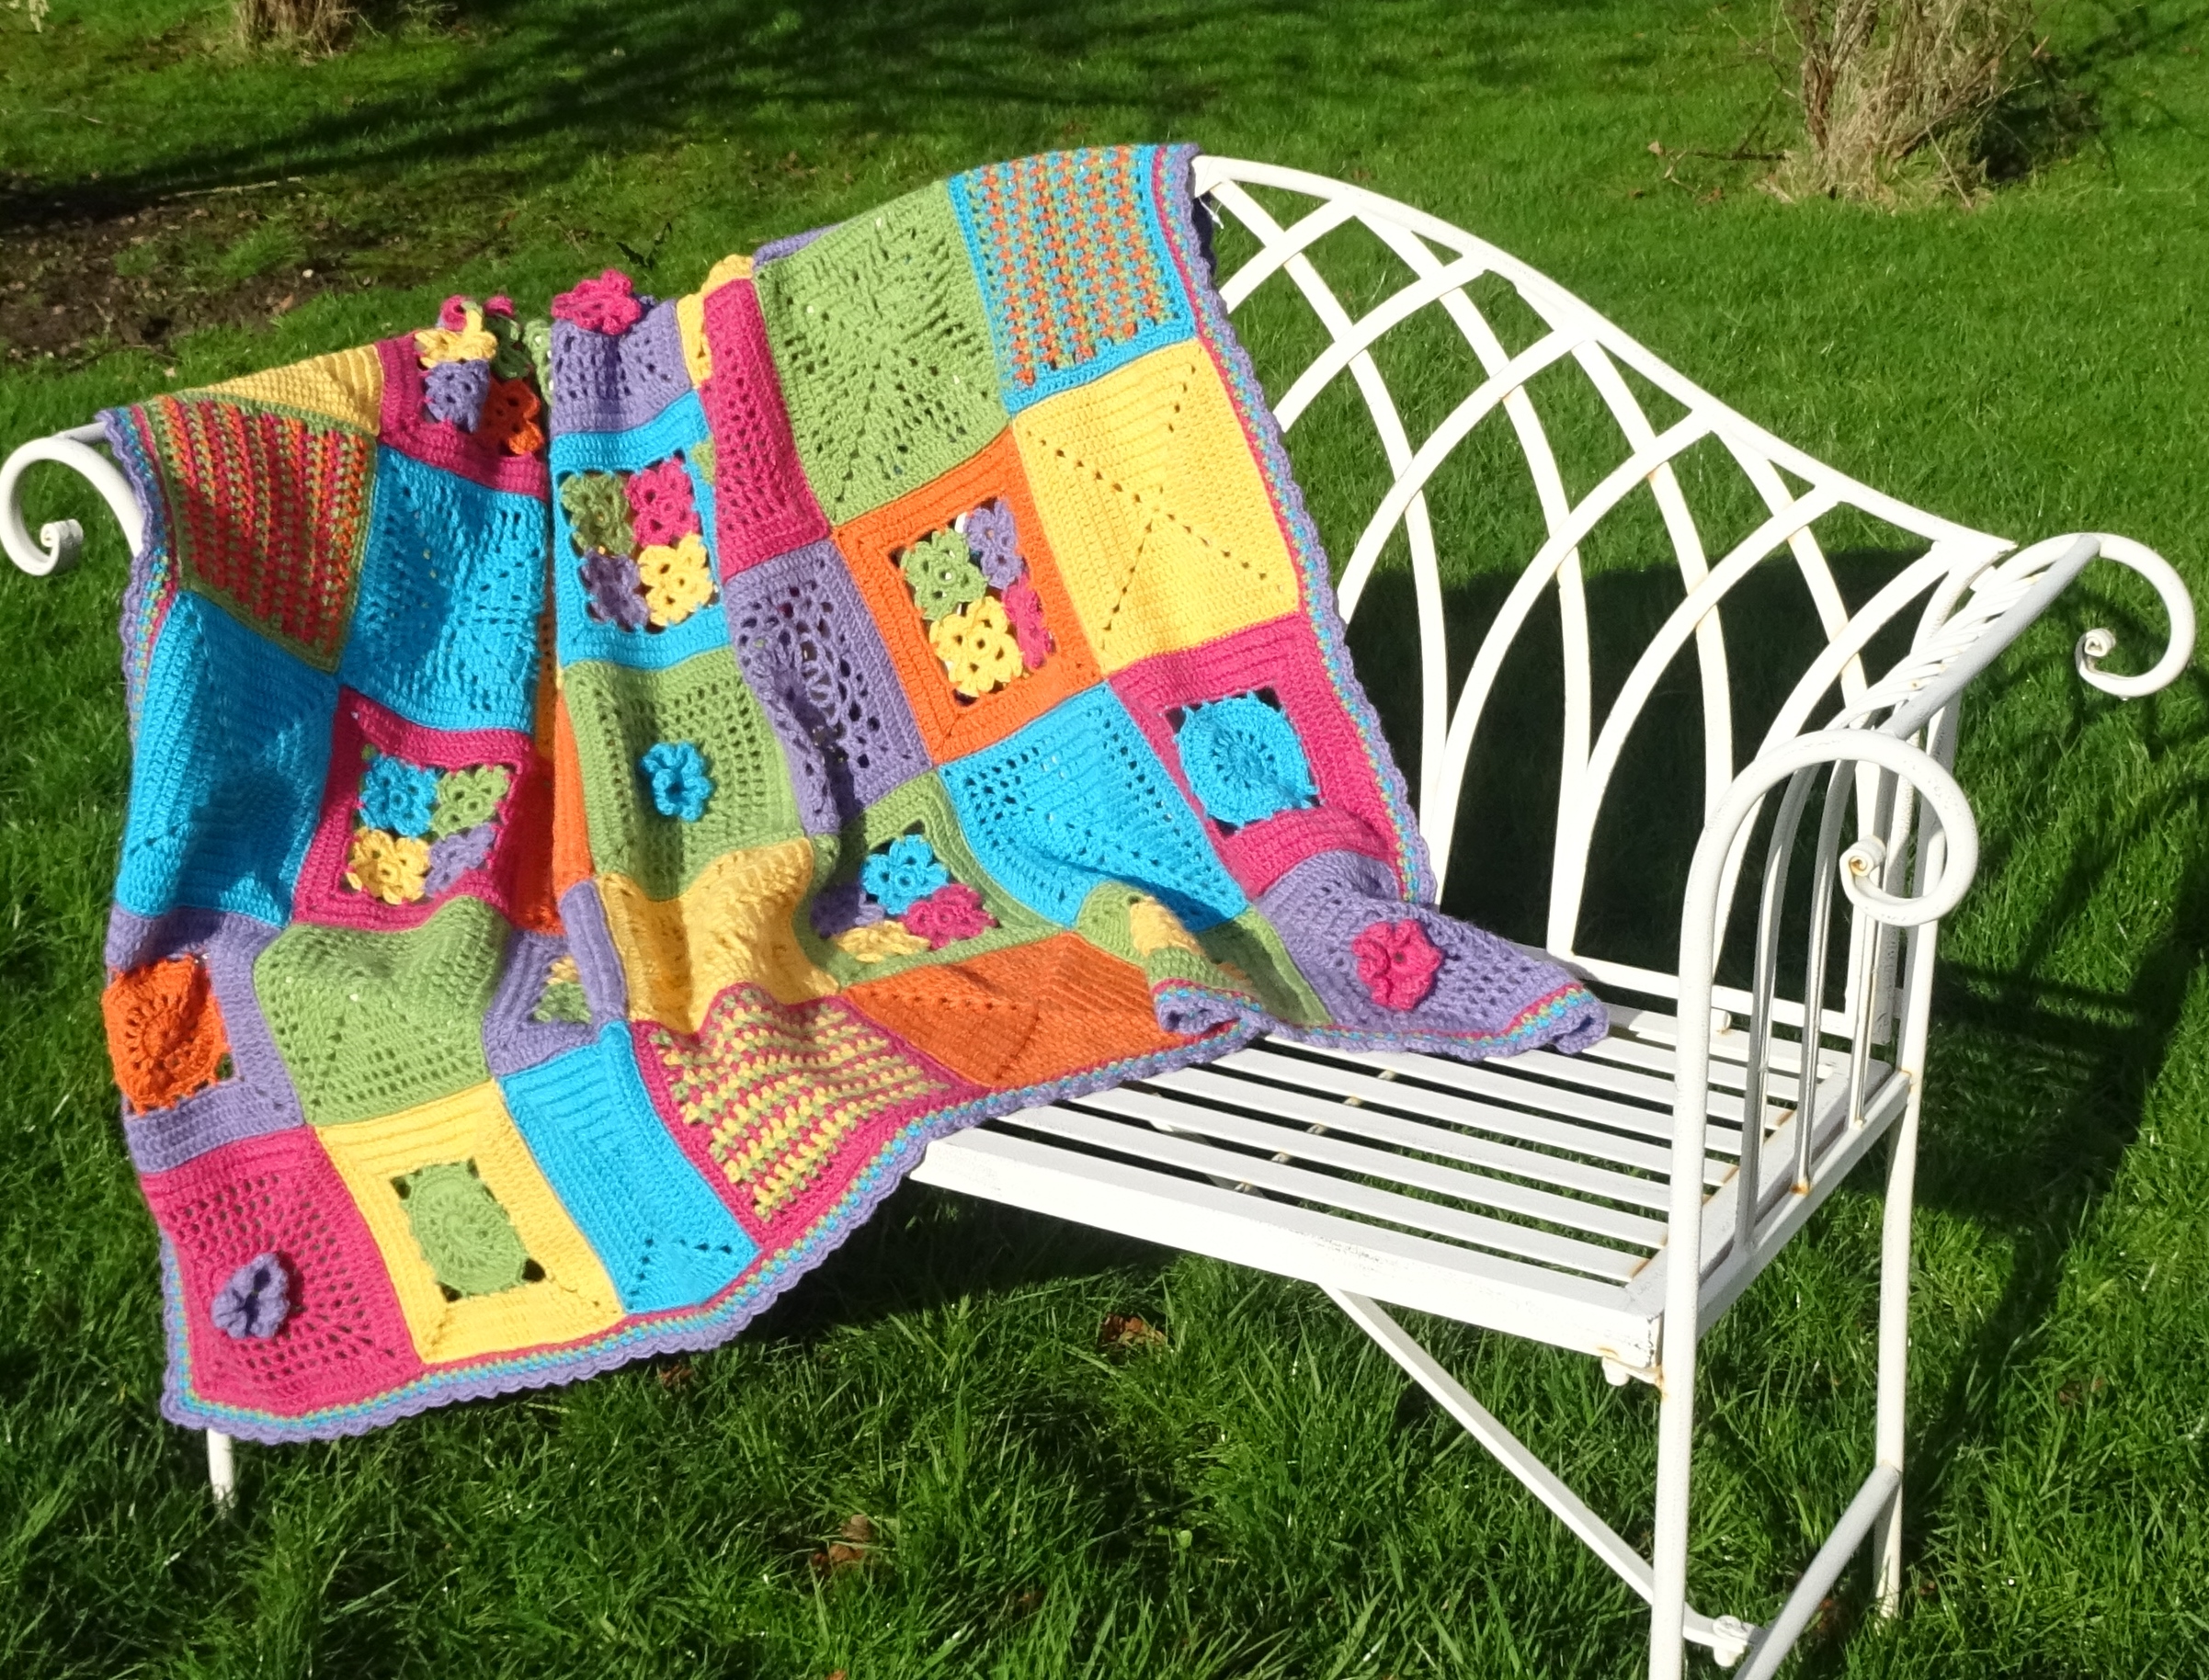
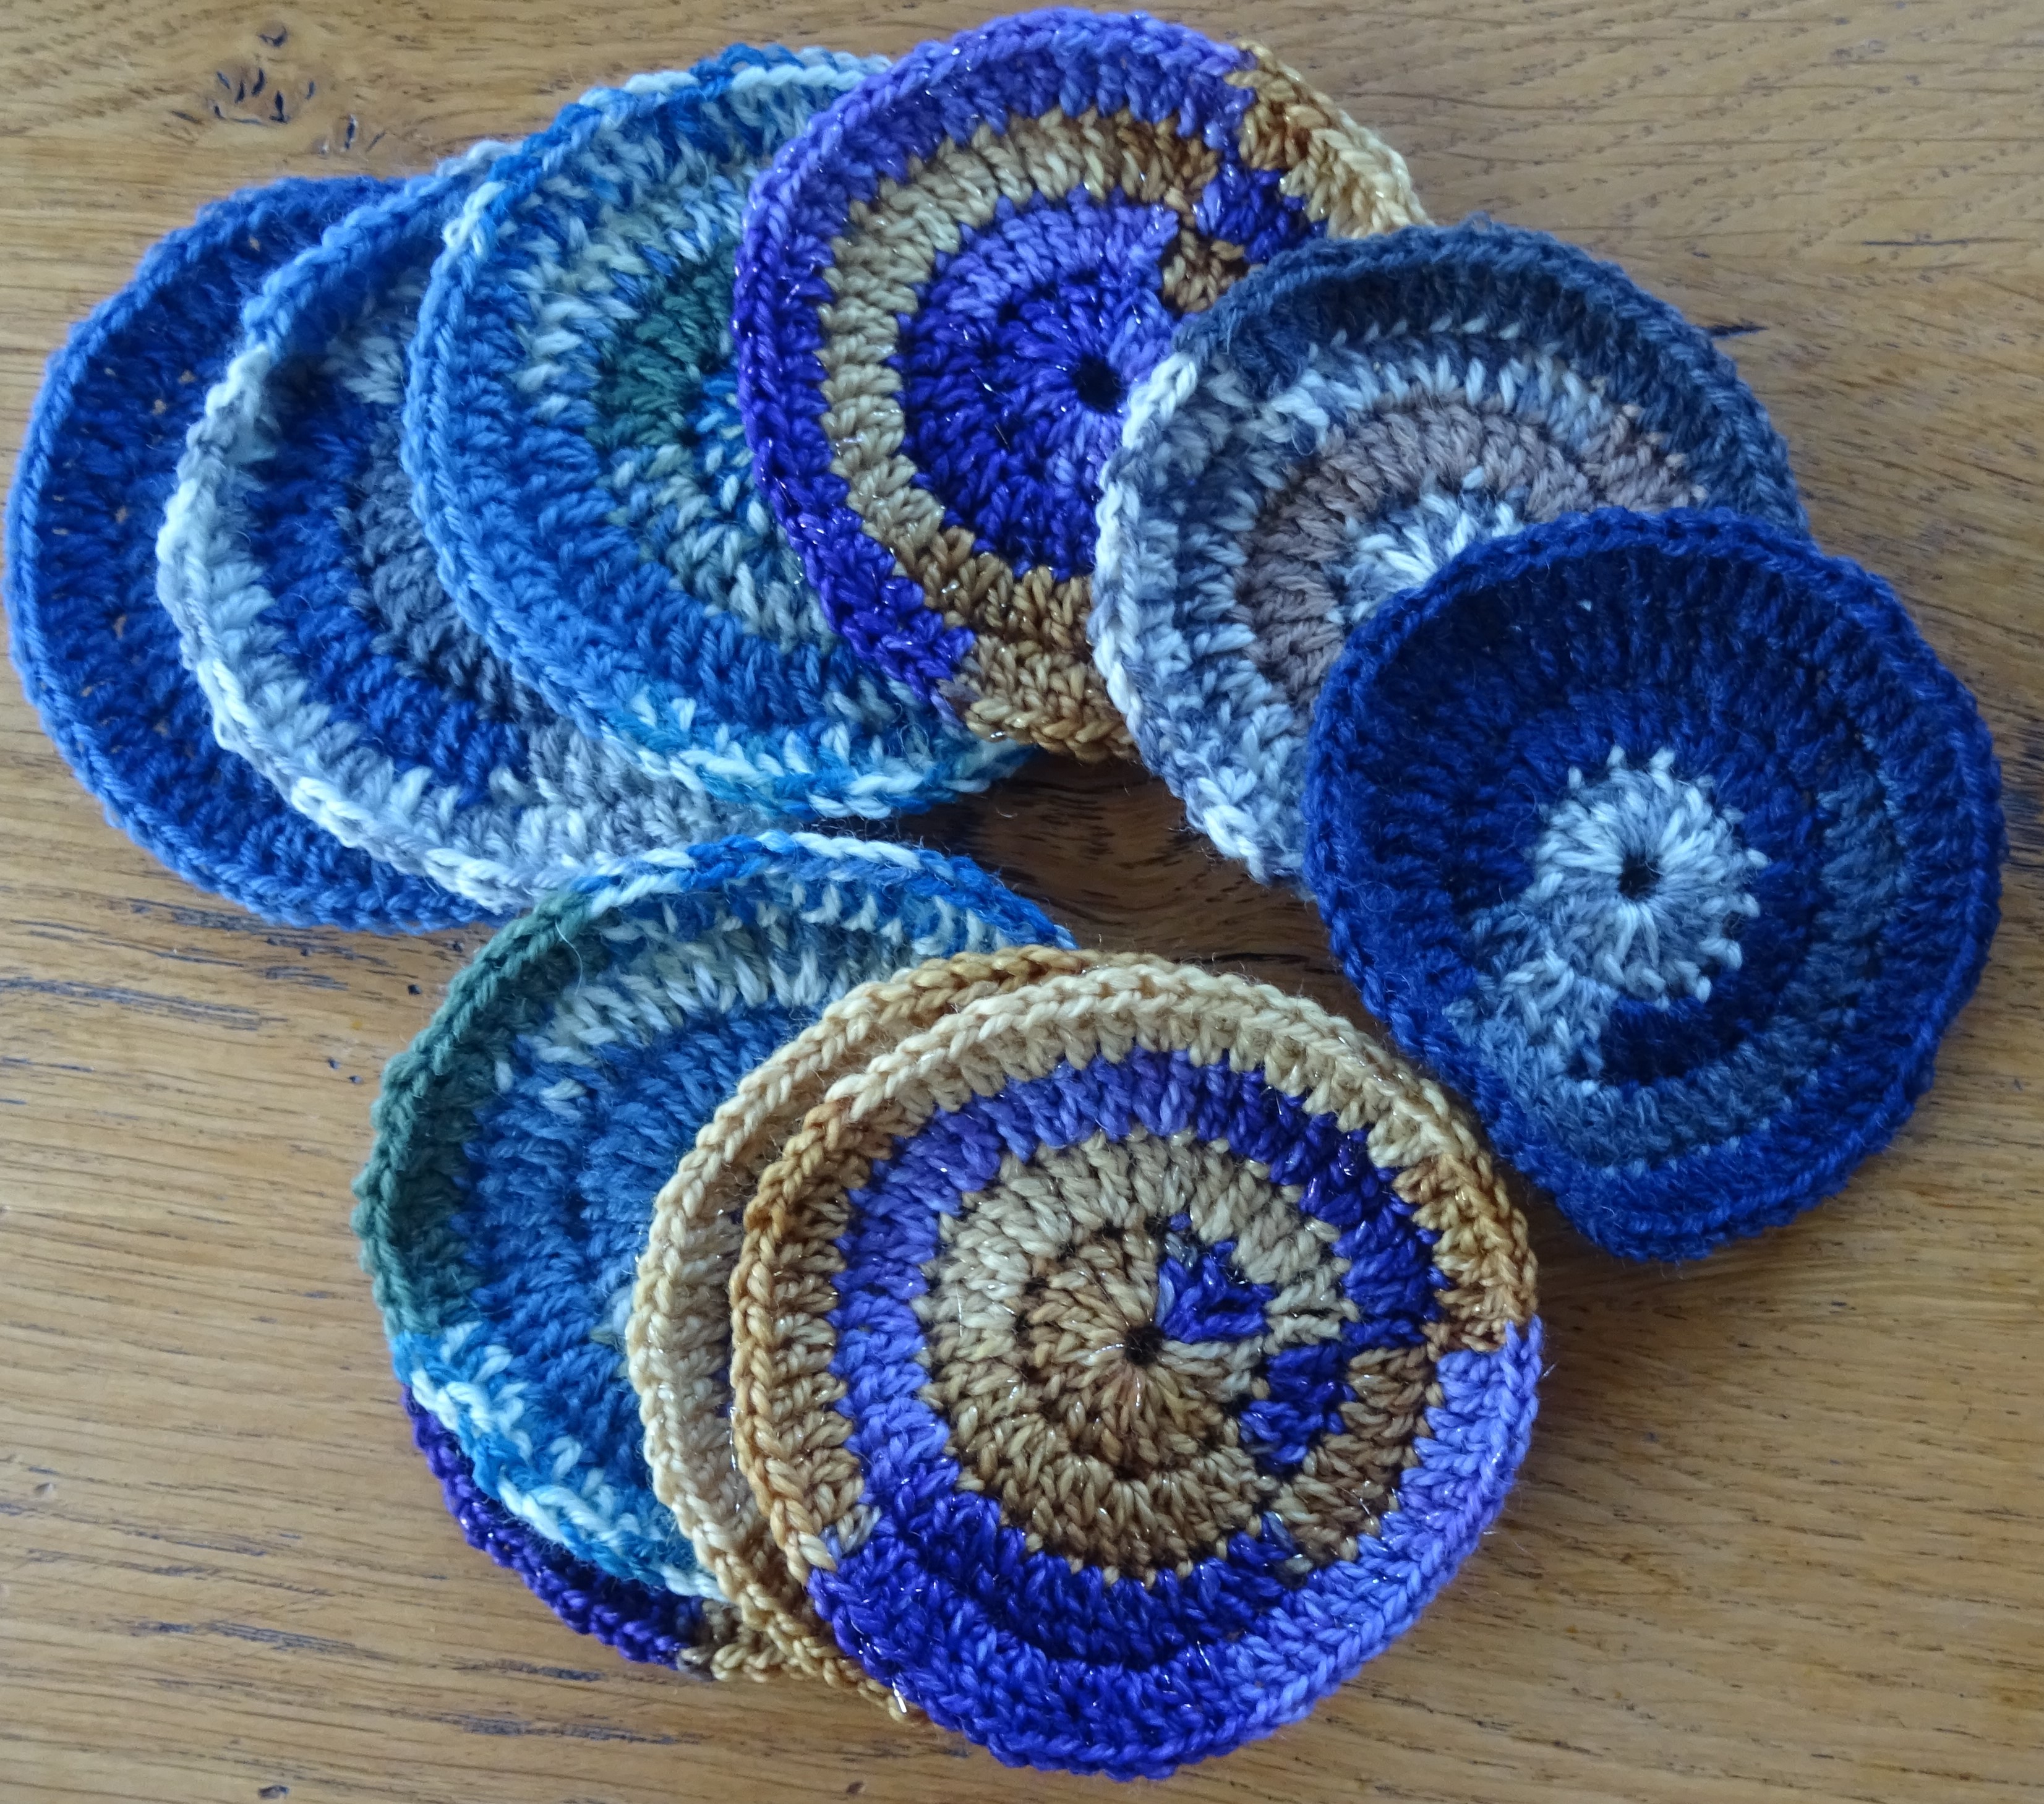
I hope you are all ready for Part 1 of the Round Again Blanket CAL. This is the first of 6 parts of the CAL and introduces the simple circle. This is not at all difficult provided you know how to work in the round and count stitches. There are only 4 rounds and I made quite a few of these, however they are very quick to make. They will help you to see how some of your variegated scrap sock yarns look in the round and I recommend you make one of these circles for each of your different scrap yarns. Don’t forget there is a paid for pattern on Ravelry which is also being released in parts and has a US crochet terms available too.

When you have made a few circles in different yarns, measure each of them.   They should all be roughly the same size at around 9cm across.  If you are using sock yarn of different wool blends or meterage you may find that the motifs vary a little in size; provided this variation isn’t too great then it won’t really matter.  But some may vary significantly so you may need to adjust. I found small variations, mainly only a mm or so, but a few were a bit too big.  I adjusted these by reducing the height changing the stitches on the final round, for example I used half treble (US half double crochet) rather than treble (US double crochet) on the final round; this was much quicker than frogging the whole circle and trying a smaller hook!

If you find the odd one is a bit small you may find working larger stitches on the final round will adjust sufficiently.

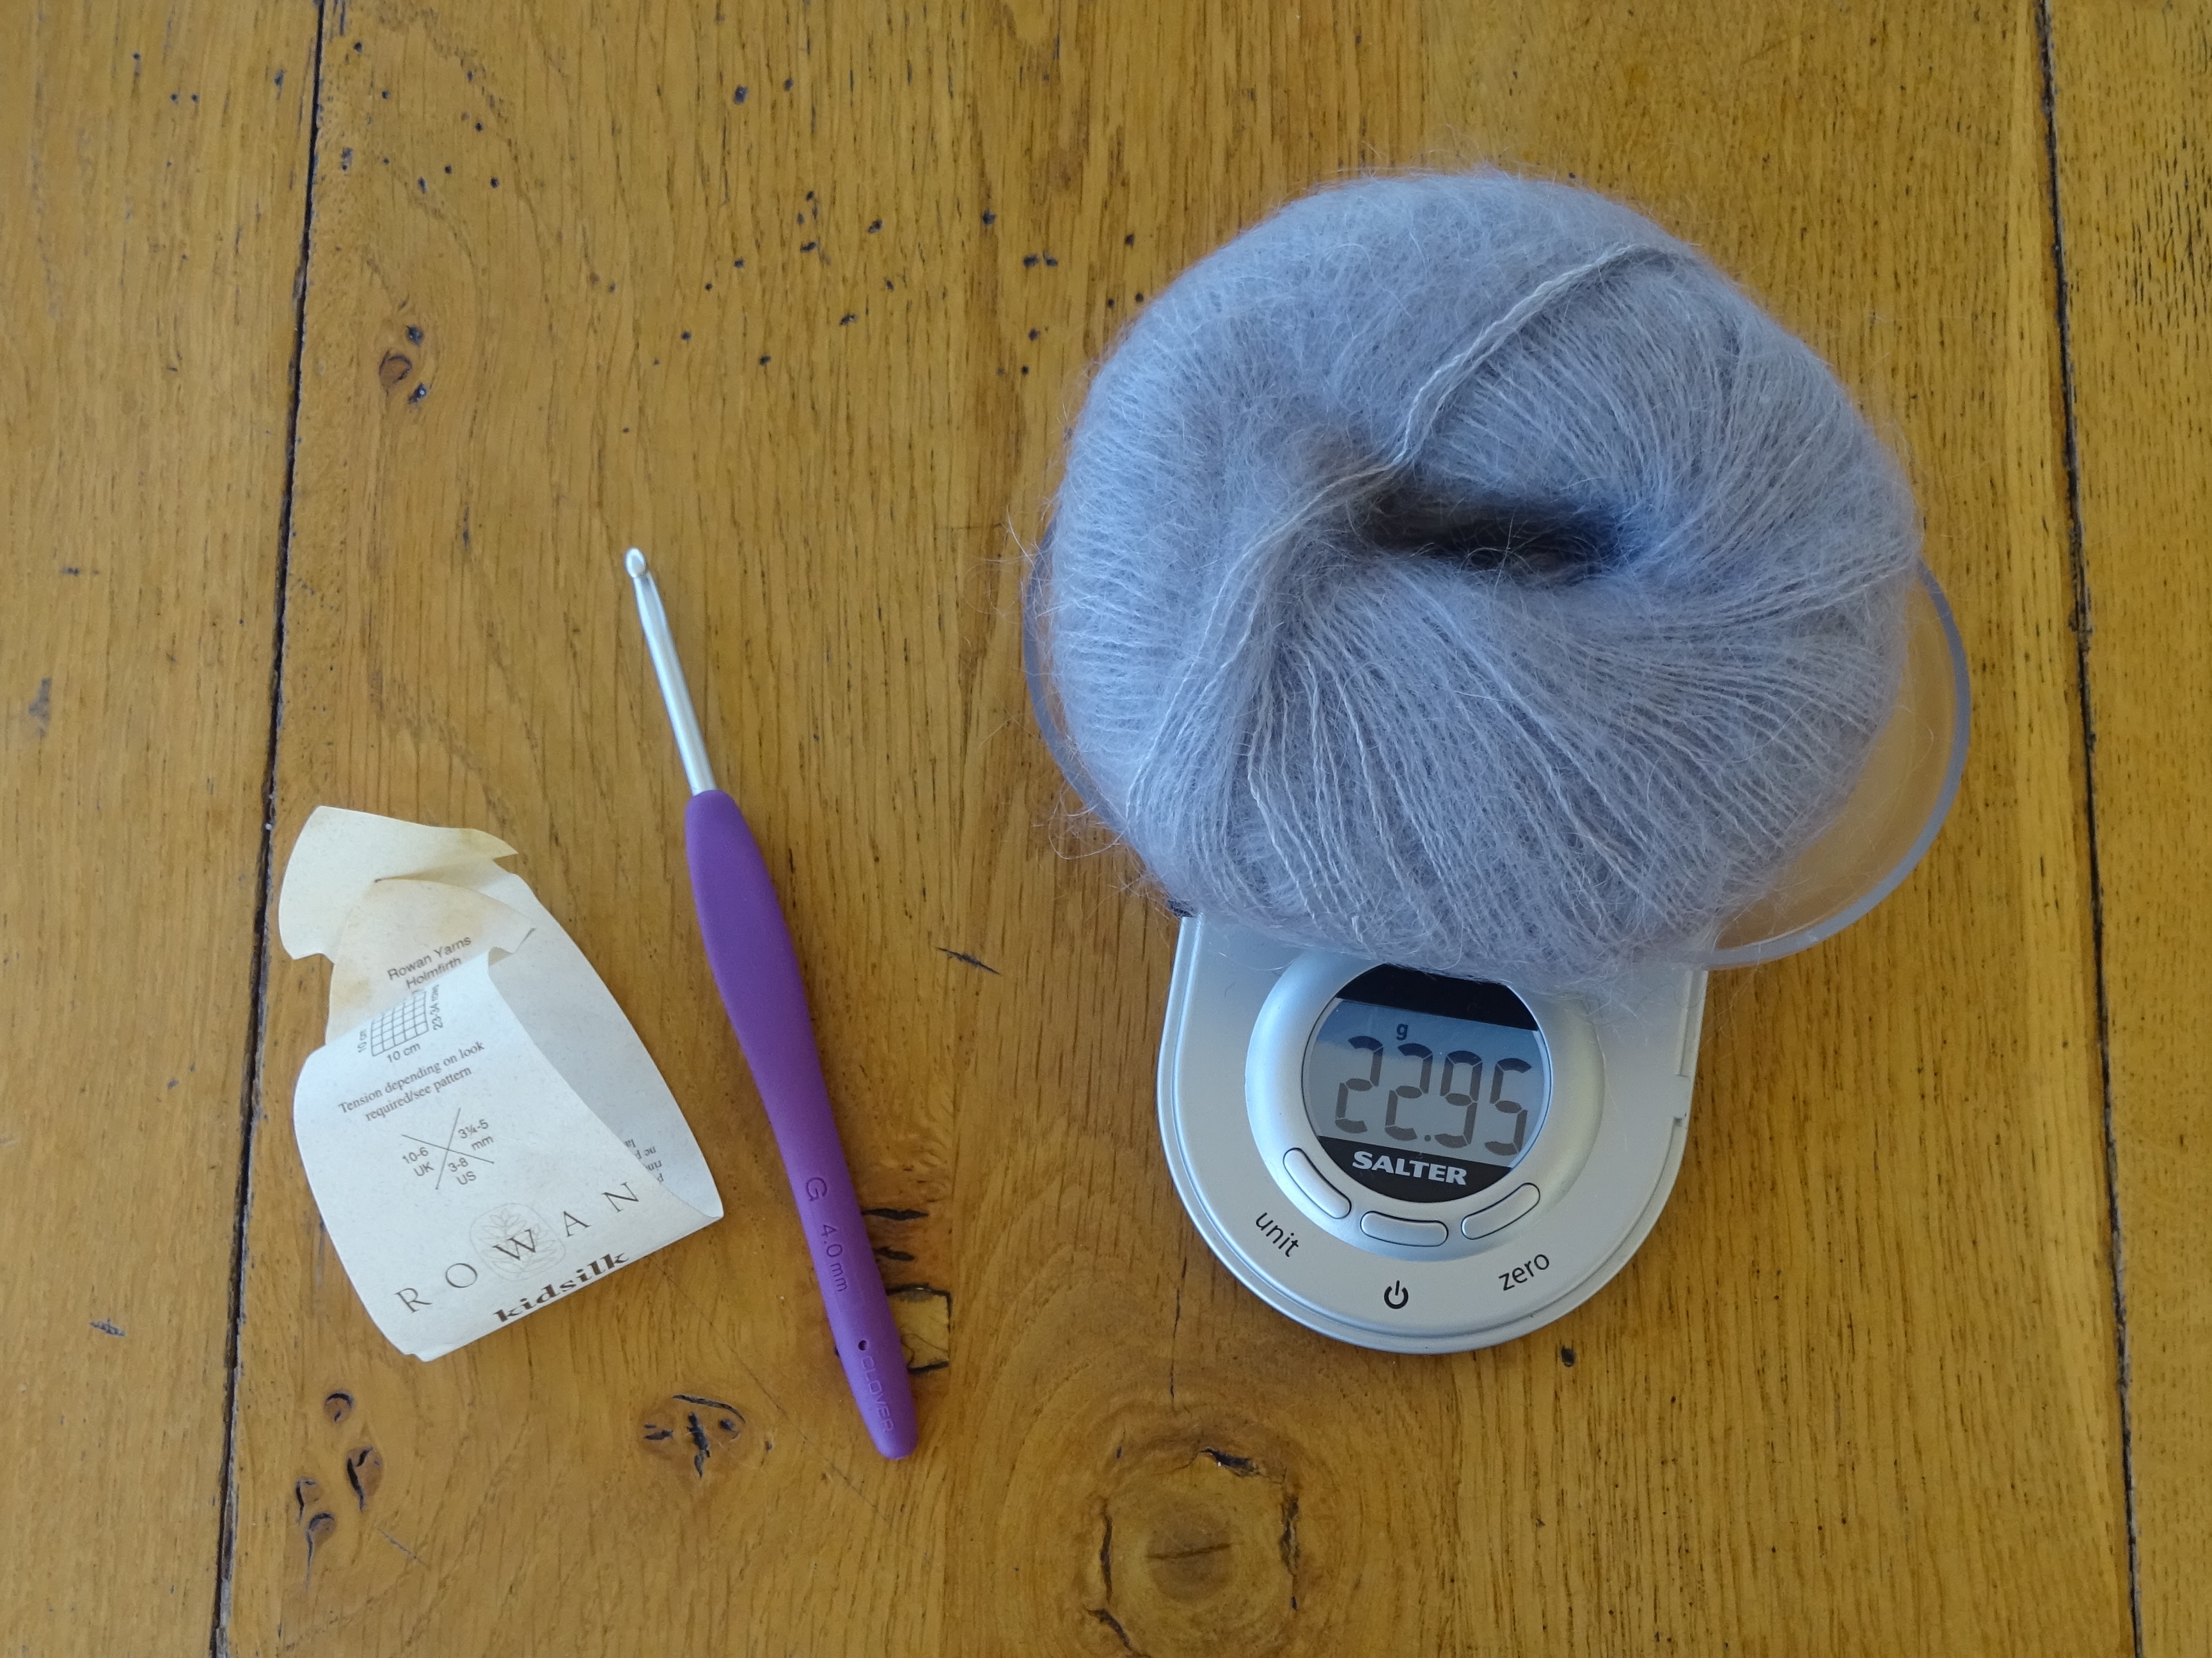
You may also wish to weigh them.  Knowing how much yarn is used for each motif may help you decide which to make with your remaining yarn. I found each Circle 1 used about 3g/12m of sock yarn.

The pattern here is written in UK crochet terms and these are the abbreviations used

ch chain

tr treble

ss slip stitch

Circle 1 in sparkly yarn

Pattern

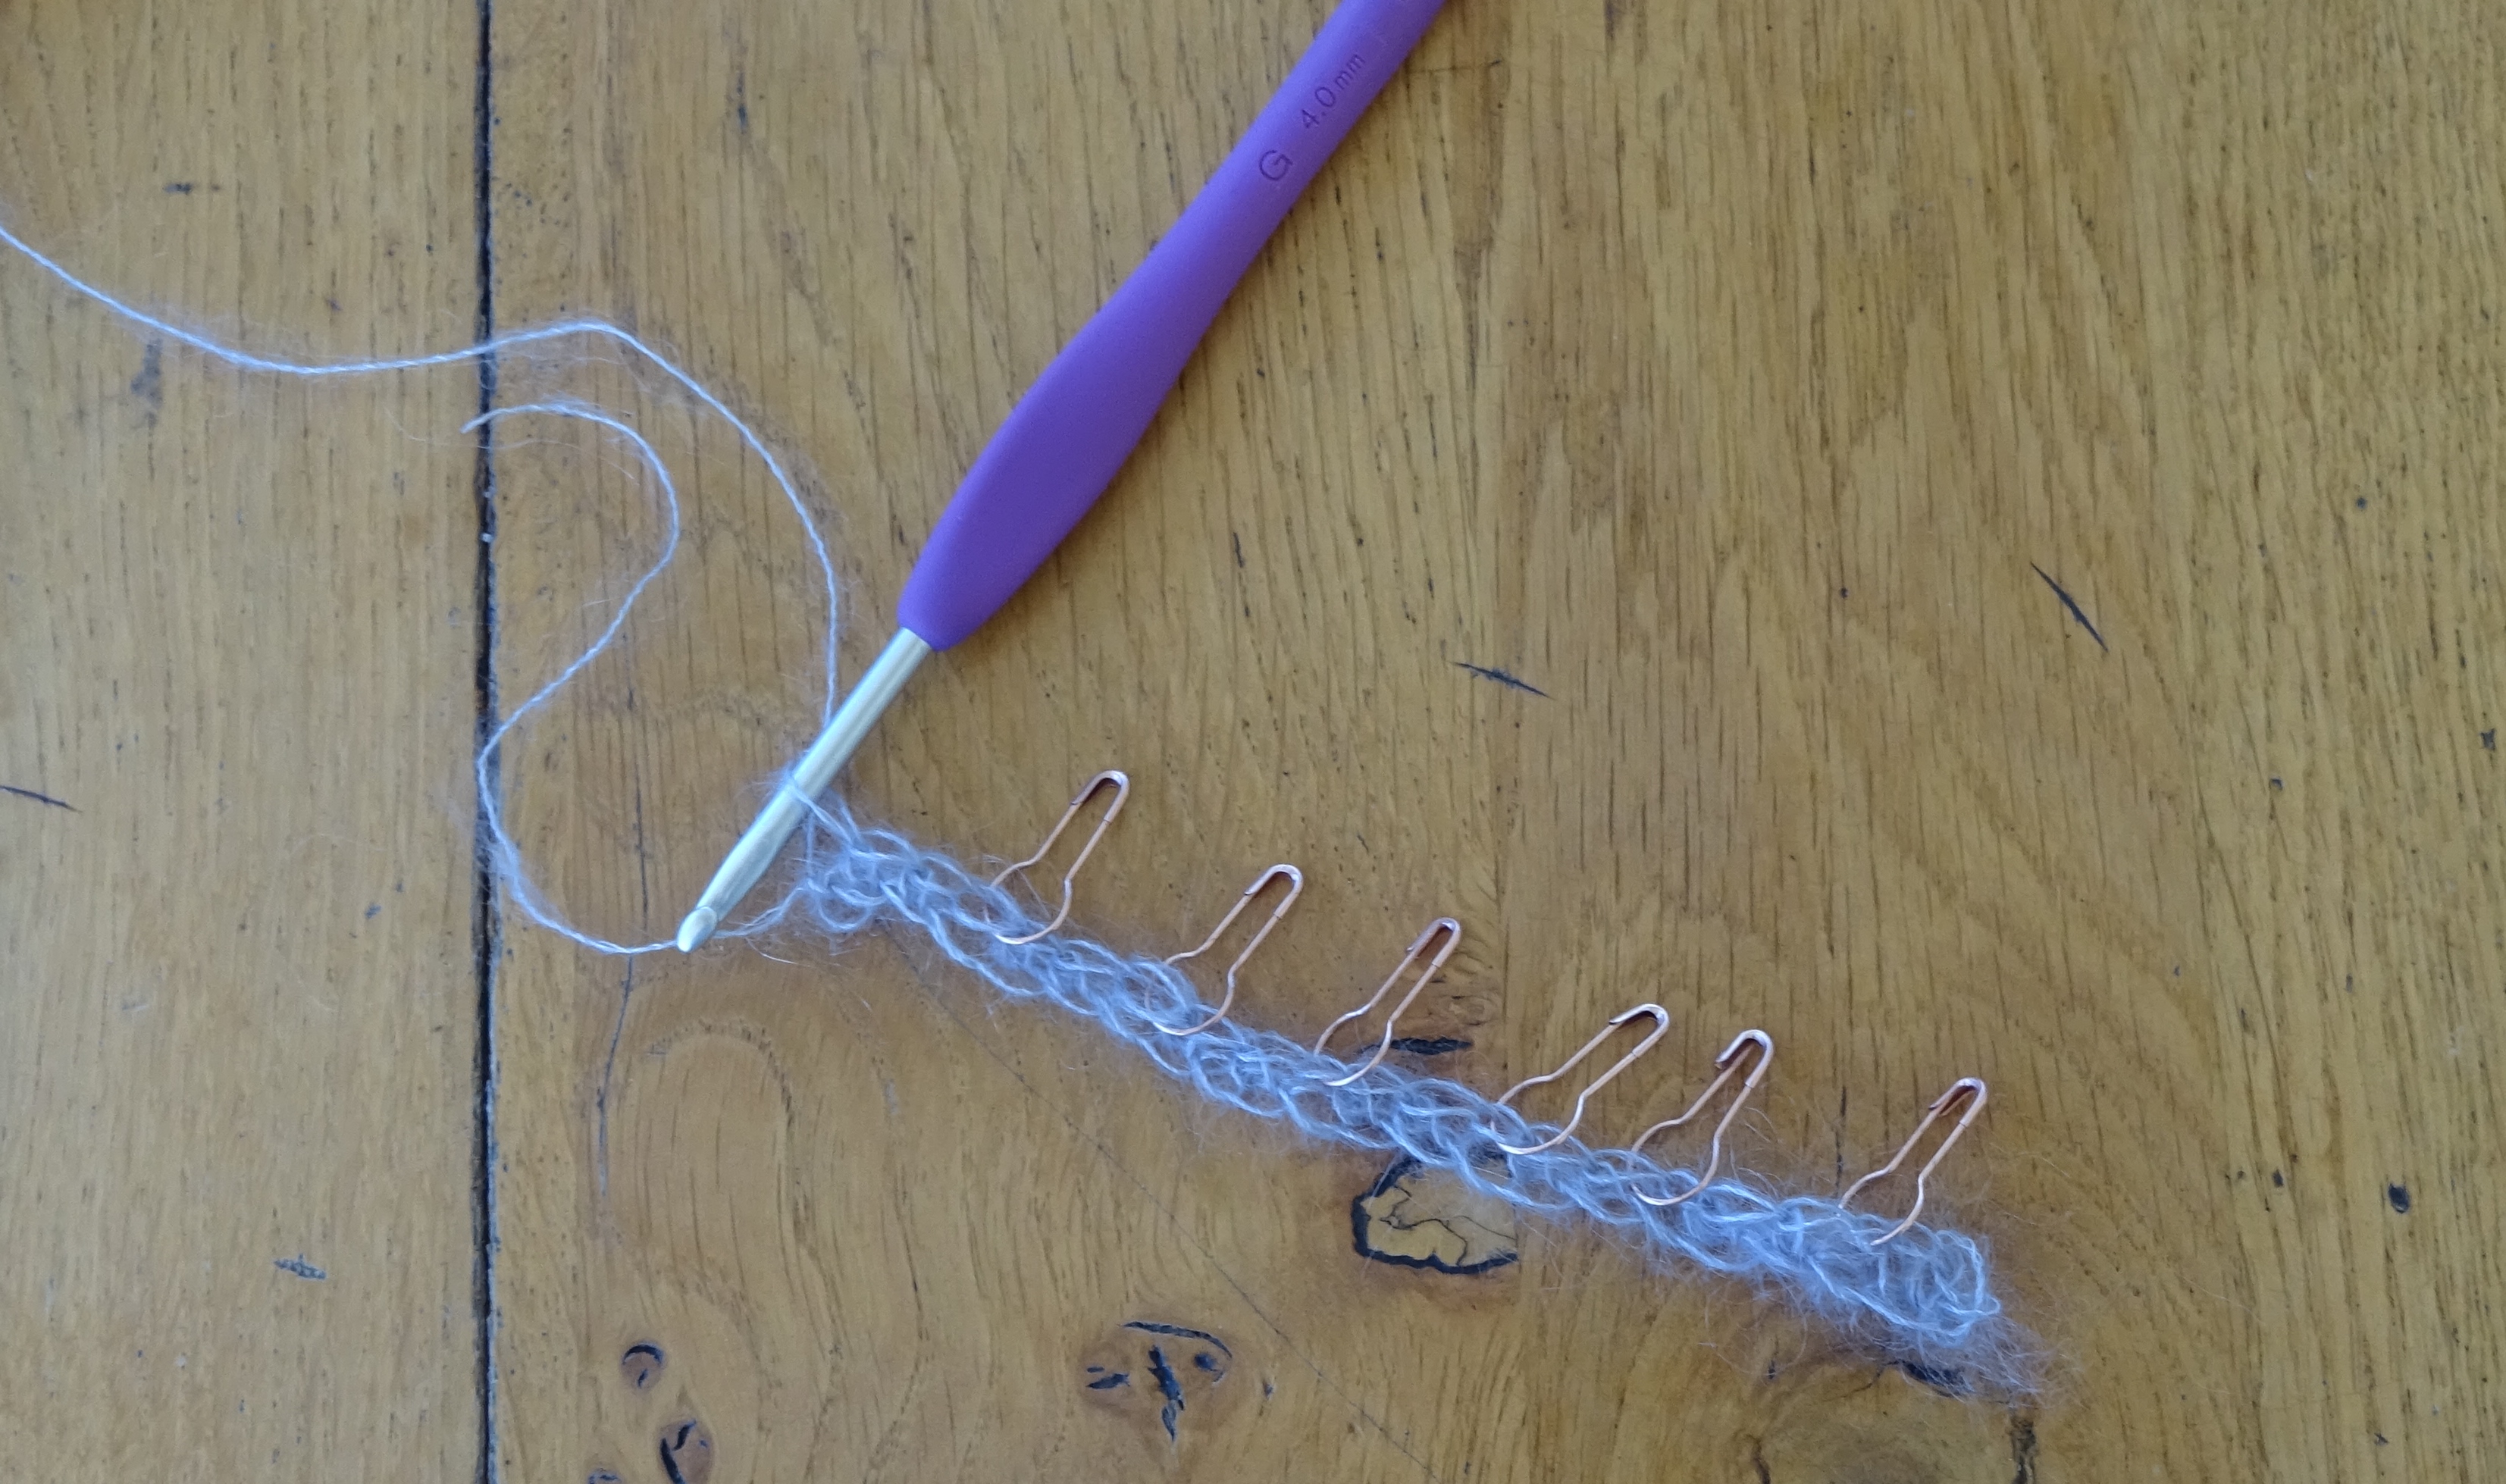
Foundation: 4ch, join into a ring with a ss.

Round 1:  3ch (counts as 1tr), 15tr in ring, ss in 3rd ch from start to join.  [16tr]

Round 2:  3ch (counts as 1tr), 1tr in st at base of ch, 2tr in each st around, ss in 3rd ch from start to join.  [32tr]

Round 3: 3ch (counts as 1tr), 2tr in next st, *1tr in next st, 2tr in next st; rep from * to end of round, ss in 3rd ch from start to join.  [48tr]

Round 4: 3ch (counts as 1tr), 1tr in next st, 2tr in next st, *1tr in each of next 2 sts, 2tr in next st; rep from * to end of round, ss in 3rd ch from start to join, break yarn and fasten off.  [64tr]

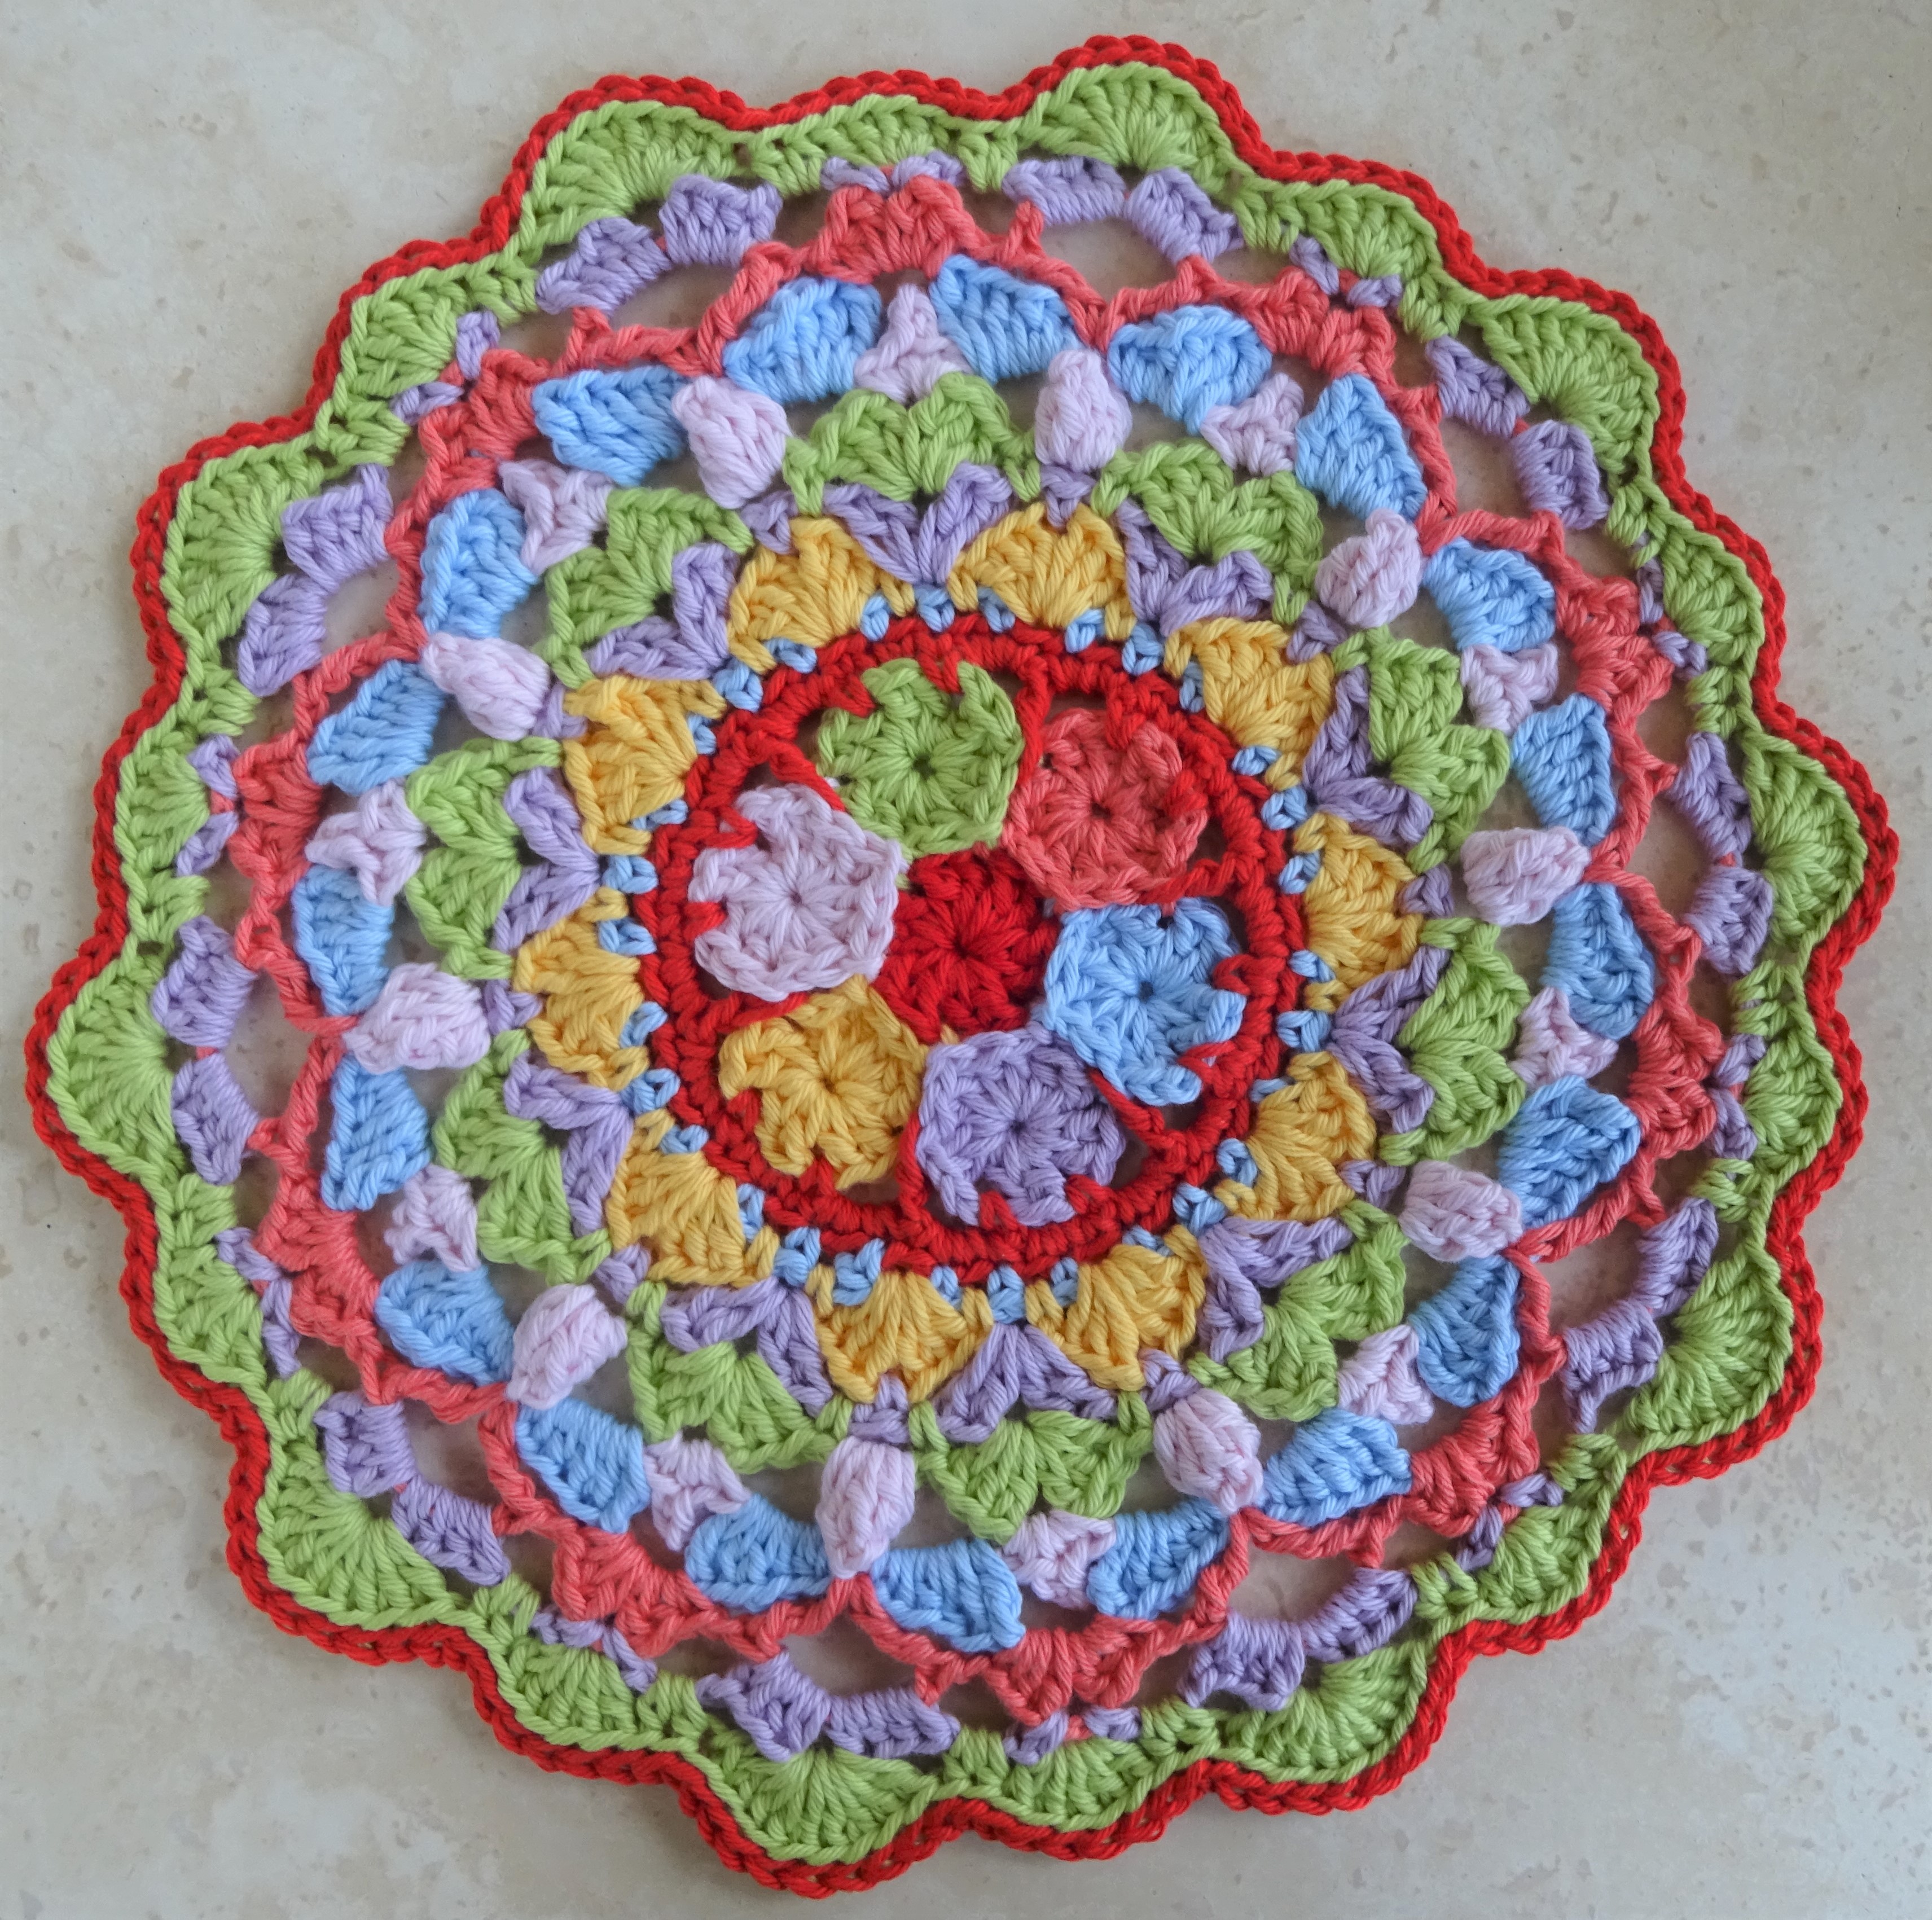
I made 52 of these for my blanket.

I would love to see photos of your little circles, please share them on Facebook and Ravelry.

A selection of my 52 circles

Next week in Part 2 I will be giving some very simple variations to Circle 1.

Until then, happy crocheting xxx

All photos and patterns are copyright.

It has a name!

My 2022 blanket for the CAL has a name – it is called Round Again Blanket. Round because it is made of circles and Again because I’m using scrap yarn so I’m using the yarn again!

In my last post I shared photos of all my little circles and promised I would give you details of start and timescale soon. Well soon is now! Testing is finished and I’m feeling very happy about the CAL.

I’ve had some lovely feedback from the testers including:

  • addictive
  • easy to crochet
  • fly off the hook
  • look great in variegated yarn

These are things I was aiming for and it looks like I have achieved them. So, after being so far behind in the preparation a few weeks ago, I am ready to share the details with you.

The CAL will be released in 6 parts

  1. Basic circle
  2. Variations 1 and 2
  3. Variations 3, 4 and 5
  4. Variations 6 and 7
  5. Squaring off and joining the circle motifs
  6. The border

Size, yarn and hook

The blanket I made is about 110cm by 160cm.  I used approx. 650g/2600m of scrap sock yarn and 200g/800m of a mid grey sock yarn for joining and some of the border.  These figures are approx. because I used scraps of different types and ever so slightly different meterage. I made 187 motifs in total. As I used sock yarn I used a 3mm hook. But of course you could use any yarn you like as long as you use a suitable hook size. And you can make it any size you like.

Stitches

The stitches used are all the normal sts – in UK terms these are ch, dc, htr, tr, dtr, ss and some sts worked together, nothing fancy at all. Everything is worked in the round, so you need to know how to do this, but otherwise I think a beginner could cope.

The pattern

The motifs will be published here on my blog in UK crochet terms and a comprehensive paid for pattern will be available on Ravelry in both UK and US terms.

When

Part 1 (the basic circle) will be published here on Saturday 19th February, and each further part follows every Saturday with the final part (the border) on 26th March. The Ravelry pattern will be updated on the same days.

Just before I blocked my blanket I took a few photos including several of the back of the blanket because I think it looks just as lovely on the back, making it reversible. The back doesn’t show some of the detail of the motifs but it does show the lovely colours and it’s amazing how beautiful scraps of sock yarn can be together. It also makes a good sneak preview photo!

If you join the CAL it would be lovely if you share progress on Facebook or Ravelry.

Until next week, happy crocheting xxx

Spoiler alert!

This year’s blanket CAL has been a long time in the making, I have been so slow, and I have no excuses. Maybe it is simply that I have slowed down during these strange times we are living in and prefer to enjoy every stitch as I make it. But it is progressing to the finish line and it’s about time to share some of it with you.

First – my inspiration.

Some years ago when I was a stash building addict, I bought an Opal Sock Yarn Advent Calendar containing 24 mini balls of colourful sock yarn. I thoroughly enjoyed opening the calendar each day and finding a different coloured ball.  I really didn’t know what to do with the mini balls, they remained a colourful collection in my stash but eventually I found a simple flower motif and decided to make lots of these colourful flowers. It became one of those projects you pick up between larger projects and after a long time I managed to make over 100 of these flowers.  I decided to join them so I designed a border to make each flower a square.  I bought some pale grey yarn to create the border and join the squares as you go.   A very long time after I started to open those advent calendar ‘doors’ a lovely lap blanket emerged which I gifted to my sister.   I never took any notes of this project, nor did I take any photographs.  I just enjoyed the long lingering project.

Roll on a good number of years and I find I have accumulated plenty of scraps of yarn of all sorts – the vast majority of them being sock/4 ply or fingering weight – all roughly the same meterage per 100g in a variety of colours and yarn types.    Much of this is because I have finally found my sock knitting mojo – I have made over 20 pairs in the last 2 years and most for myself. And I have small feet so I have plenty left over from 100g balls of sock yarn! So this was the year I decided to use up all these sock yarn scraps in my CAL (ok it’s not the first time I have done this remember Wrapped in Memories?).

I wanted a really relaxing project, something straightforward that can be done at crochet/knitgroup (I’m sure you’ve all experienced the frogging after taking a project with only a modicum of complexity to a crochet/knitgroup meeting!).  I also wanted some uniformity so that the scrap project looked like it was meant to be made as a blanket not just a mess of colours.  And I wanted to use the same border to each motif, in the same colour  just like I did with the Opal mini ball project.   Grey was a good choice for this, I think white or cream would be a stark contrast to the colours and make them stand out too much and I really do not like the stained glass effect of black, but grey helps the colours to blend gently on the eye.  

The motifs are all the same shape. I started doodling a crochet circle and decided straightaway that circles should be the theme. So the CAL blanket progressed, the pattern is written and I have a few testers lined up (but shout if you’d like to help).

Want a sneak preview? Well these are all my motifs, all lined up ready for the final joining round. They are now all joined and the blanket is almost complete.

The CAL will be free on this blog, although a more detailed paid for pattern will also be available. My next post will give you more details of the CAL start date and timescale, but for now enjoy the sneak preview of all my little circles!

Happy crocheting xxx

Tis the season…….

….. to be colourful!

At this time of year I would normally run a Twixmas CAL, to make the days between Christmas and New Year more colourful. I started in 2014 when I ran a spur of the moment blanket CAL. Remember this?

It was a straightforward pattern, nice and easy to hook but colourful. And it was run free on my blog. A single printed pattern is also available at a charge here.

The following year I ran another Twixmas CAL but this was a mandala which is a perfect small project for those in the northern hemisphere where daylight is short and grey – a pop of colour every day really lifts you. This continued until 2020 when I ran my last mandala CAL during ‘Twixmas’.

I hope I am not going to disappoint too many people but I’m not running a Twixmas CAL this year. There seem to be a plethora of Twixmas CALs and KALs these days, unlike 7 years ago when I first started. So this year I am going to indulge myself and participate in someone else’s CAL. However, I still want to give you the opportunity to do a colourful mandala (or more) over the season so I am running a Twixmas mandala sale. It starts tonight at 9pm GMT and runs until midnight on New Year’s Eve. All my individual mandala patterns (not ebooks) on Ravelry will be available at a 50% discount if you use coupon code COLOUR on checkout. Here’s a selection of them

To make them easier to find I have created a bundle on Ravelry here. I have also added Plump! to the bundle and sale – Plump is a mandala cushion which is much bigger than my normal mandala designs so perfect if you want a larger Twixmas project.

What project will I be doing over Twixmas? Well you will have to wait and see.

Meanwhile I hope you have a lovely time over the season, whether you celebrate Christmas or not.

Until the New Year, happy crocheting xxx

And we’re off!

Today is the start of the Advent CAL 2021 – a flurry of snowflakes! As I look out of the window I see snow – what a coincidence that the first snow of winter came today!

I made my first snowflake using the 2018 Snowflake pattern this morning whilst drinking a large mug of tea. In my excitement and eagerness to photograph it for you I managed to spill my tea on it, so I need to give it a wash before I block it. But here is the pattern photo, so you know what I was aiming for

Don’t forget all the snowflake patterns in the CAL are at a 50% discount when purchased on Ravelry from now until midnight GMT on 7th December, and there are prizes available. Read this post for more information

Until tomorrow

Happy snowflake crocheting xxxx

ADVENT CAL 2021

It’s that time of year again! Advent starts on 28th November and I’m pleased to say I am running an Advent CAL this year which will start on the same day. There is only one new pattern for the CAL this year – my 2021 Snowflake. But this snowflake was the inspiration for the CAL. You all know that I love snowflakes, I love their delicate hexagonal forms and I love that no two are alike. So I decided I would incorporate all my snowflakes into the CAL.

The CAL starts on 28th November and runs until 20th December, and there will be prizes for participants who make and share at least 12 snowflakes on the Ravelry group. These are some of the snowflakes that feature in the CAL

The patterns that can be used in the CAL are

Festive Snowflakes

Quick and Simple Snowflakes and Stars

Advent CAL 2016

Snowflakes 2014

2018 Snowflake

2019 Snowflake

2020 Snowflake

Snowflake 2021 which was published today!

Within these patterns there are over 12 snowflakes to mix and match as you wish.  If you do not already have the patterns, then all patterns are 50% off from now until 7th December (midnight GMT) provided you use coupon code ADVENT on purchase, this discount applies only on purchases from Ravelry. The CAL will run on Ravelry and instructions on the details for this can be found here.

I’m so looking forward to this CAL – I will be making more snowflakes myself and posting my progress, in fact my hook and yarn are ready and waiting!

Happy CALing xx

Coming soon….a flurry!

It is that time of year again – the CAL season is beginning! My first CAL this year is the Advent CAL which will comprise a flurry of snowflakes – you know how I love snowflakes! I will post about it later this weekend, but meanwhile I can provide you with a few tips on working snowflakes in the round

  1. Go slowly, it isn’t a race so work at a speed that your are comfortable with
  2. Stop and count your stitches regularly
  3. All my snowflake patterns include a chart, so if you can use a chart then try just using the charts – they are a pretty close visual aid!
  4. I also include some photos in many of my patterns, showing how your snowflakes look after a round is completed. Use these photos, and if you are looking at the pattern on a screen (tablet, PC, phone) then magnify the photos, you will find they can help you a lot
  5. Sewing the last stitch on the final round gives an excellent finish
  6. Use stitch markers – in fact a set of 6 stitch markers means you can mark all points or particular stitches on each round (did I mention that one of the things I love about snowflakes is their hexagonal shape!)

And whilst mentioning stitch markers I must share some gorgeous handmade stitch markers by a friend of mine – she has knitting and crochet stitch markers in her shop here

I love these green ones – and magically there are 6 in the set! This is a new shop and she has only a few at the moment but will be expanding in due course. They are a perfect gift for a friend or yourself!

Happy crocheting and look out for the CAL! xxx

Cloud CAL part 1

I can’t believe a week has passed since I introduced this CAL.   But here we are ready to start Part 1!   I hope you have selected your yarn and beads.  I have seen a few people considering the colour of beads, so if you are undecided I suggest you wait until you’ve done a bit of Part 1 and then try the beads against the crochet.

I am joining the CAL as well, and this is my yarn choice, plus some beads (I’m undecided on the beads):

DSC02849

The yarn is vintage Natural Dye Studio Cobweb, I have 50g with approx 360m – maybe I have enough for 2.  That would be good as I am so undecided on the beads – it gives me the option to try another colour of beads!

So are you ready?  Well, let’s start 🙂

First weigh your yarn.  Sometimes the ball is a slightly different weight to that expected.  Mine was only 22.95g rather than 25g but it had been lurking in my stash for years, so I may have used a little of it on a project.

DSC02800

You will need to weigh your remaining yarn regularly as you work.  So make a note of the amount you started with and keep those scales handy as you work.  Now do a little maths – first divide by 2 and then add 0.2g.   For me this was:

22.95 divided by 2 equals 11.475, add 0.2 equals 11.675.  I rounded this up to 11.7g

Keep a note of your number because you need to stop crocheting the first part when your remaining yarn weighs this amount!

What if you have more than a 25g ball?   Well, you work until you have used about 12.3g or the length is half what you want.

Tension/gauge does not matter for this design, but you do need to ensure you keep a loose stitch for a light and airy feel to the scarf.    For this you must allow the hook to decide the stitch size and do not pull the yarn tight when you complete each stitch.

I found 22.95g was sufficient for a scarf approx. 10cm wide by 220cm long (in Rowan Kidsilk Haze yarn, 22.95g is about 190m).   So unless you want a very long scarf, and provided you have a full ball of yarn, then you can afford to do a little tension trial to start with.  Try the first 4 rows – this should measure approx. 10cm wide and 5cm long.  It doesn’t matter if you are a bit out.  But if you are a lot out (say more than 20%) try using a different hook – bigger hook if your swatch is too small, smaller hook if you swatch is too big.  Having said that, if you like the look of your tension swatch it really doesn’t matter if it isn’t the correct size!

Now we can start crocheting!

The pattern is written in UK terms only, so here are the abbreviations I use (with US in brackets, if different):
st(s) = stitch(es)
sp(s) = space(s)
ch = chain
ch-sp(s) = chain space(s)
dc = double crochet (US single crochet)
tr = treble (US double crochet)
t2tog = work 2 treble together (US dc2tog, work 2 dc together)

Foundation: make 21ch

Row 1: Turn and work 1dc in 2nd ch from hook, (1dc in next ch, 1ch, miss 1 ch, 1dc in next ch) repeated until last ch, 1dc in last ch, turn.  You should have 6 1ch-sps and 14dc.

Now to make life easy for you when doing the next row, place a stitch marker in every 1ch-sp, like this:

DSC02804

Row 2: 2ch, *(1tr, 1ch, 1tr) in 1ch-sp (where the stitch marker is), missing all the dc inbetween; repeat from * to last 1ch-sp, in this last 1ch-sp you do something slightly different: (1tr, 1ch) in last 1ch-sp, tr2tog placing first part in the same 1ch-sp and second part in last dc on the Row, turn.  You can remove your stitch markers now.

The first 2ch and 1tr together count as a tr2tog – so you start and end the row with a tr2tog which helps give a firm edge.

Row 3: 2ch, *(1tr, 1ch, 1tr) in 1ch-sp; repeat from * to last 1ch-sp, in this last 1ch-sp you do something slightly different: (1tr, 1ch) in last 1ch-sp, now tr2tog placing first part in last 1ch-sp and second part in last st on the Row (this is the top of the 2ch at start of last Row), turn.  You should now see that the pattern is a series of V sts.

Row 3 is the pattern, repeat it until your remaining yarn weighs that magic number you calculated – it must be no less than this number, so you may want to weigh your yarn regularly and estimate when that magic number will be reached.   I did a total of 77 rows.

This is how my stitches look, light and open with a lovely haze:

DSC02829

Do not break yarn when you reach the end – wait until next week when I show you what to do next!

Some tips on working this design:

As I mentioned in tension, let the hook decide the size of your stitch – do not pull the yarn once the hook is through the stitch as this will tighten it too much and you won’t get the open cloud-like effect.

It is very easy to miss the yarn and hook a bit of the fluff instead.  So check that you have placed you stitches correctly at the end of each Row.   It means stopping for a few seconds to look, but it is worth the effort as that check can save some frogging later.

If you do have to frog, go very slowly and use the hook to help break the fibres that somehow manage to blend together in the fluff, don’t use scissors as it is easy to have an accident and cut your yarn!

If you have plenty of yarn and want a wider scarf, then increase your foundation chain in multiples of 3ch, each 3ch extra gives an additional V st to each Row.

Please feel free to ask questions, here or on Ravelry or on Facebook.  And please share progress photos!

Until next week, happy crocheting xxx

Ta dah!

The final part of the Winter Blanket CAL is the border:

DSC01171

A simple beautiful frame to the blanket, which is shown in glorious sunshine (funny how the sun came out just in time!):

DSC01217

So now you have it – 8 different designs, 6 different colours, 49 squares  – all in a simple border.

I hope you enjoyed this CAL.

The full pattern is available on Ravelry here (all 16 pages of it!) , and now includes a US terms version as well.

Did you use all the 8 designs?  What colours did you choose?

Happy crocheting xxx

Winter Blanket CAL part 8

For the last square I wanted something a little different.

DSC01173

What do you think?

It is made first in rows, then a couple of rounds are added to finish it off.  I love the stripes of colour.  I made 4 of these to sit in the middle of each edge of the blanket with the stripes running parallel to the edge.  Tension can be tricky on this sort of square, so you may need to practice with a few hook sizes before you get the size you need.

You can find the pattern here and join in the discussion here

Next week it’s the final part – the border.  And the Big Reveal!

Happy crocheting xx