WARNING – THIS BLOG POST IS WORD HEAVY!
Way back in 2016 I held a workshop at the Cheshire Fibre Festival (I also co-organised the festival!) called Crochet Blankets; Stripes or Squares. I designed 2 blankets for the workshop both using the same stitch pattern, one was a stripe blanket the other a square blanket. They were called Sandlebridge Stripes and Sandlebridge Squares and you can find the patterns on Ravelry (Stripes and Squares) and on LoveCrafts.
Very recently someone made the most lovely comment on the Sandlebridge Squares pattern on Ravelry and it made me recall back to when I designed it. I offered her a copy of the workshop handout notes from 2016 and later that evening I thought ‘why not publish them on my blog?’. So this blog is a reproduction of those notes, although edited slightly to remove some of that workshop specific material.
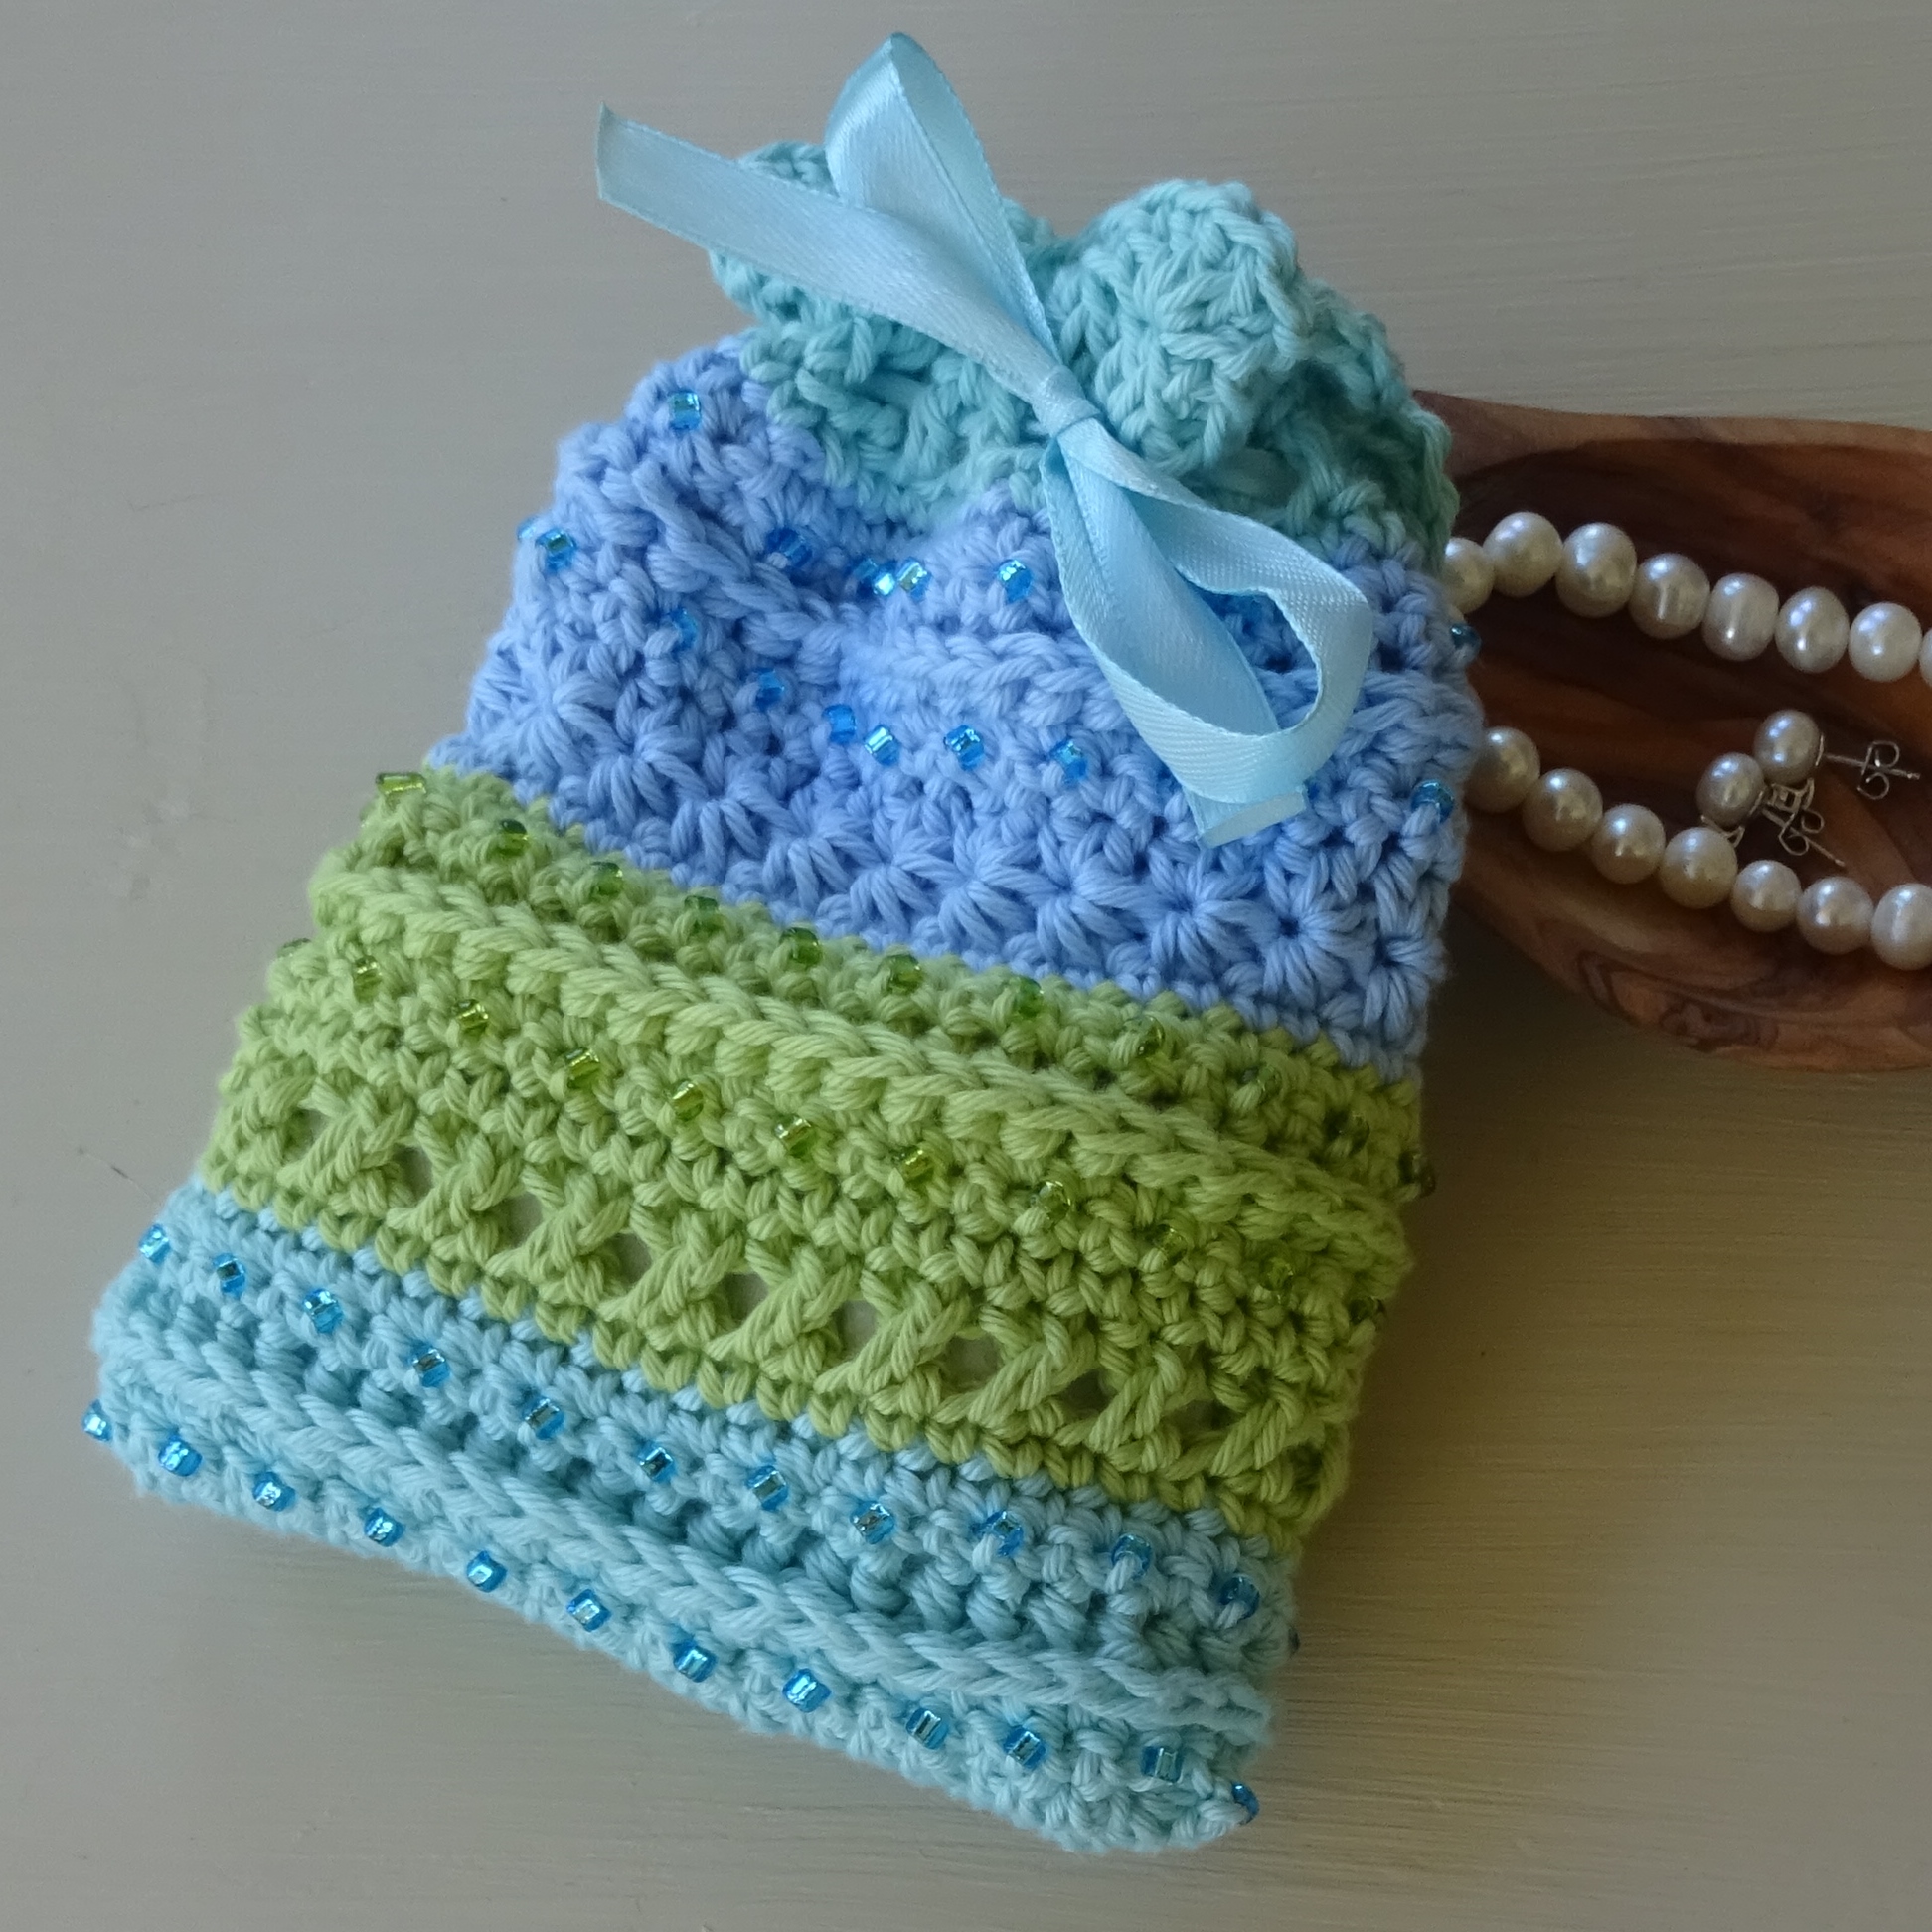
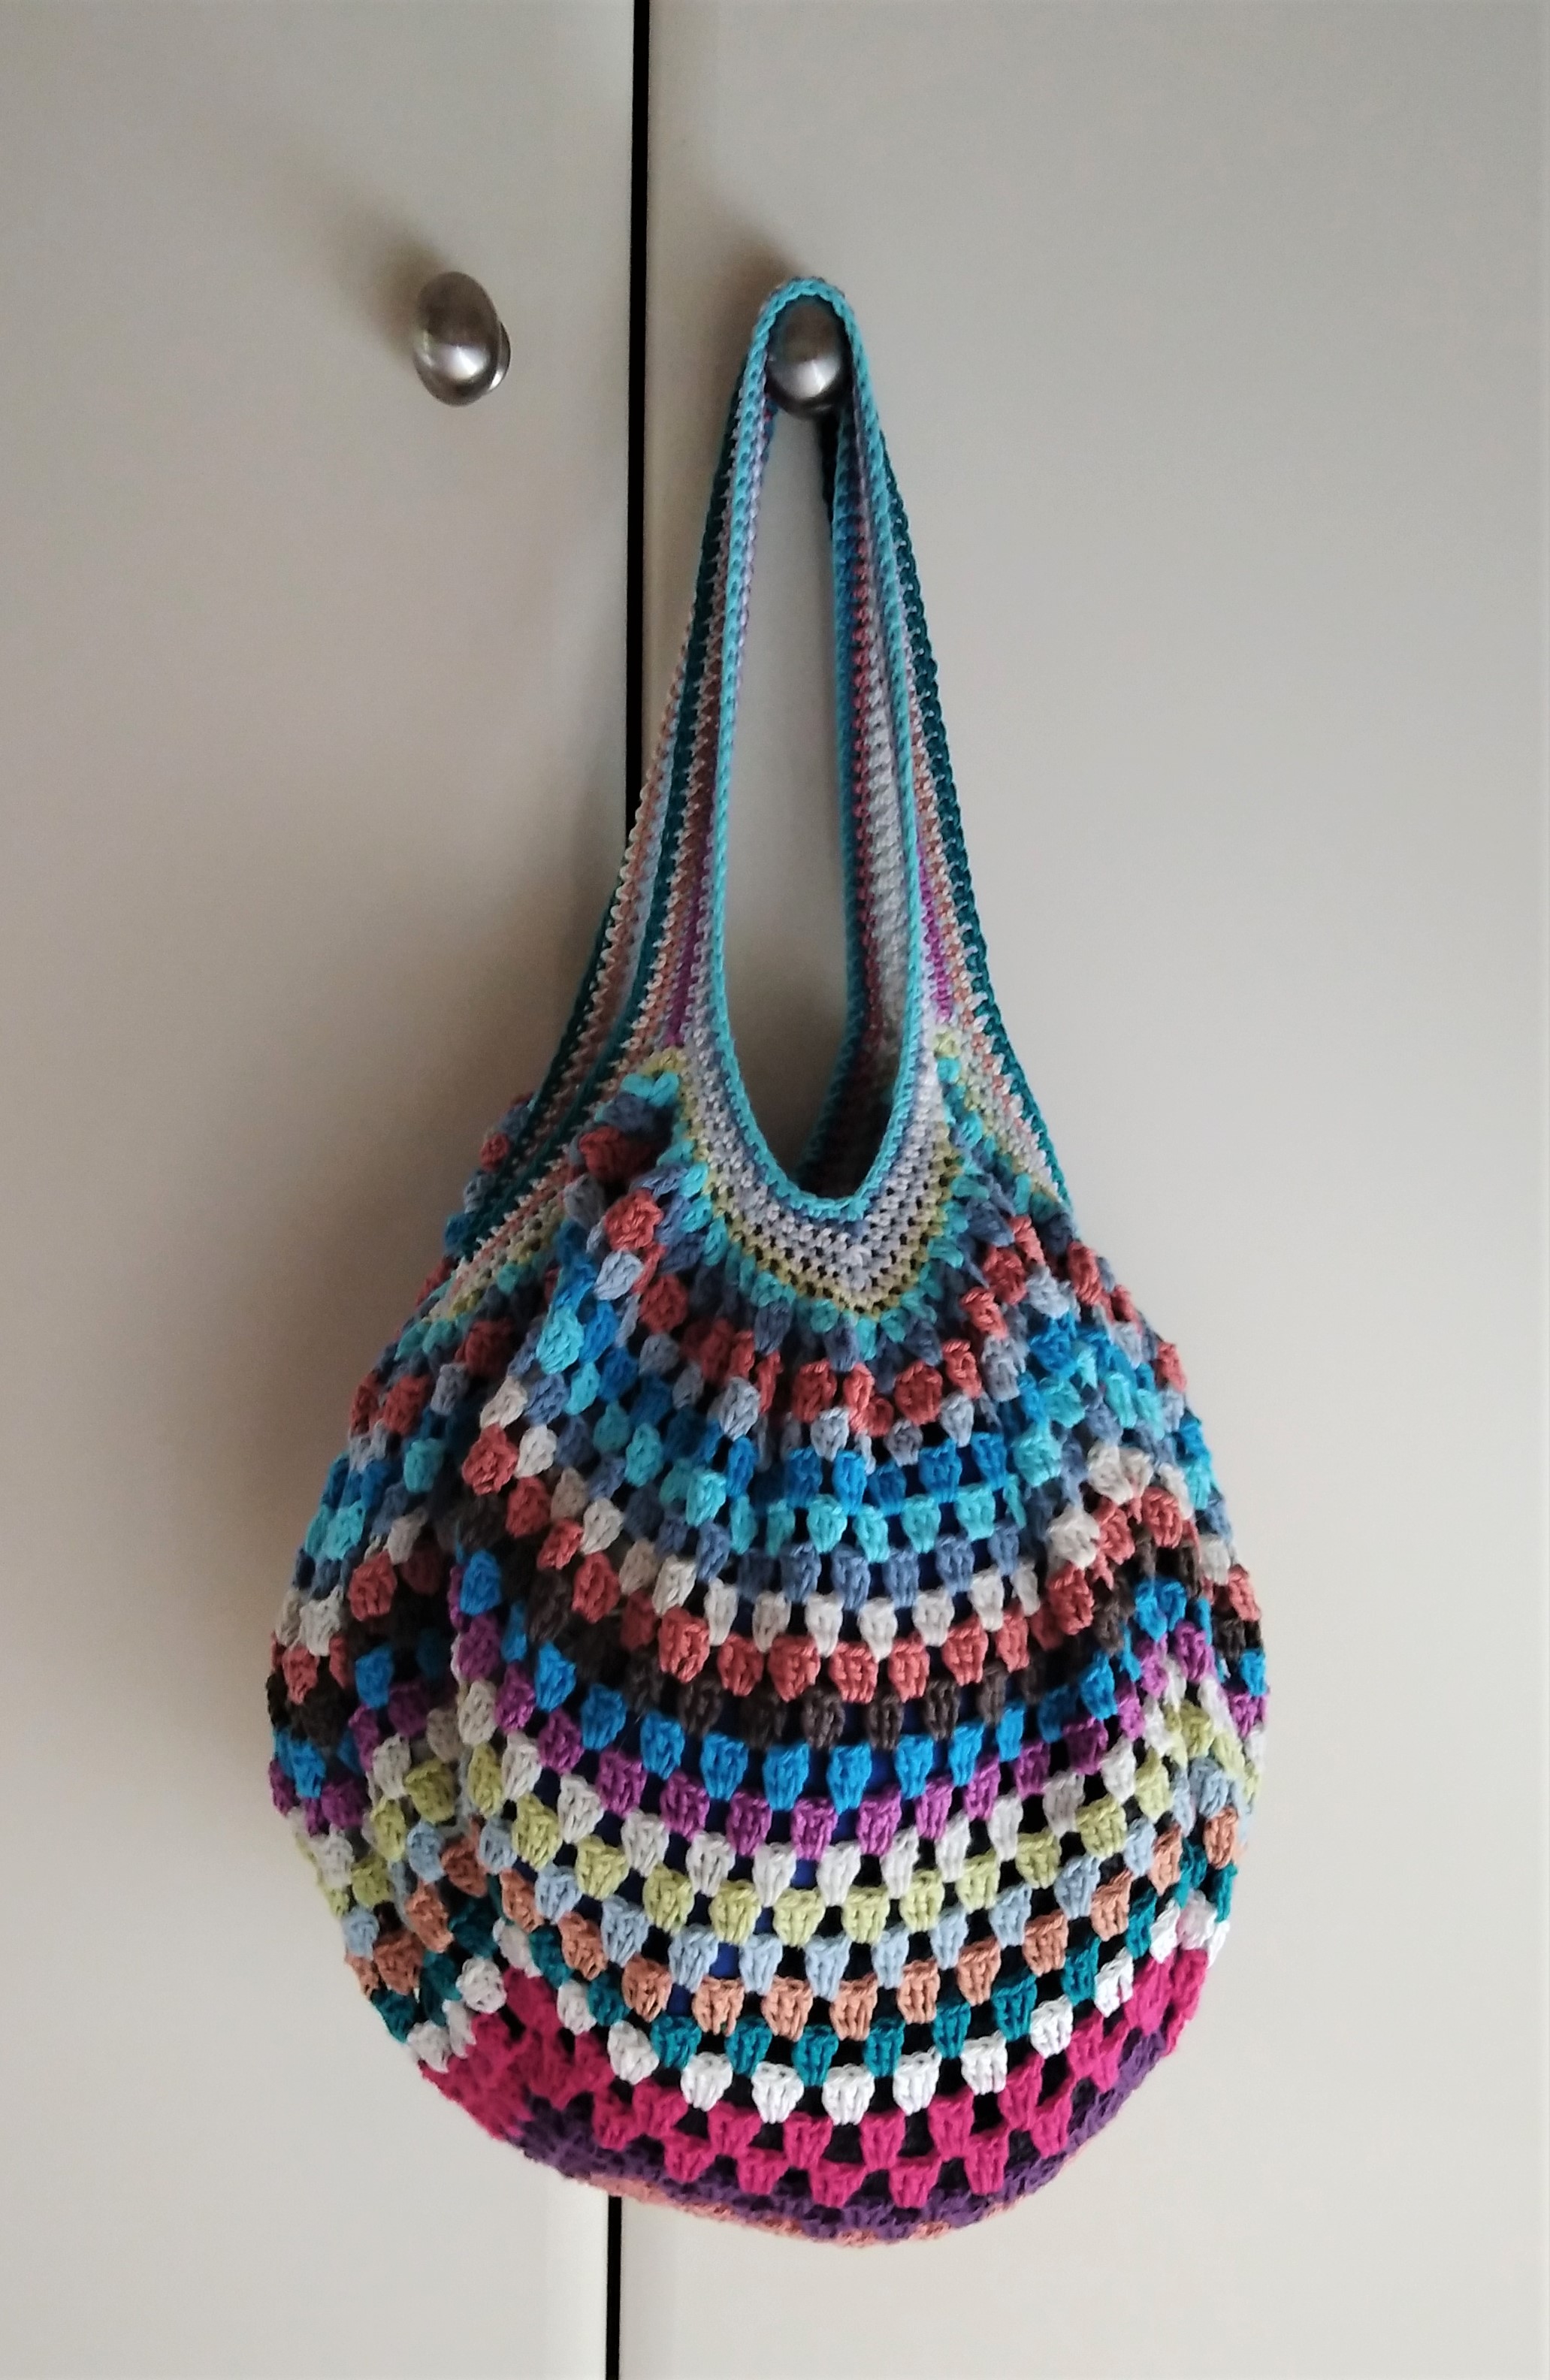
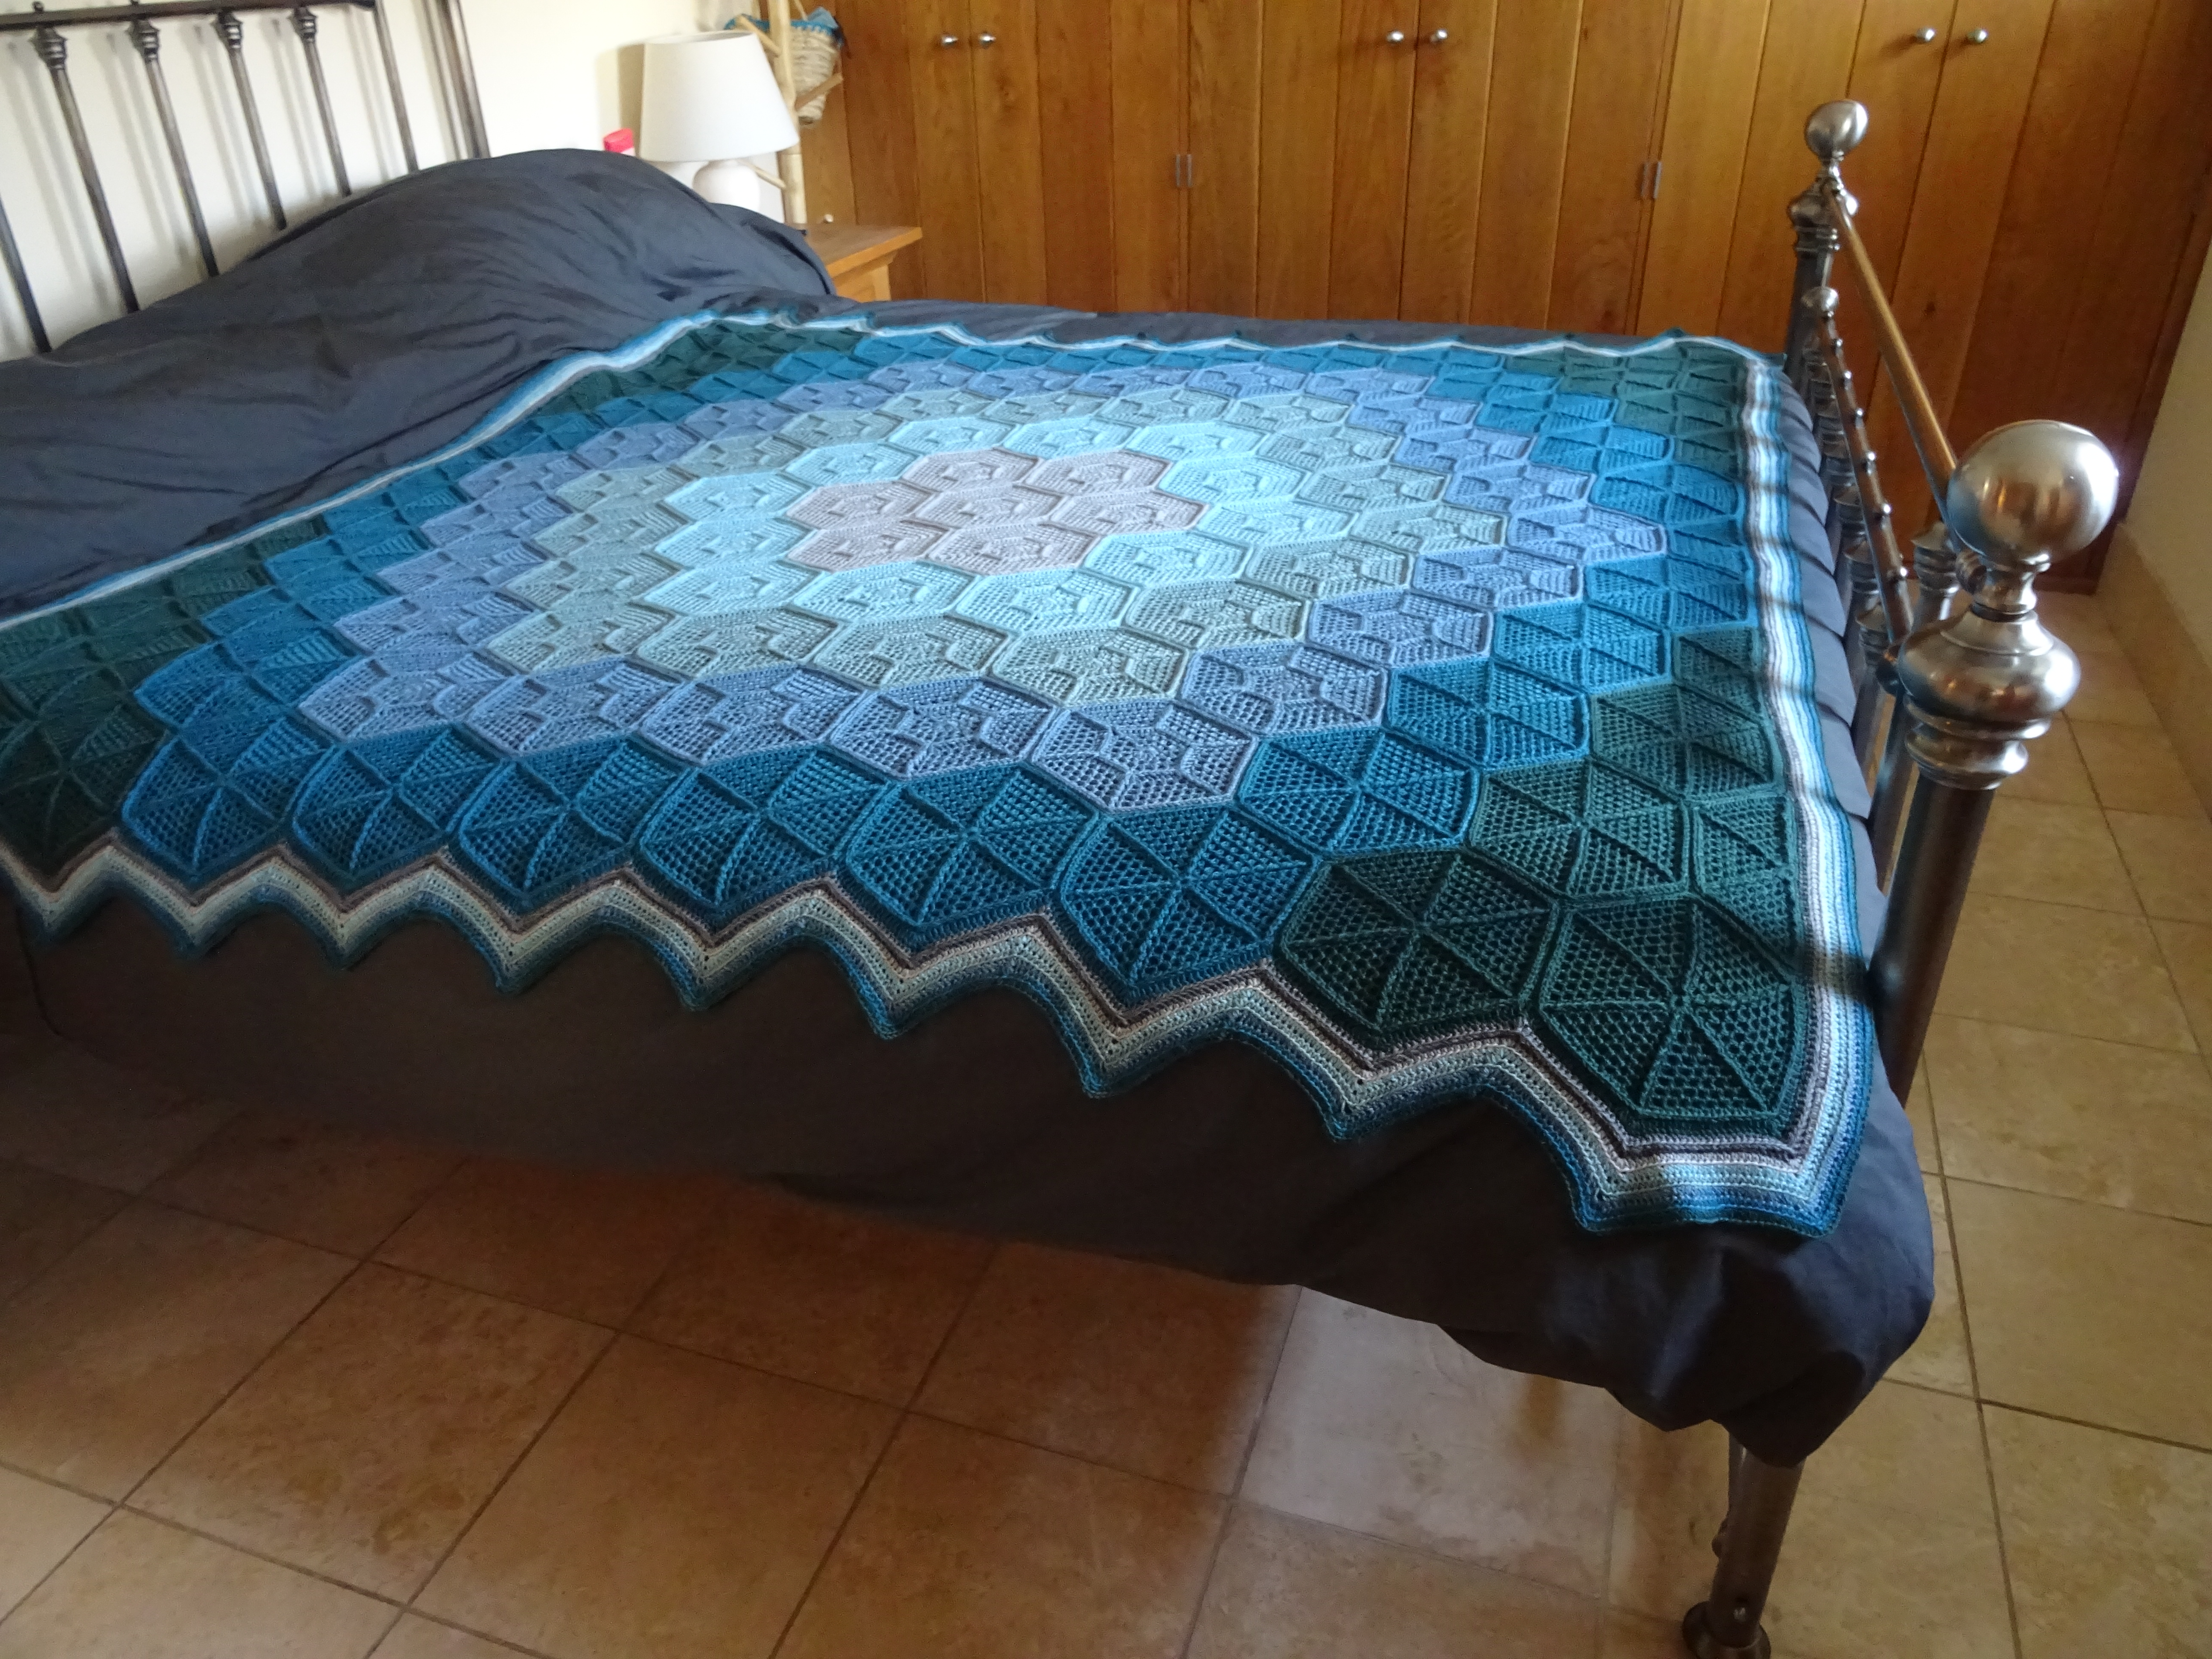
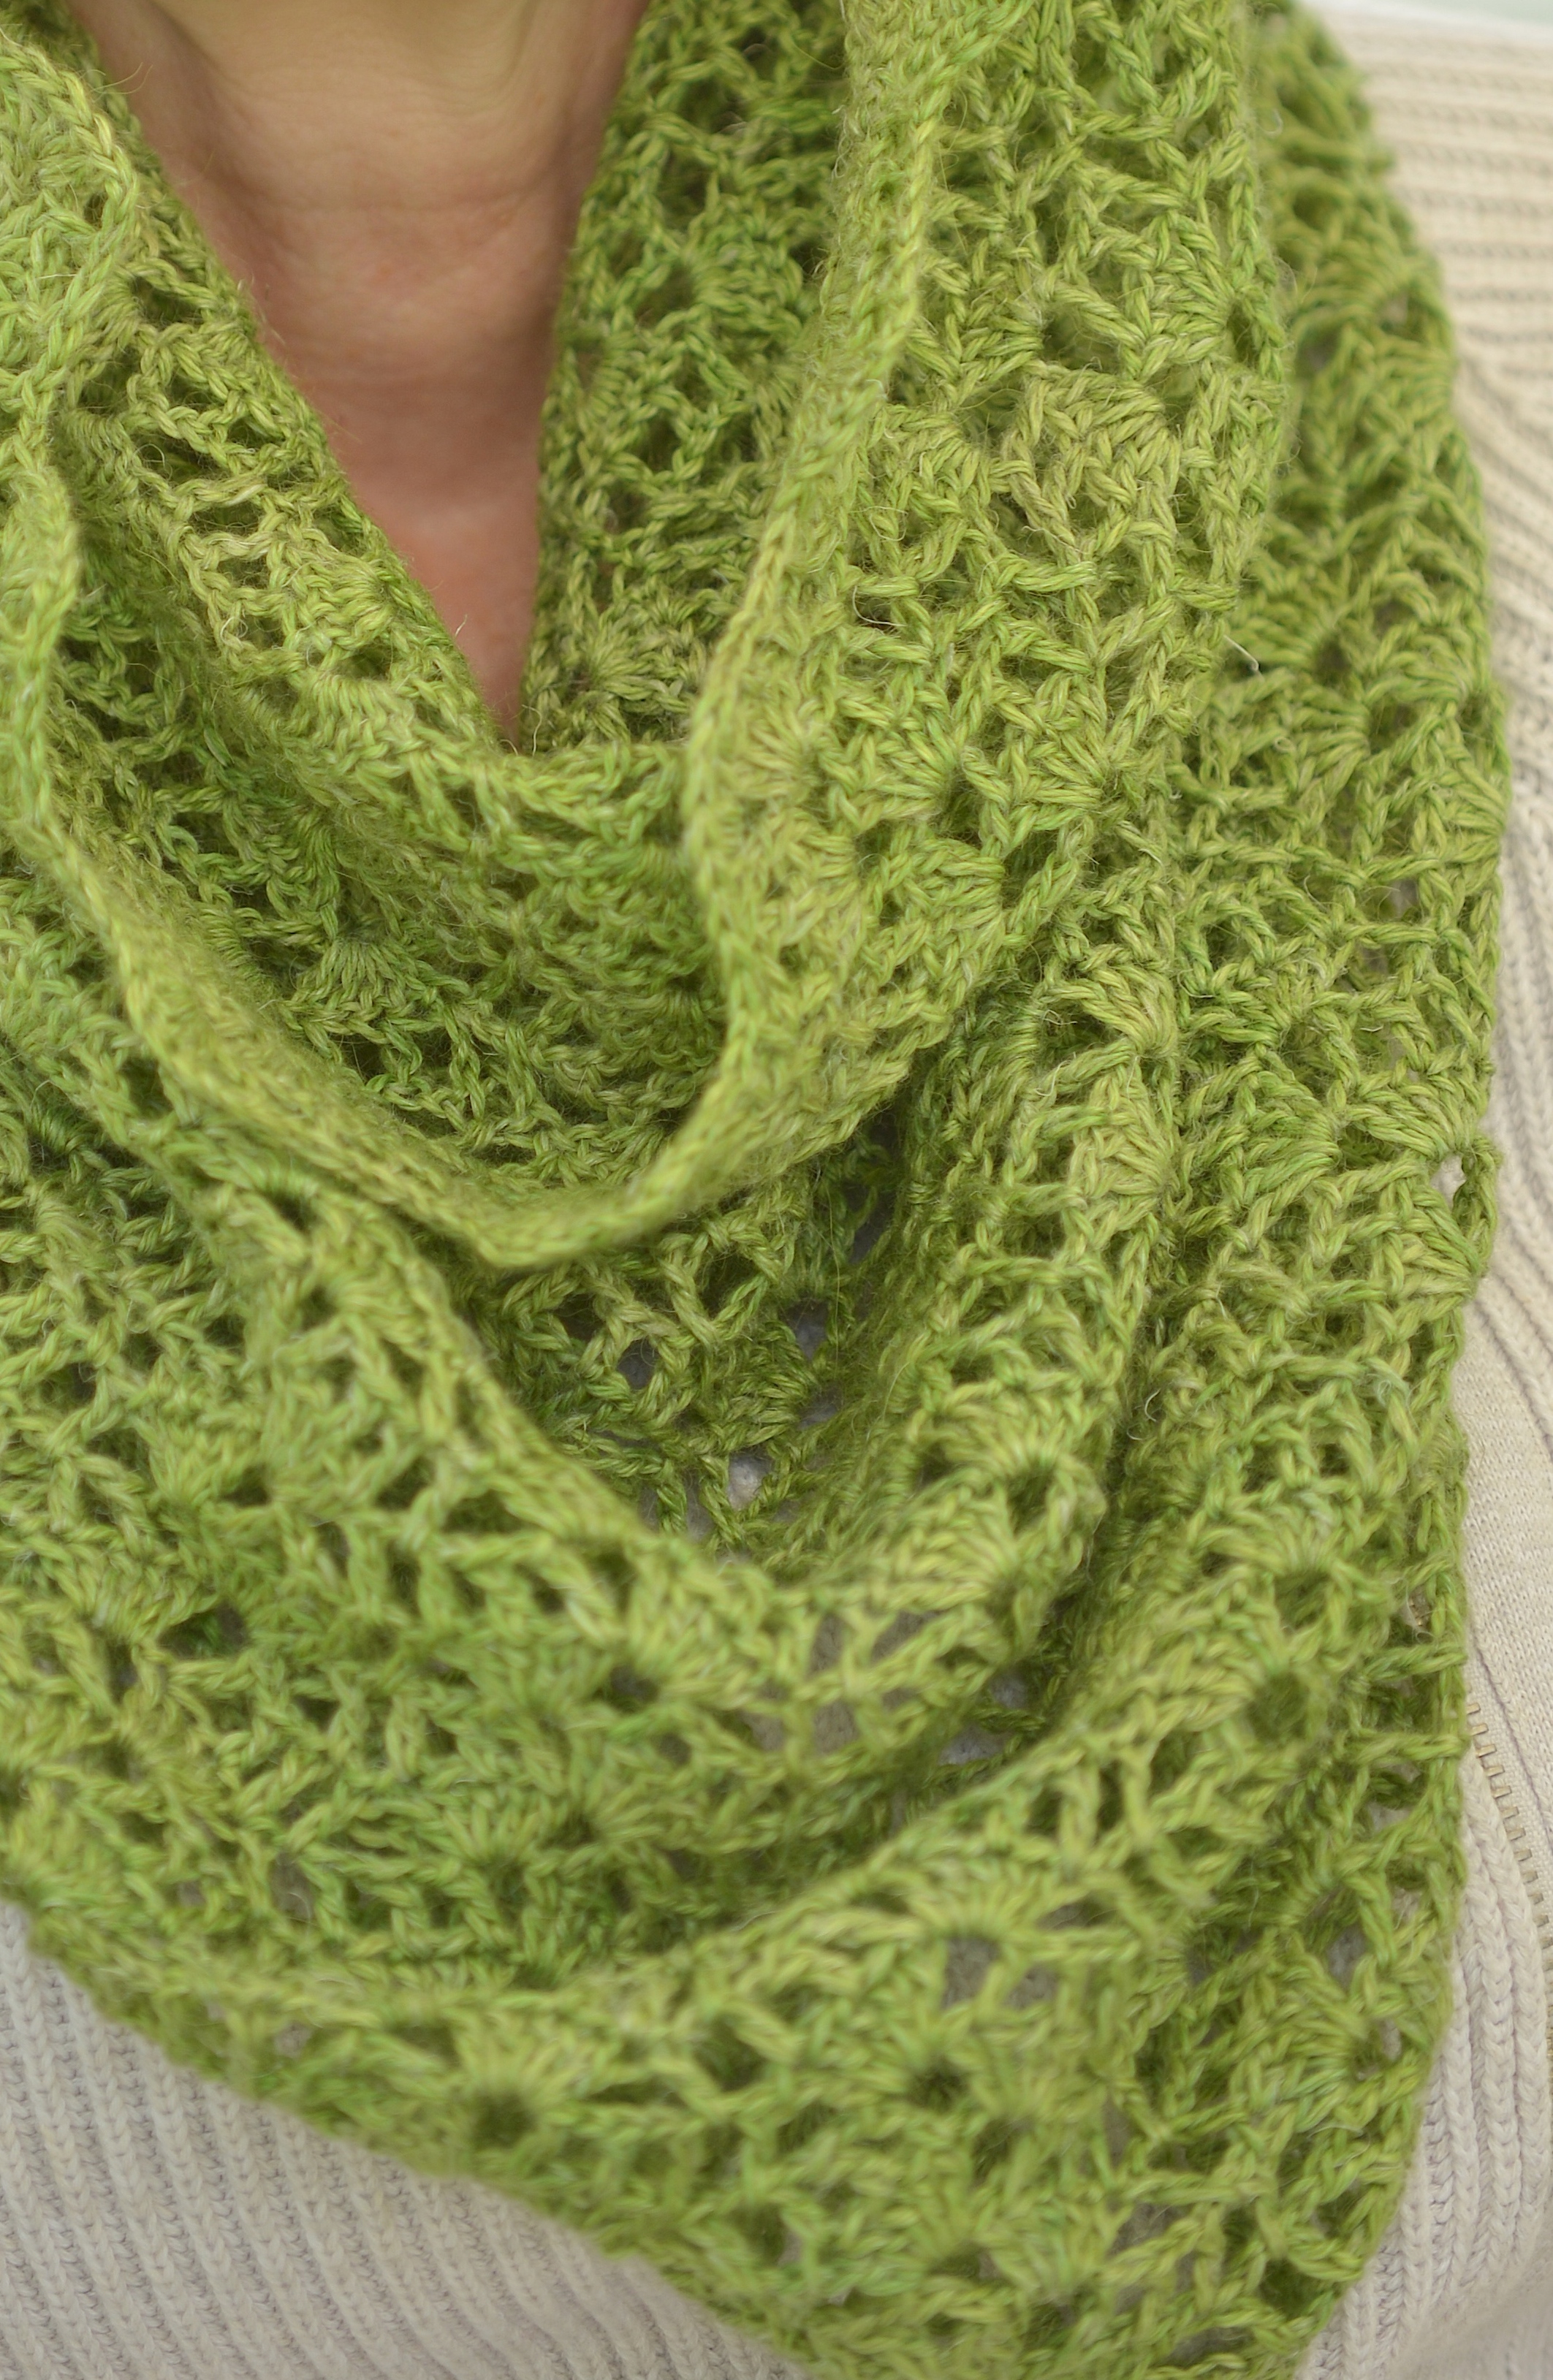
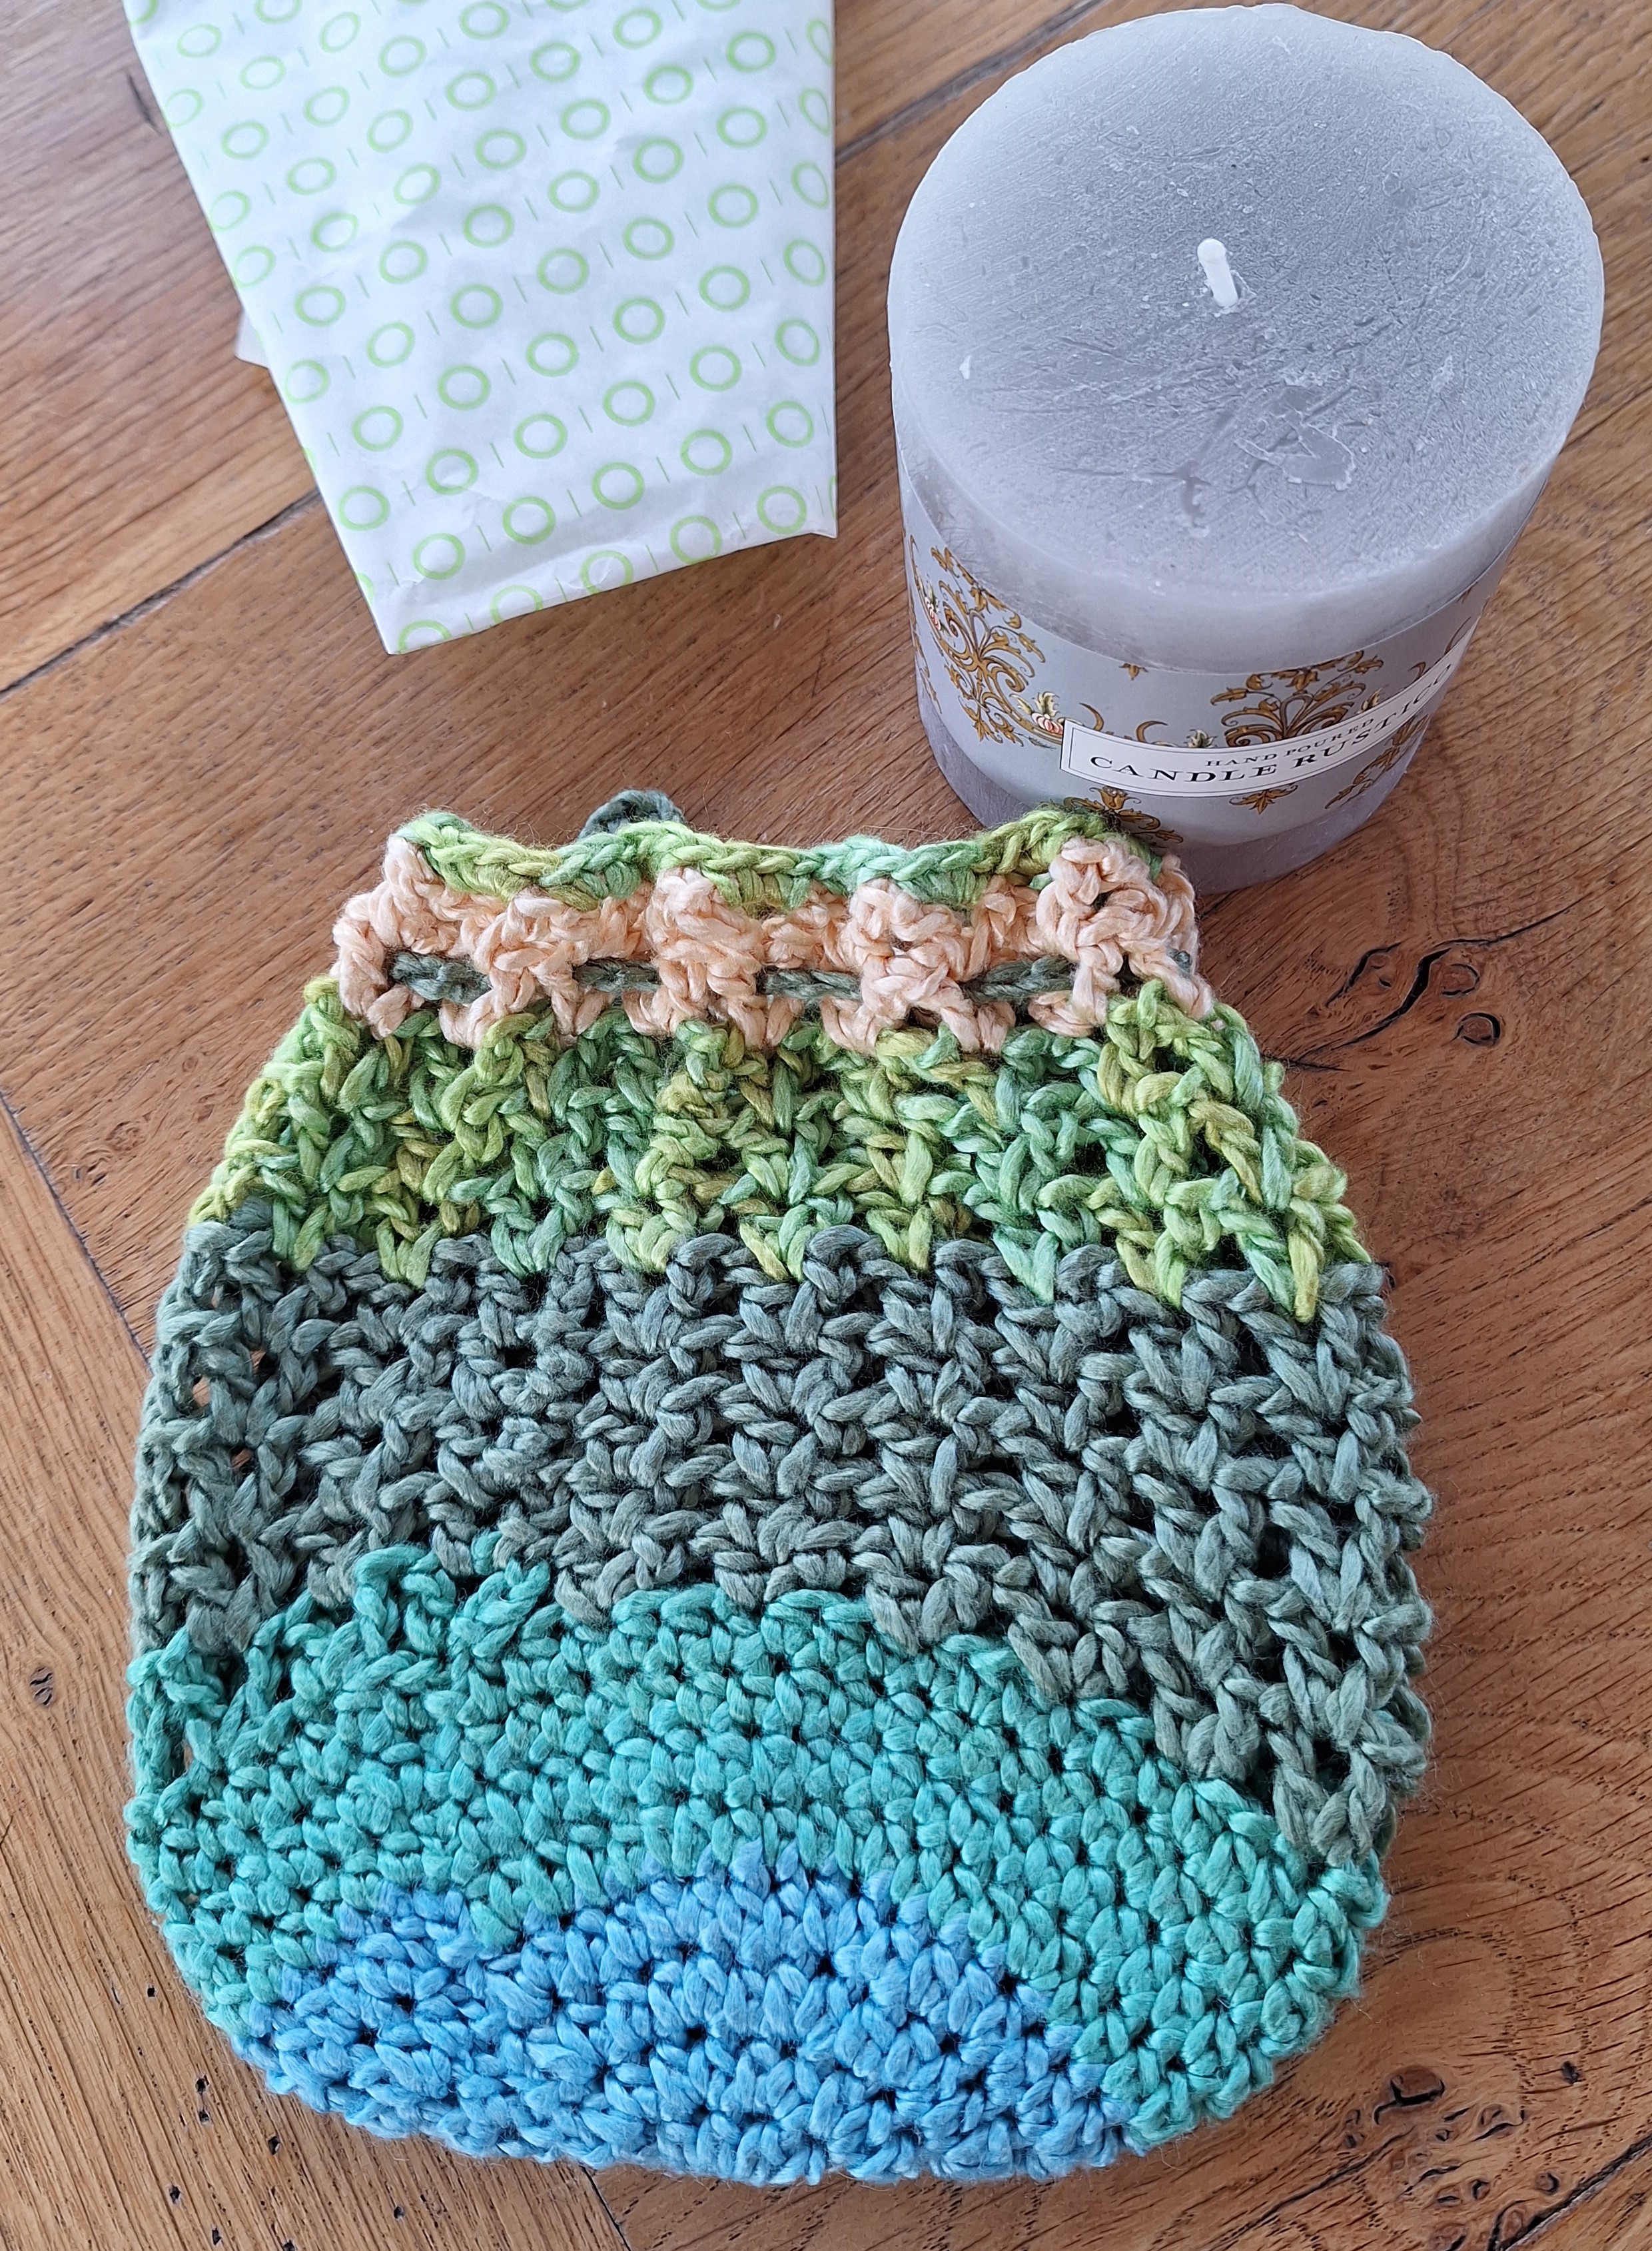
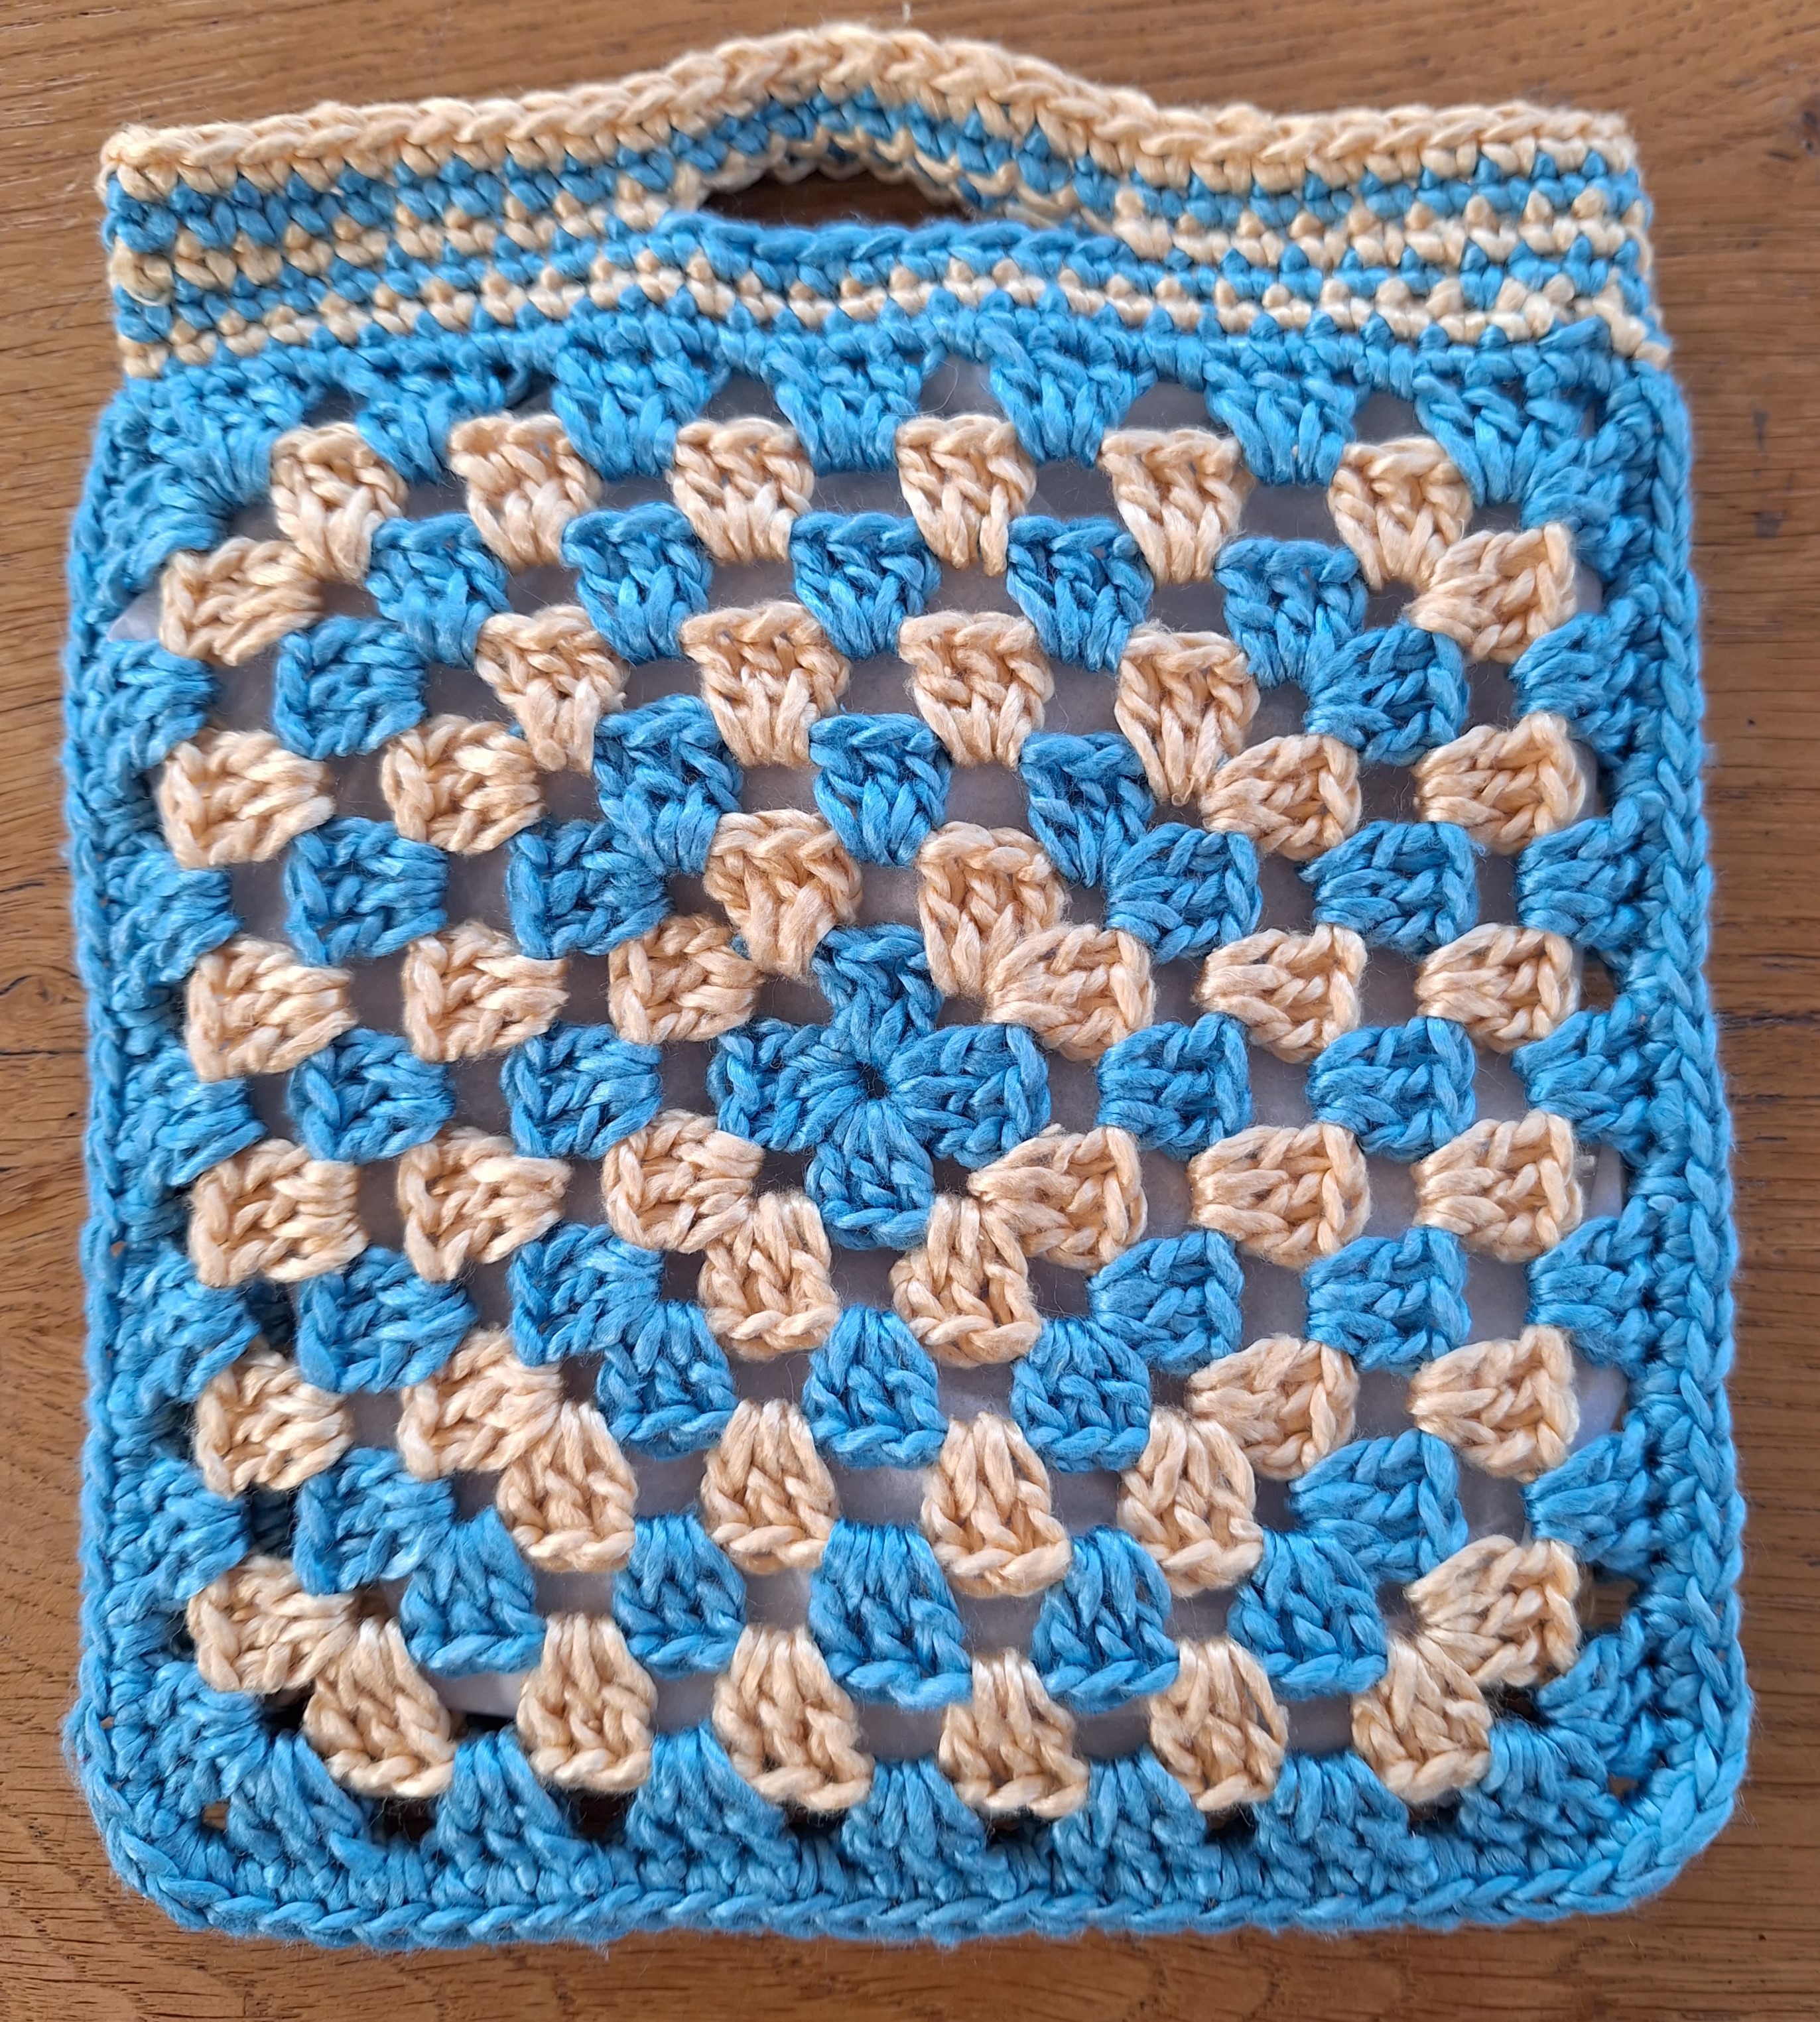
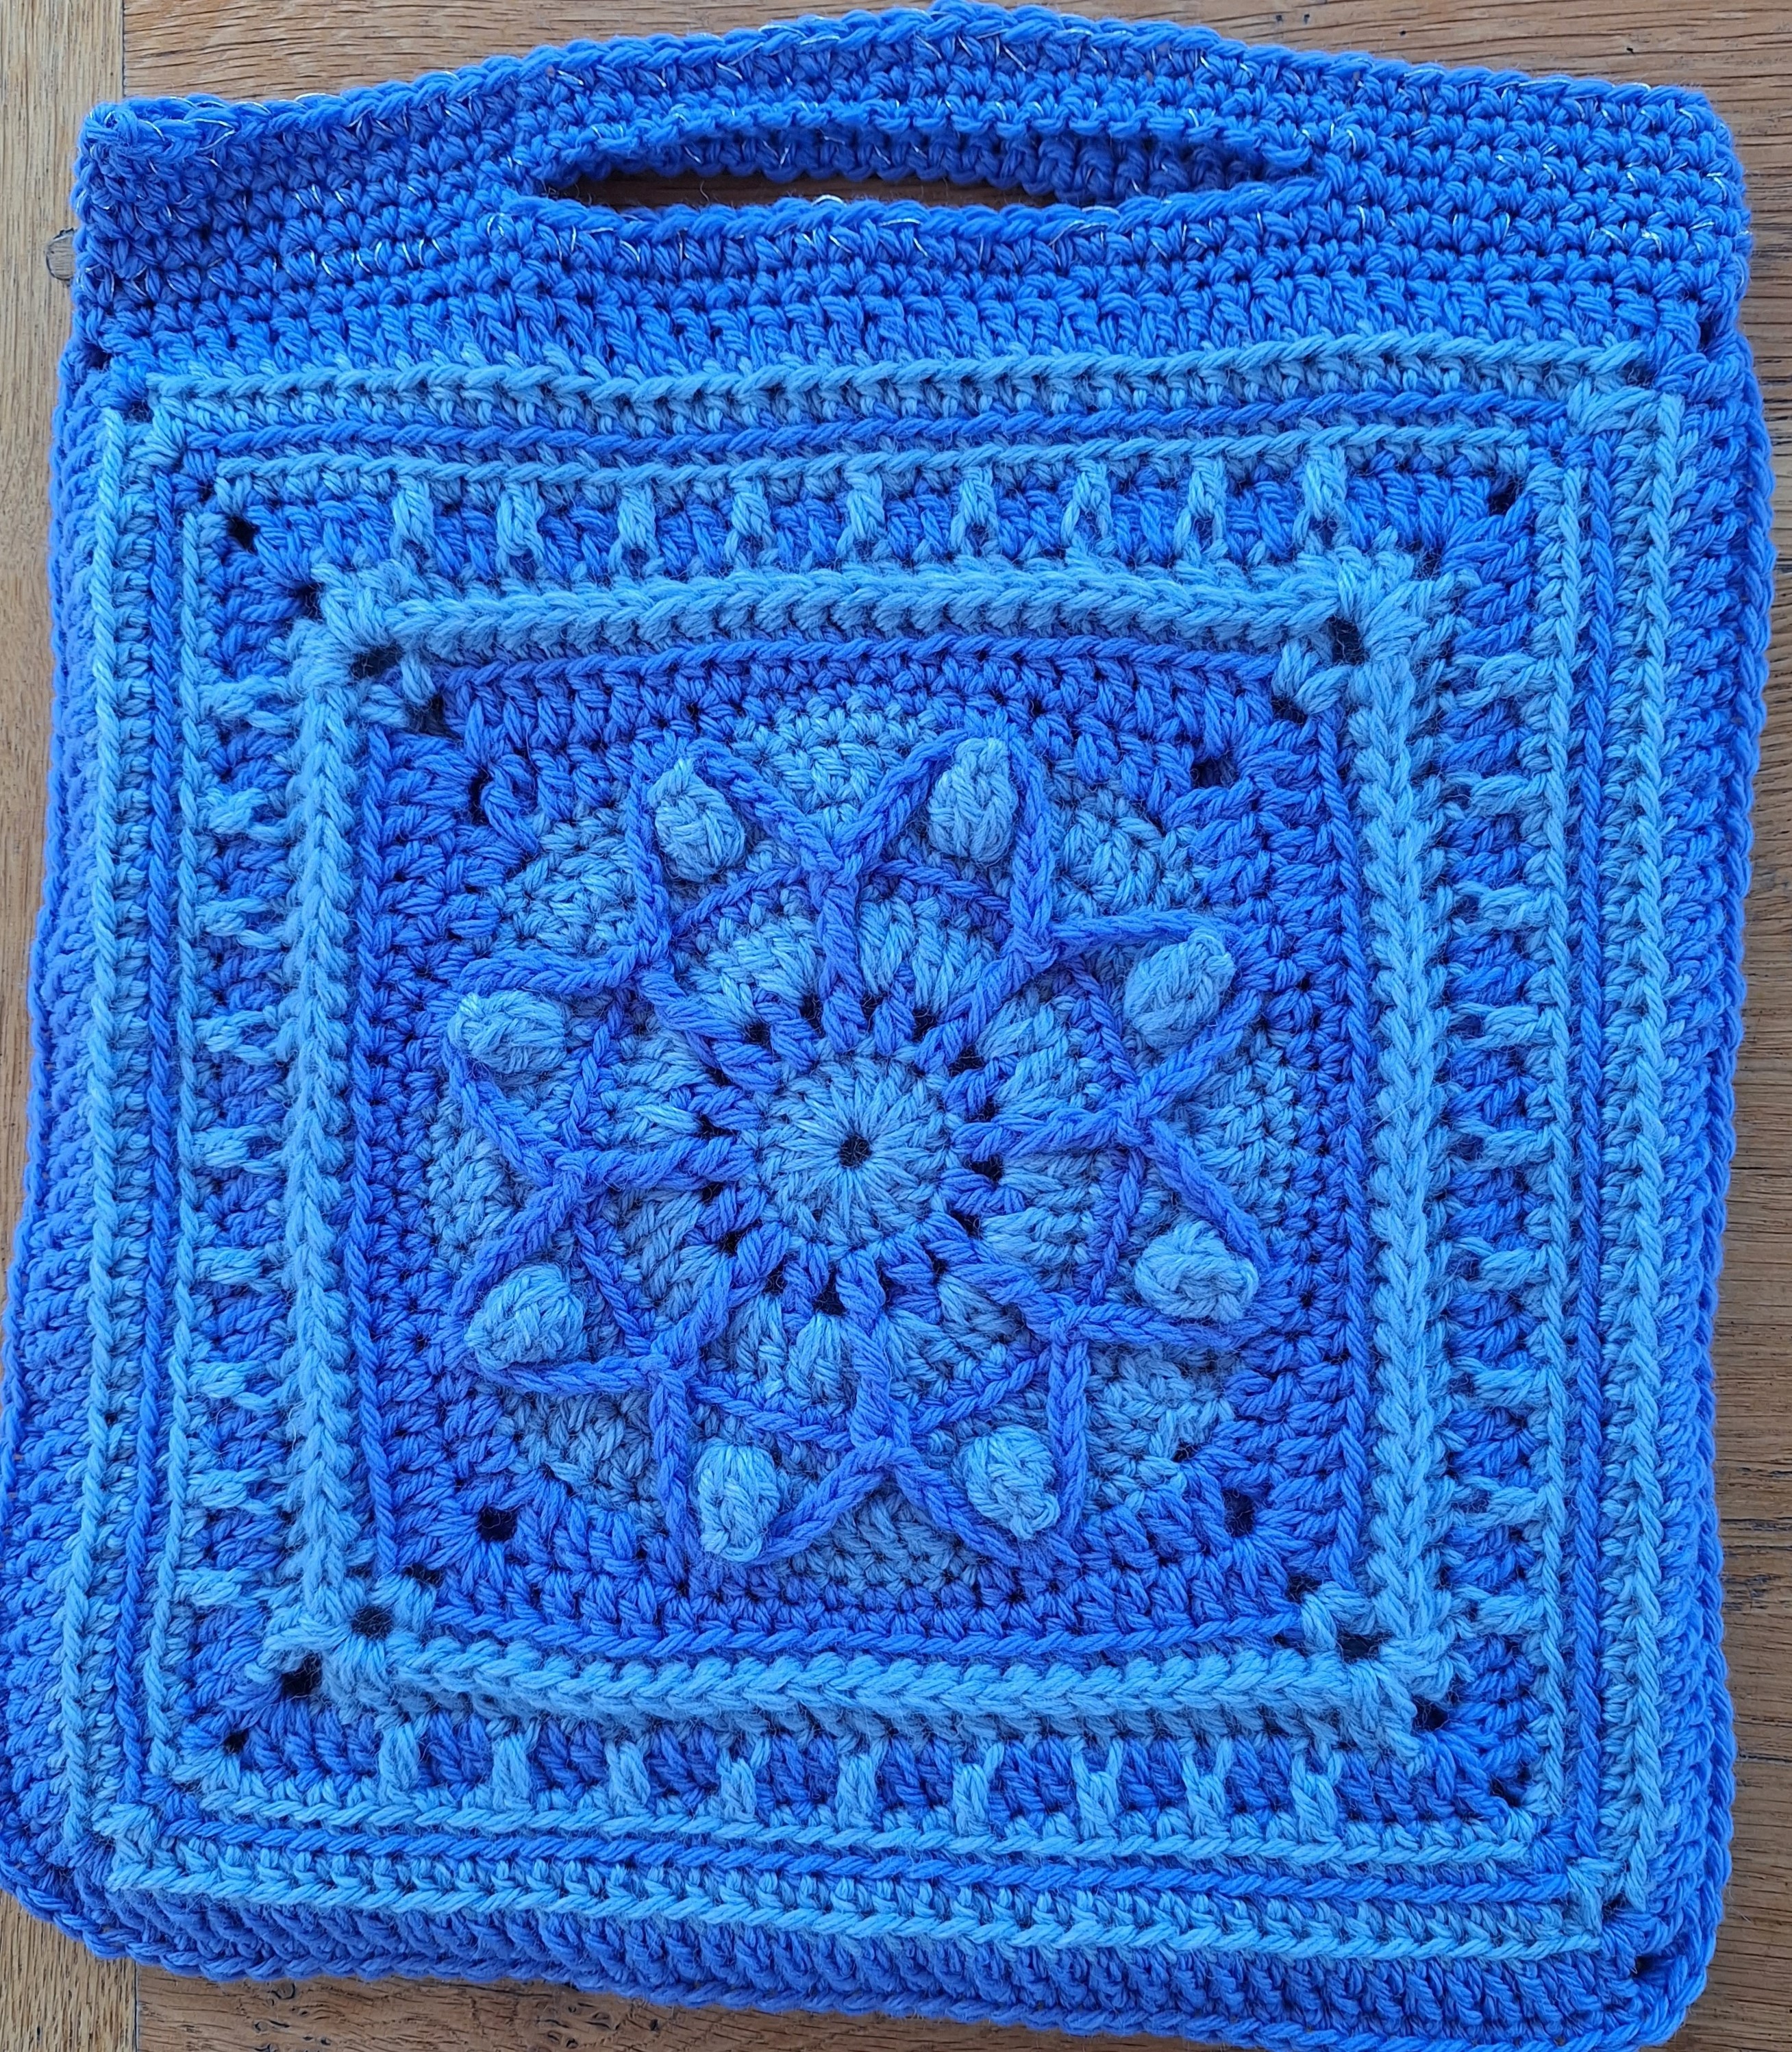
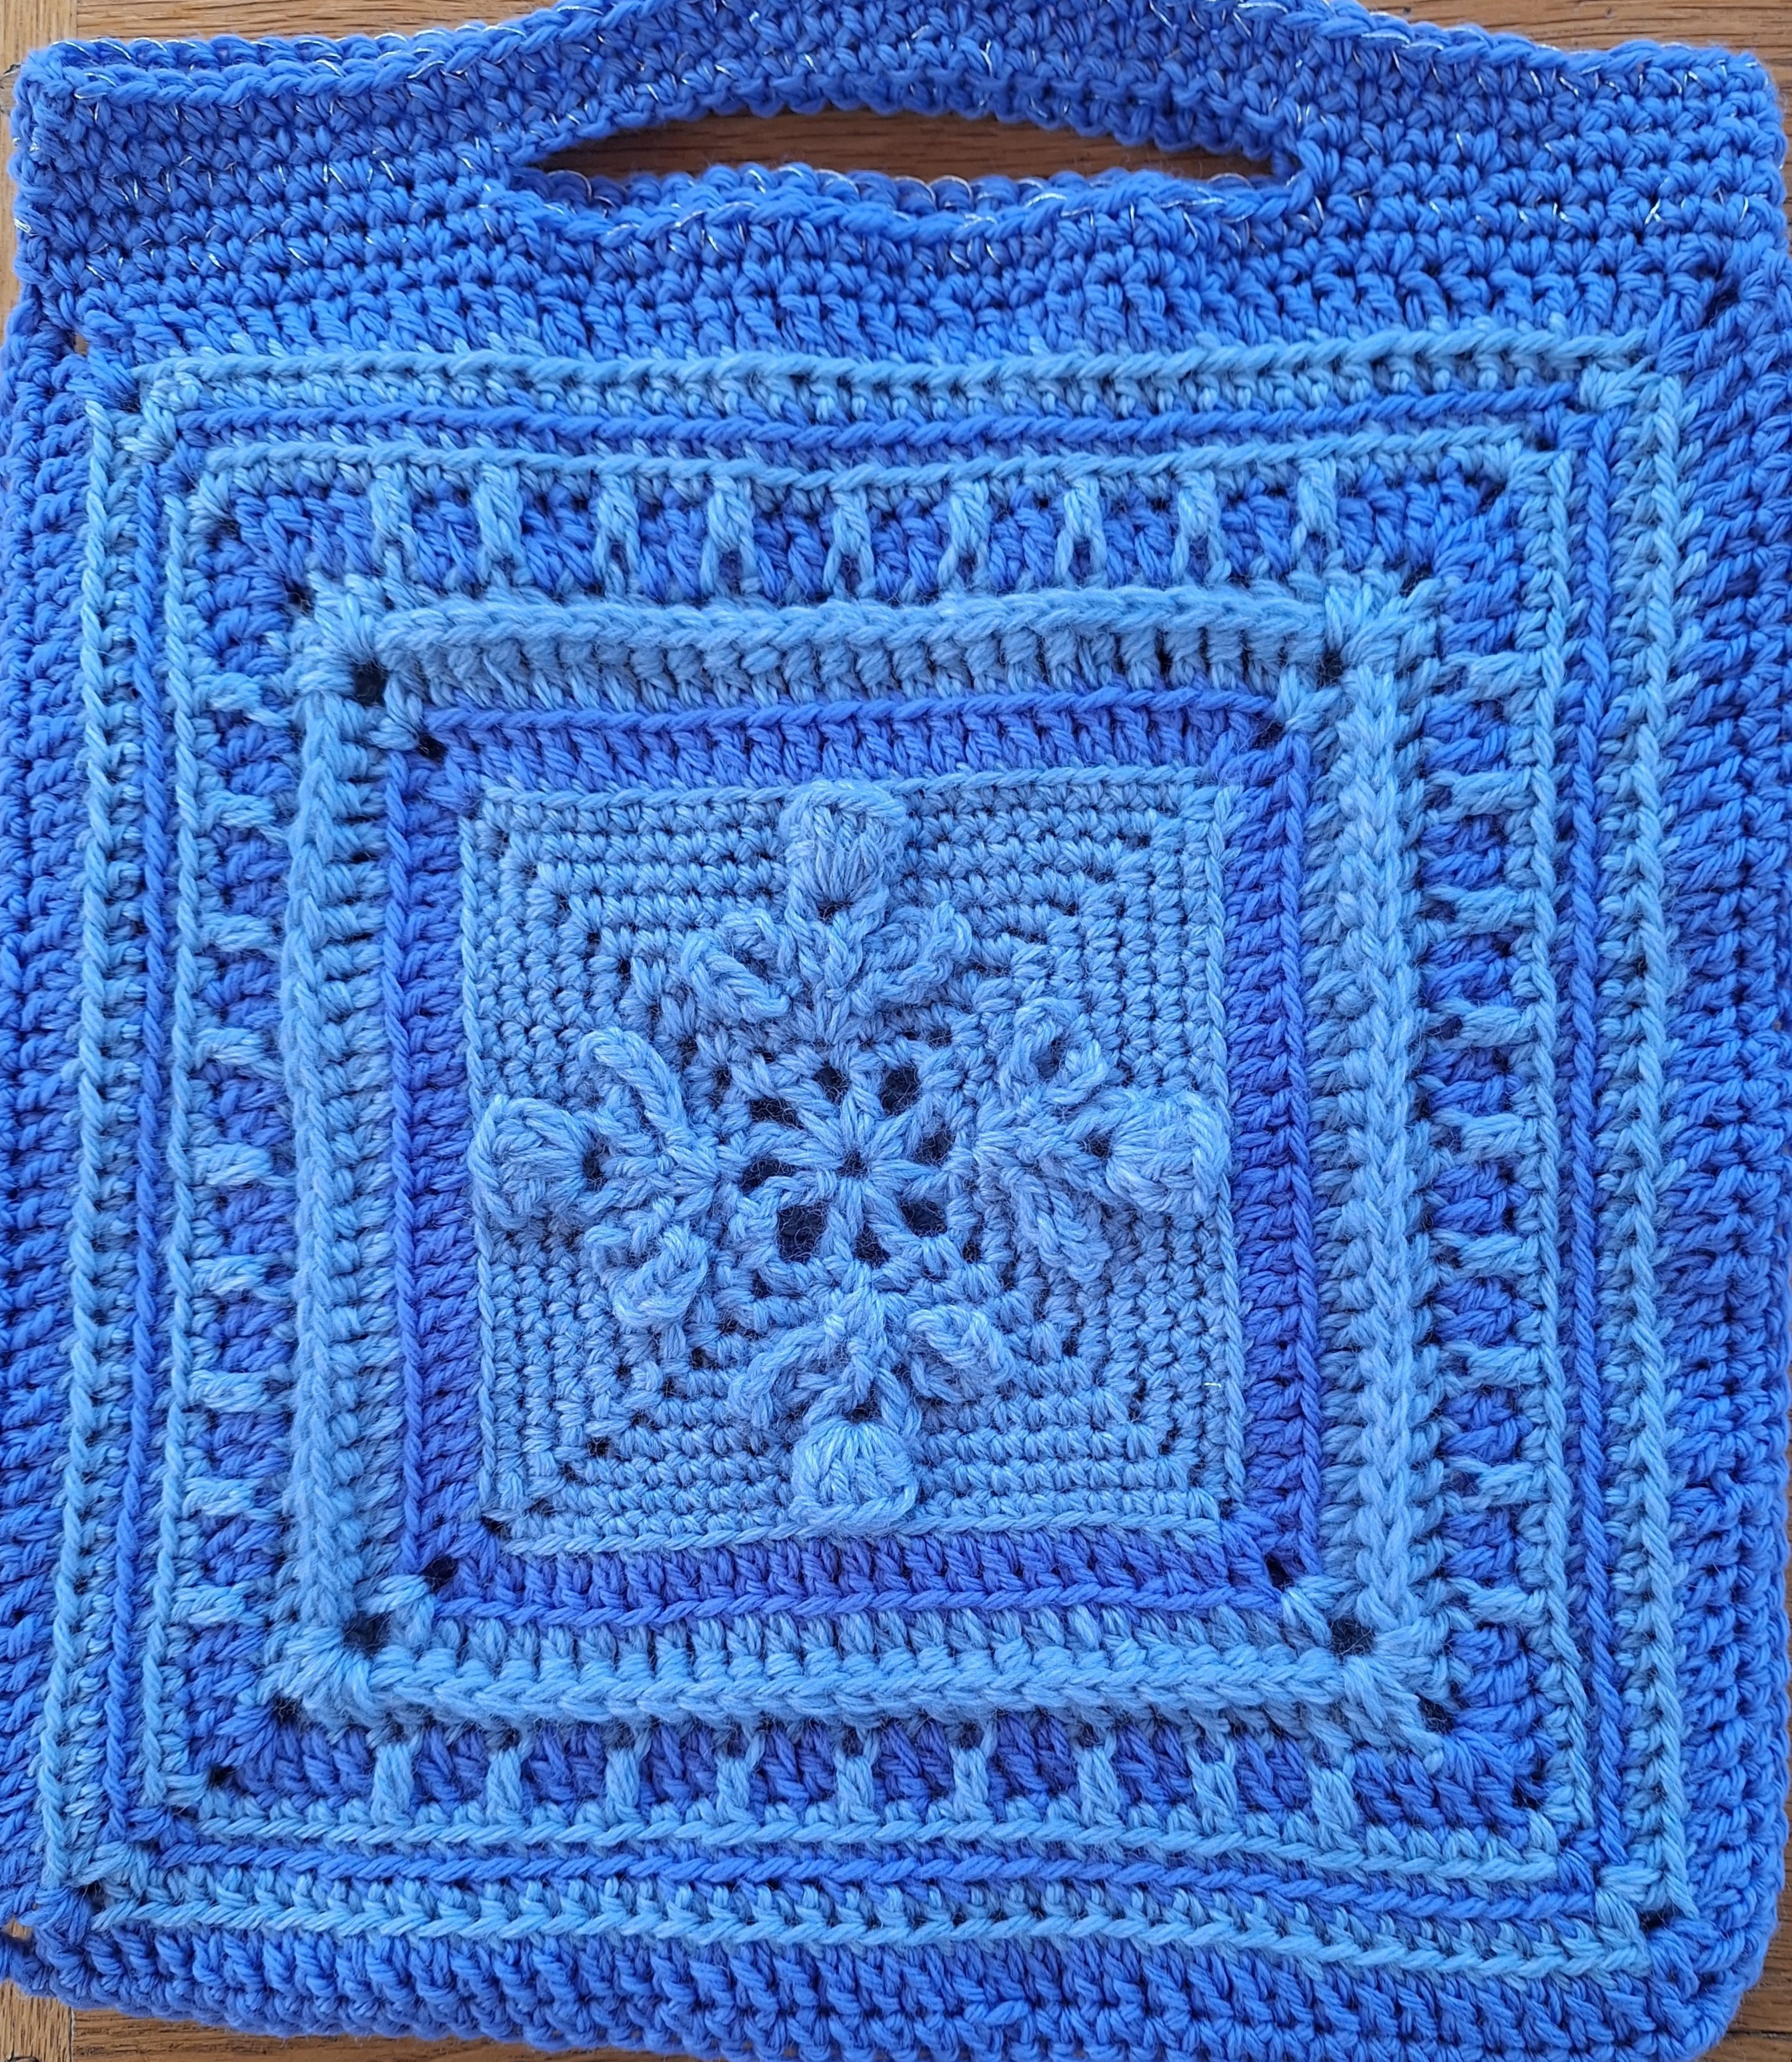
It is very word heavy, but I’ve thrown in a few photos to break the monotony for you.
In the workshop I encouraged everyone to share their blanket making experiences and it was a lovely 2 hour workshop for me and, I hope, the attendees.
Here it begins:
Introduction
Crochet blankets are pretty, practical and very popular. If you haven’t yet made one, you’re probably contemplating it.
Traditionally, granny square blankets used to be the most common type of handmade crochet blanket. However, in the modern world crochet has moved the boundaries on from that tradition and now there is a wide choice of styles to choose from. But which one is right for you? It may not be the one you love to look at, because you may find it very tricky to make, or even boring! But how do you know?
Crochet blankets are a large investment in time and money, not to mention the space you need to store your project whilst making it. So this workshop is aimed at showing you the things to consider when choosing your crochet blanket, to help ensure it does not end up hidden in a cupboard half-made, unloved and taking up precious space.
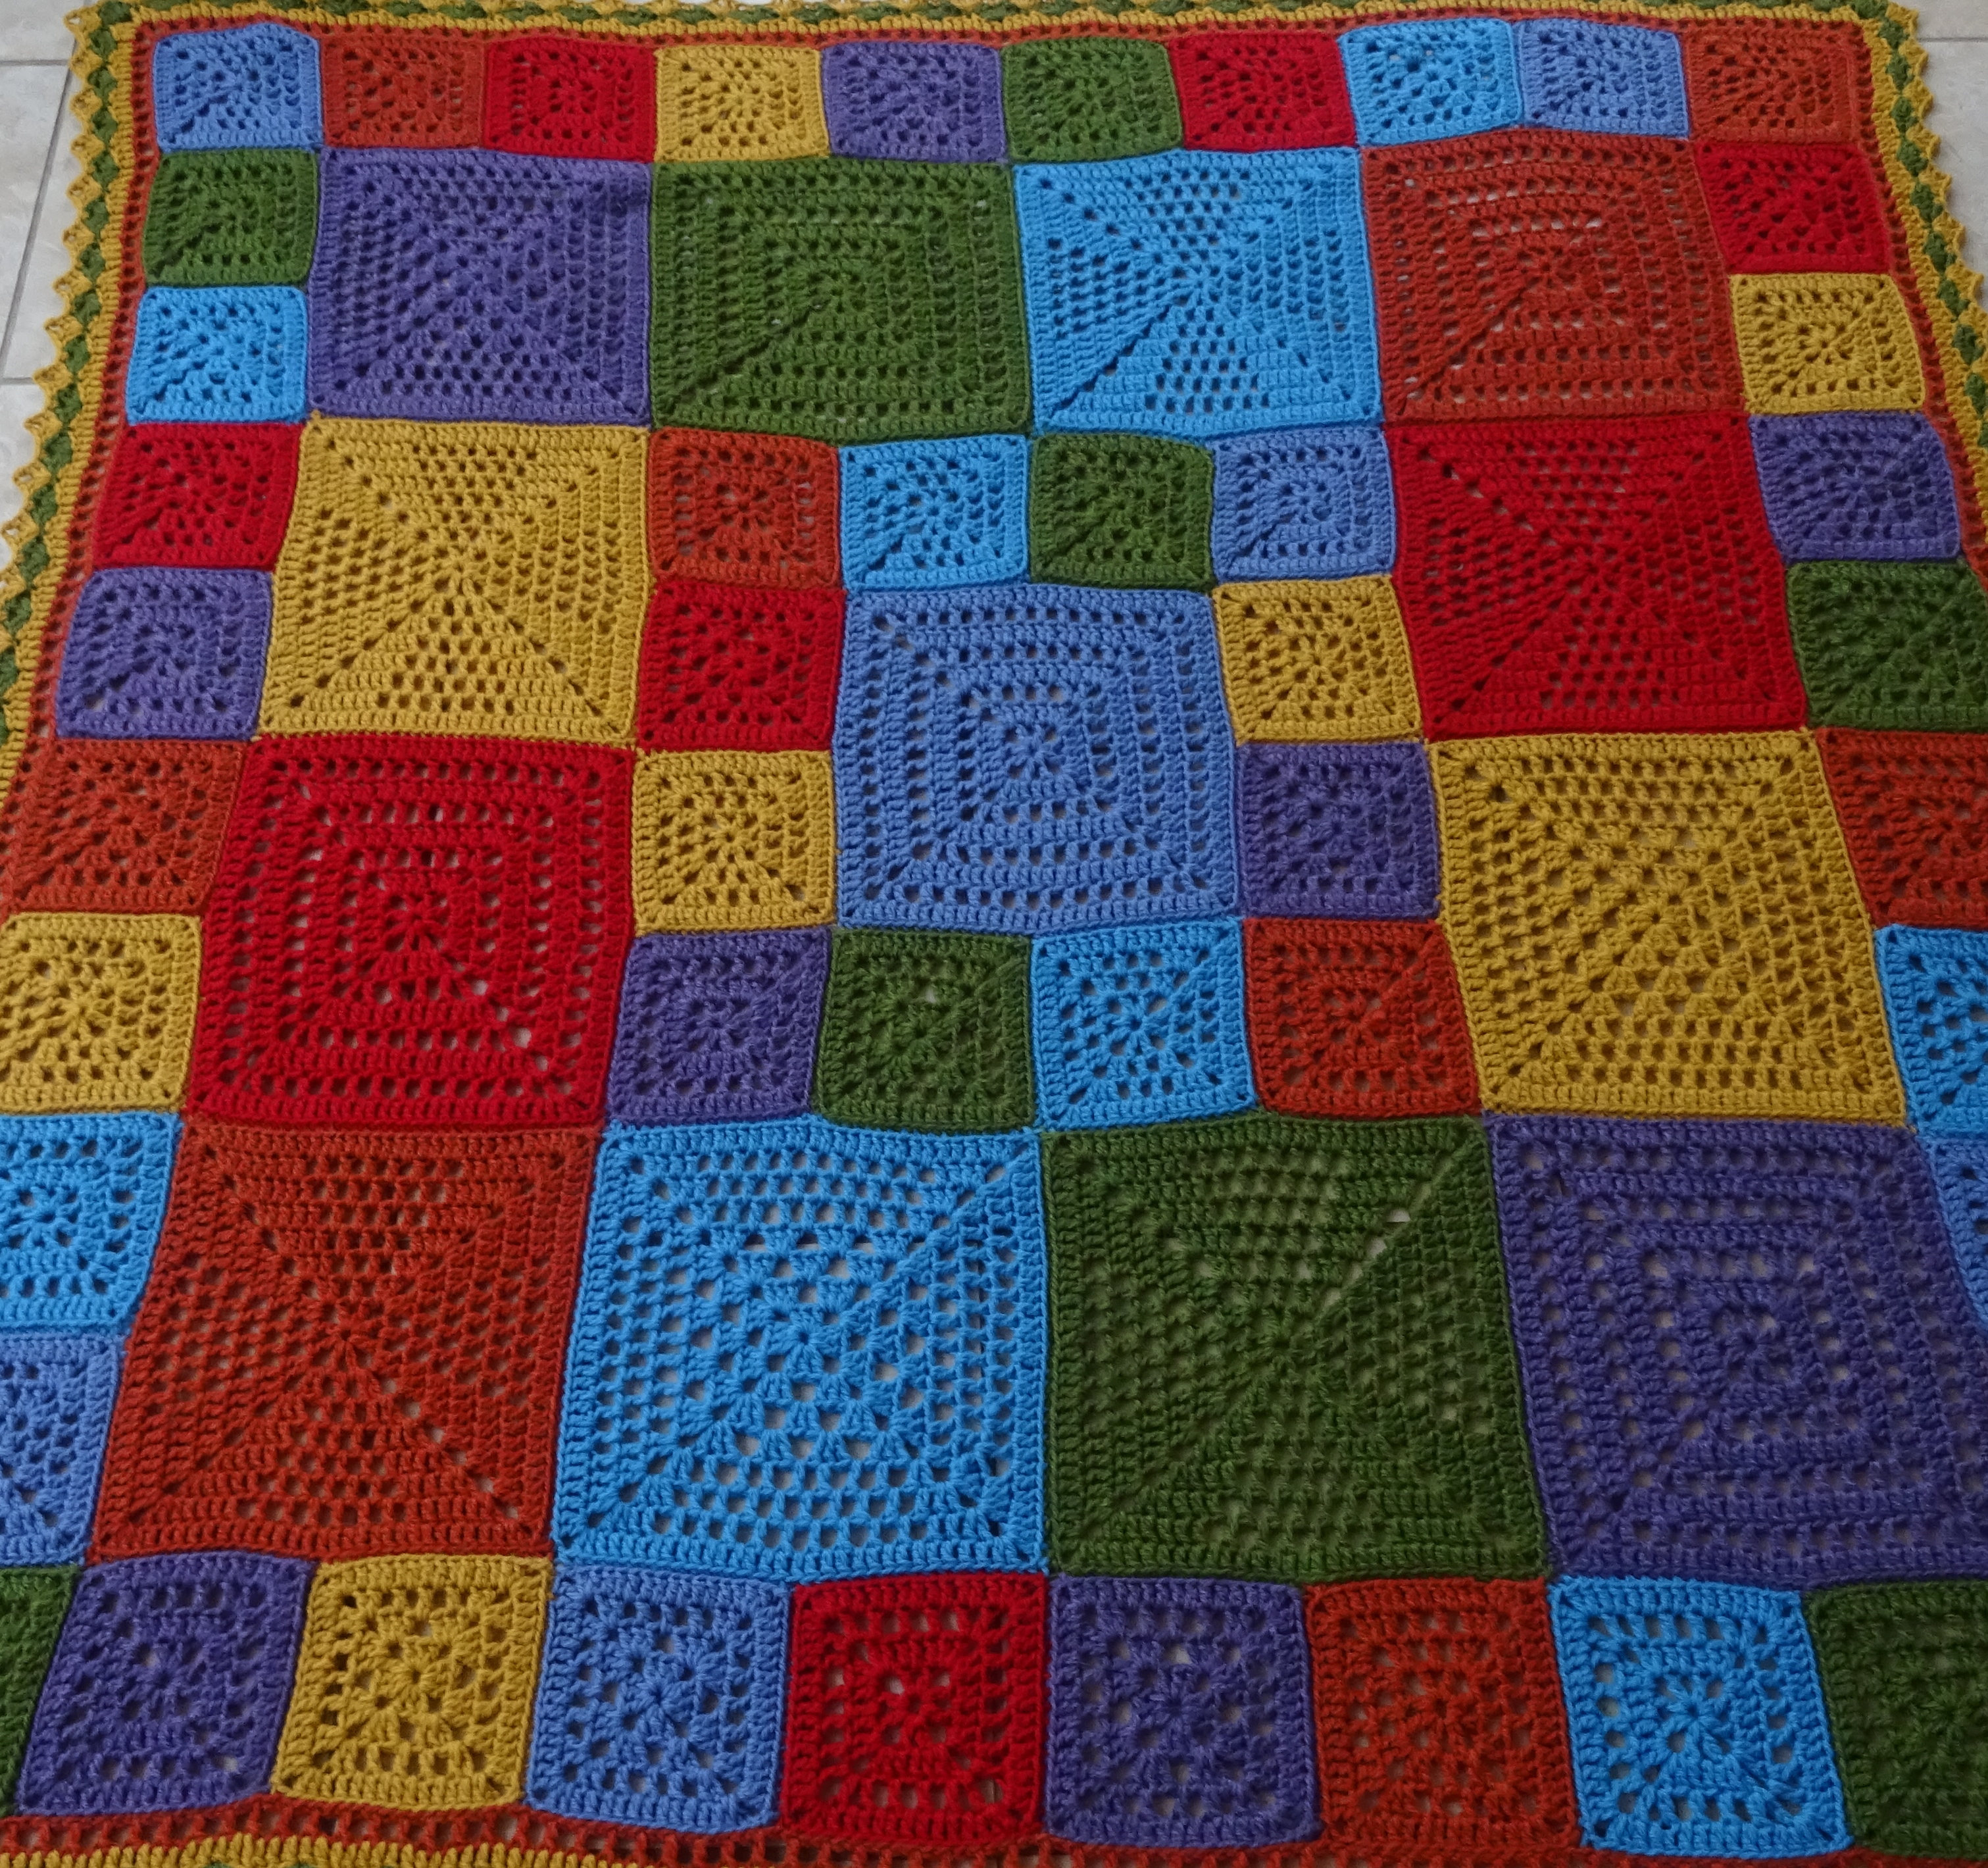
It covers yarn, ease of making and style. The 3 main styles of blanket are stripes, a large crochet square and lots of smaller crochet squares. There are other styles but the pros and cons of each style will fall into one of these 3 main categories, for example hexagonal motif blankets will prove similar to small squares blankets.
I’ve designed more than a dozen blankets and made more than double that, so I have significant experience. And funnily enough, until recently, the vast majority of the blankets I made were made of squares!
I designed 2 blankets, Sandlebridge Stripes and Sandlebridge Square(s) patterns, which are used in the workshop to demonstrate the pros and cons of style, and I included the basic granny square pattern, the basic granny stripe pattern and the basic corner to corner pattern, but not in these notes for the blog.
Crochet Kit
You don’t need anything special to make blankets, just your usual crochet kit which should include hooks, scissors, tapestry needle, solid ruler and lockable stitch markers. But you will need a large project bag or tub, and have a good way of organising your yarn if you are using lots of colours. And if you’re using stash a set of small scales will be handy for weighing your yarn and how much you are using as you go.
Size
Crochet blankets can be any size you like from a small baby blanket to a huge queen size bed blanket (and larger!). Here are some typical sizes:
Baby car seat – 40 by 50cm
Baby – 60 to 70cm square or rectangular
Lap blanket – from 80cm square
Single bed – from 1.1m to 1.3m wide by 1.7m to 2m long
Double bed – from 1.45m to 1.6m wide by 1.7m to 2m long
King size bed – from 1.6m to 1.8m wide by 1.9m to 2.2m long
Yarn
You could use absolutely any yarn, either in base quality (eg merino, silk, acrylic) or thickness (4 ply, dk, aran). If you are following a pattern then you will be guided, but you may be making a blanket to your own design or even adapting a pattern. However, the end result may not be right if you don’t select your yarn carefully.
If you consider base quality – what is the blanket to be used for?
For example, a baby blanket may need to be in a strong yarn, able to withstand wear, plenty of washes and with colour that is fast – acrylic would be good, as would cotton.
An heirloom blanket, which will be lovingly cared for, with a lovely pattern would benefit from a yarn with good stitch definition, a good quality merino 4 ply may suit.
And do you want to make it quickly? If so aran weight, chunky or super chunky would work well. Just remember the finer the yarn the longer it will take to make.
A good all round yarn is one that washes well, makes up reasonable quickly and has good colourfastness. And Stylecraft DK is one that is favoured by many – it is good quality and affordable.
Typical quantities of Stylecraft Special DK for blankets:
| Type | Size | Quantity (100g balls) |
| Baby car seat | 40 x 50cm | 2 |
| Baby | 70cm x 70cm | 3 |
| Lap blanket | 1m square | 6 |
| Small bed | 1.1m by 1.8m | 12 |
| Double bed | 1.5m x 1.8m | 15 |
| King size bed | 1.8m x 2m | 20 |
If you are using several colours, then divide the amount by the number of colours and add a good margin, say 20-25%.
Colour
Colour tends to be personal choice, and that choice is many and varied, but you don’t need to have lots of colour. A single colour blanket can look stunning.
There are lots of resources available in books and on the internet about colour theory, which will help you with colour choice.
If you have difficulty choosing then there are lots of colour packs available from yarn suppliers and plenty of designers to take inspiration from.
Style
Some people like stripes, some people like squares. Which do you like and why? Or do you have no preference? Whatever it is, remember that any stitch pattern can be done in a square or in a stripe. So if you find a stitch pattern you like and it is in stripes, you can adapt it to squares if you want to (and vice versa), it just takes a bit of experience.
| Blanket style | Pros | Cons |
| Stripes | Rhythm of repetition is soothing and therapeutic. Colourwork is also very therapeutic. Stripes look fantastic! | For some this repetition can be boring. There can be lots of ends to sew Sewing ends at both sides of the blanket, or in some cases mainly one side of the blanket can make it uneven. The edge can be difficult and messy to set up The larger it gets the less portable it is |
| Large square | Good rhythm, especially as it gets large. Good opportunity for colour therapy. The edge takes care of itself | Lots of ends to sew, if using lots of colour The larger it gets the less portable it is. |
| Small square | Portable (although join as you go squares may not be depending on your joining routine) Good opportunity for colour therapy. The edge is easy to set up, and sometimes not necessary | Not so good rhythm Joining Sewing ends Unless it’s join as you go, then best to block before joining. |
Layout
Layout can be anything you like, and absolutely anything goes. However, if you want variety in your crochet look for a layout that isn’t all the same – mix and match squares/motifs and stripes. Some graph paper may help you.
Ease of pattern
If asked what my choice of easy and quick blanket to make would be, then the answer is simple – in aran weight, a large granny square and in one colour! This is because aran weight makes up quickly, I find granny squares easy and not as boring as stripes (I have a low boredom threshold) because there are 4 corners to stop and change rhythm, there are fewer ends to sew and the edge takes care of itself. But this is my choice, I know that I like to make blankets quickly and I know where my boredom threshold lies J
When considering ease of pattern here are a few other things to think of:
The easiest sts to make are in spaces (such as a granny st which works most sts into a 1ch space) – so if you want a quick make or are an inexperienced crocheter, you would use these. Even a stripey blanket with a repetitive pattern can be made easy with a pattern that works in spaces (such as a granny stripe).
Do you want to crochet quietly and enjoy a challenge? Or do you want to crochet your blanket in front of the tv, on the train, in the car (as a passenger), at knitgroup?
These will determine the complexity of the pattern you should try; a complex pattern will require concentration and may prove a challenge – but do something simple in front of the tv (you don’t want to frog often!).
Do you get bored easily? You need more variety and complex patterns, maybe something that has lots of rows/rounds of pattern rather than the same row/round repeated.
Do you lack crochet confidence? Aim for a mix of easy and slightly more complex, the easy parts will give you confidence and the slightly more complex parts will stretch you a little.
Remember: always do a swatch to see whether you like the pattern!
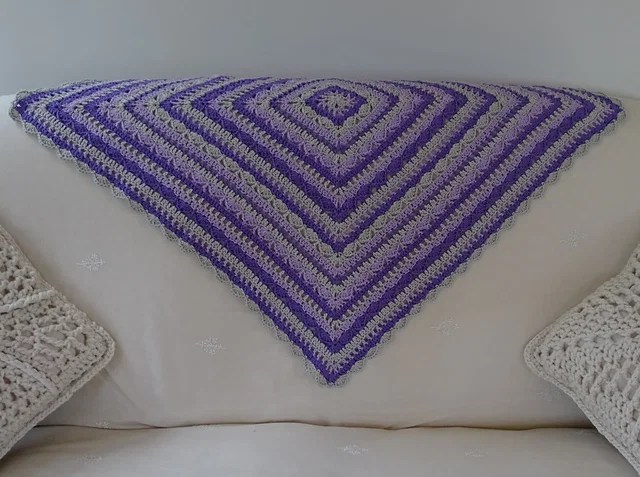
The Edge
The more fancy the blanket pattern, the simpler the edge should be. But a plain blanket can withstand a very fancy edge or a simple plain edge.
If you have a stripe blanket, try to avoid doing the first round of the edge in the same colour as the first and last row, to avoid the blanket stripes appearing unbalanced. Also if you are using lots of colours in your blanket but want only a few for the edge, don’t choose them in exactly the same order, take, say, 3 colours from across the range, otherwise you may get a ‘multi-framed’ effect.
Dealing with the edge on stripes – normally pick up 2 sts at the end of tr rows and 1 st at the end of dc rows. Also, to avoid holes at the side of the stripes, make sts into the row ends NOT around the posts of the row ends.
Joining
There are many ways of joining squares, and they warrant a whole workshop! Whatever way you decide to join, it is best to trial it first to ensure you are comfortable with the process, you want to be able to join it at the end and if you don’t like the process the blanket may languish unfinished!
Tips and tricks
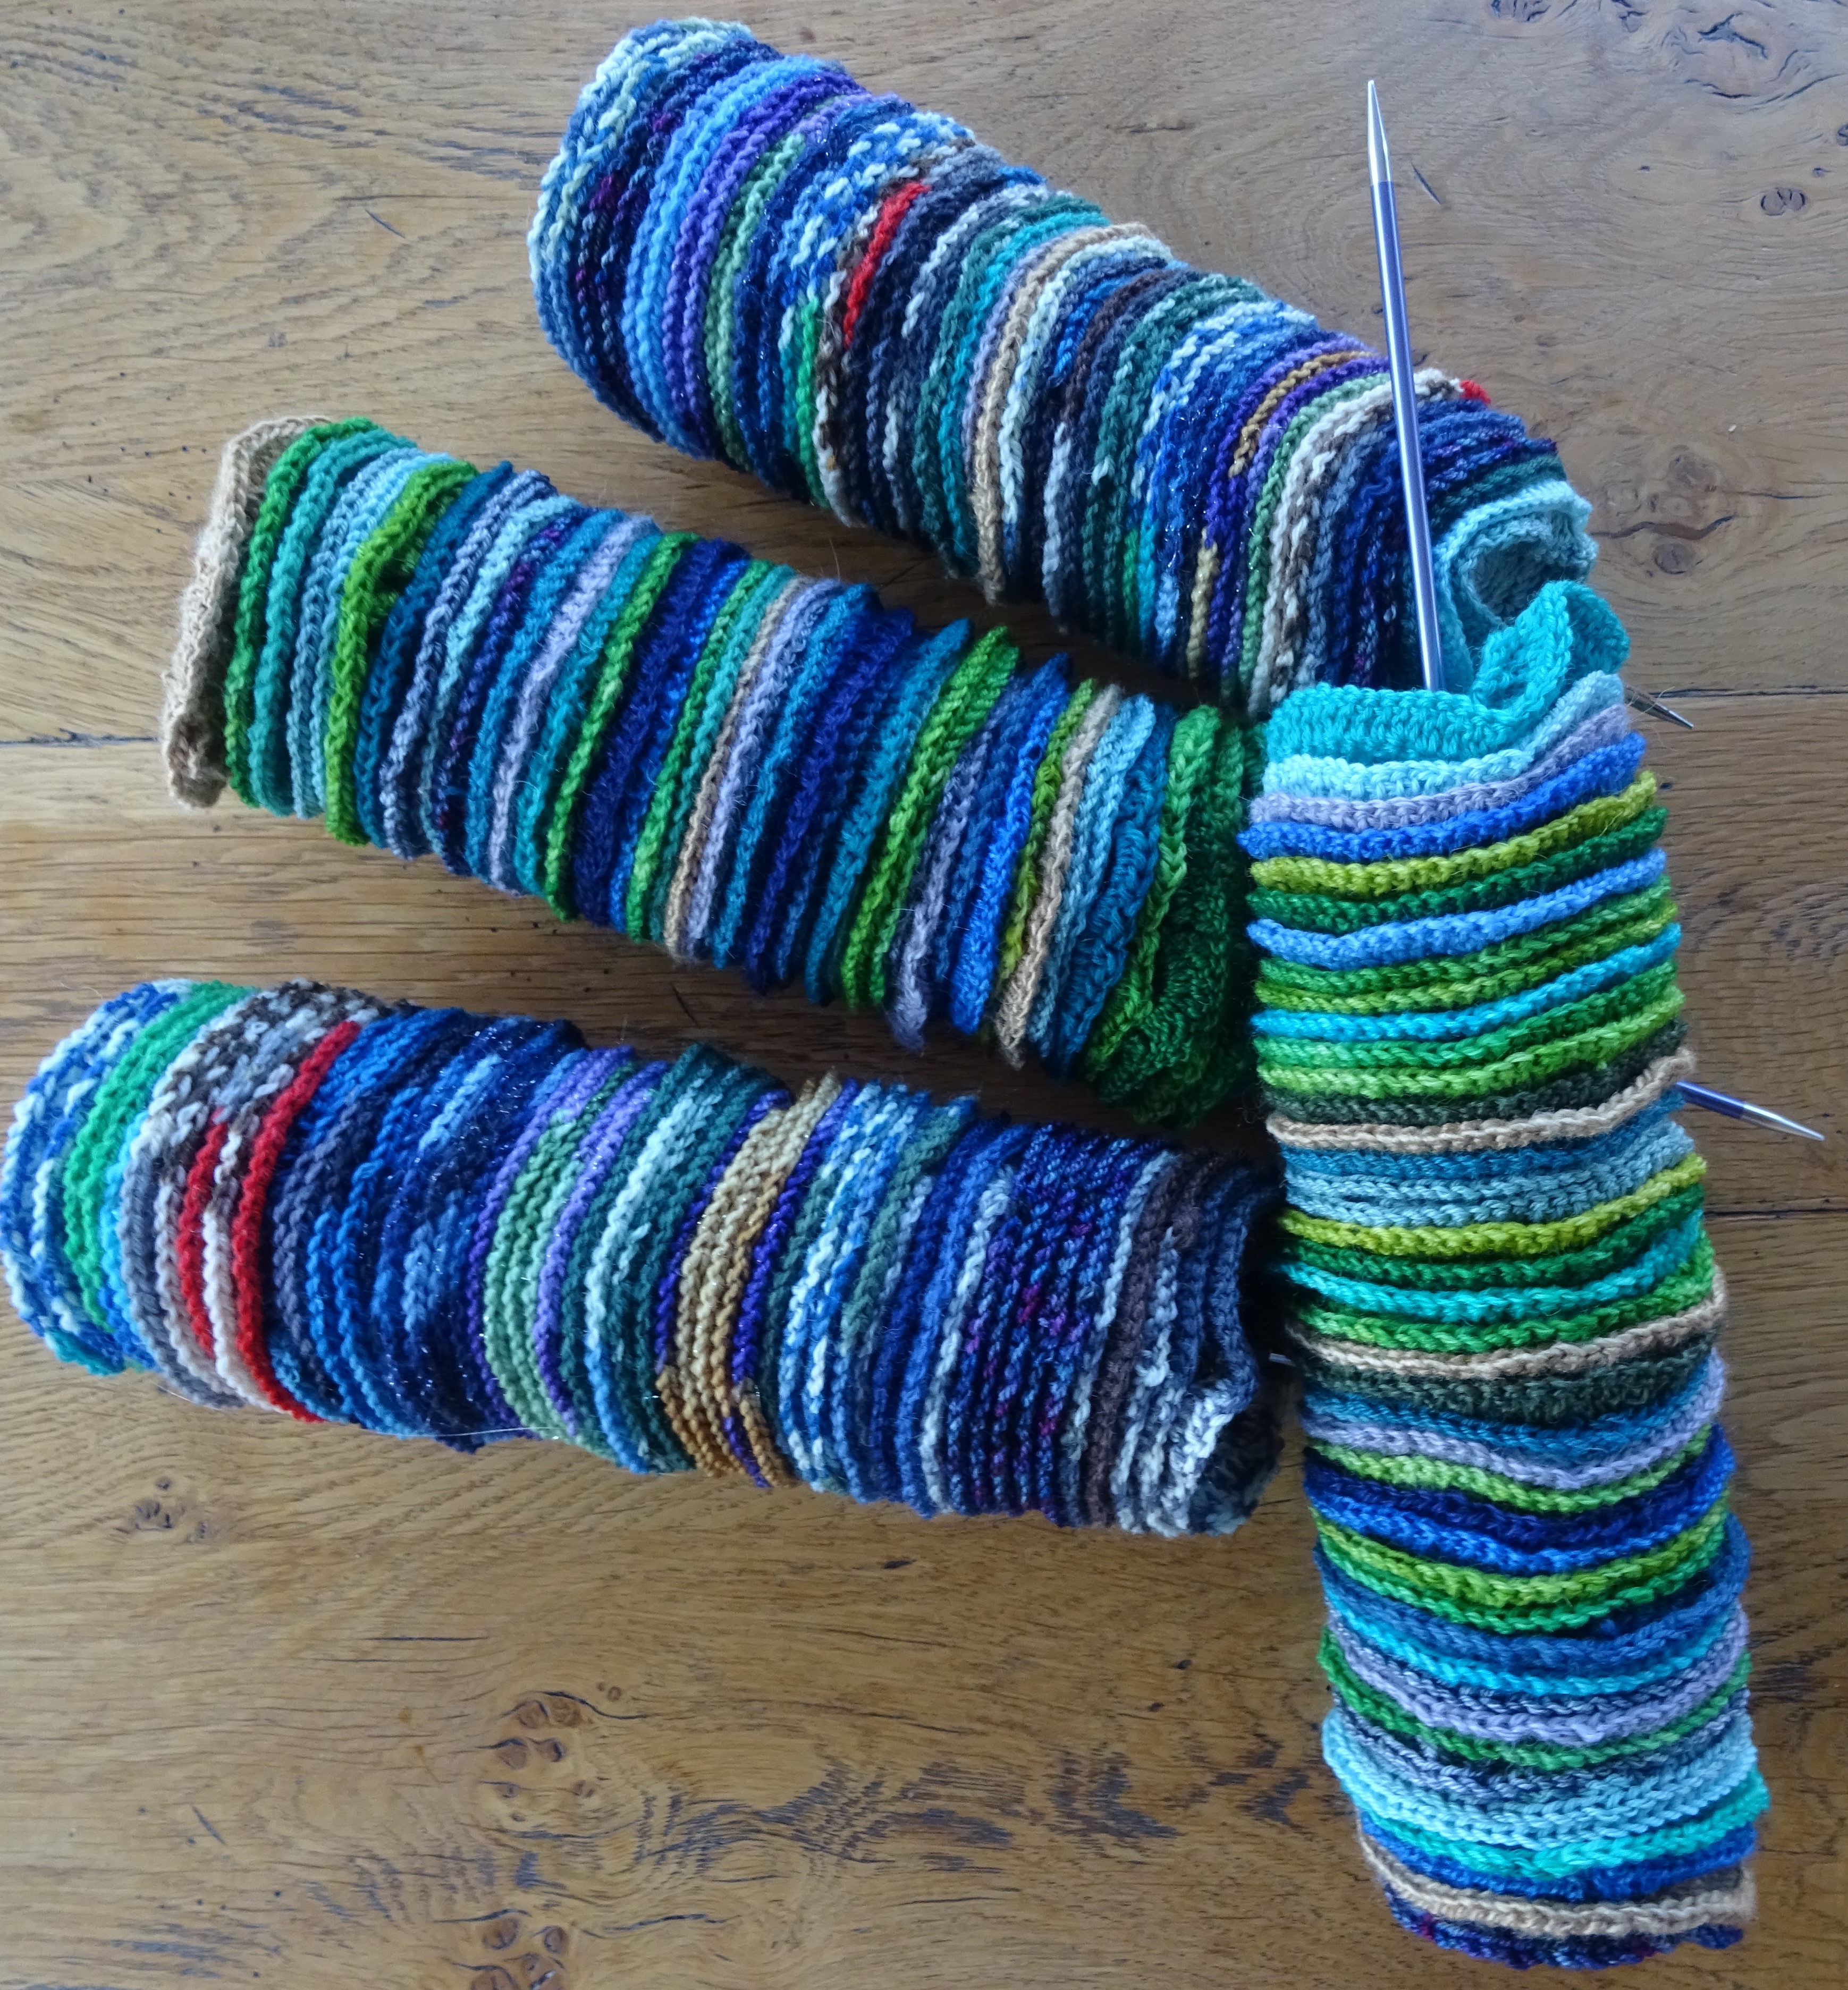
The ends – Sew your ends as you go because this will give the neatest finish. With stripes you can even work over them as you start a new colour, but for a solid finish I recommend sewing them a little first before working over them. If you don’t like sewing ends, change colour less frequently – i.e broader stripes or one colour squares. Even numbers of rows of one colour will result in all ends at one side of the blanket – so choose odd numbers to even out the ends.
Standing stitches – If you are an experienced crocheter, you may wish to start rows/rounds with new yarn with a standing stitch rather than 3ch, 2ch etc. This will give a better finish.
Sewing the last stitch (on rounds or on the edge) – Similarly, you will achieve a better finish if you sew the last part of the last st on a colour change round rather than join the round with a slip stitch.
Avoiding jogs (on rounds) – To avoid getting a jog (or twist) try starting your rounds in different places and thus also offsetting the location of the ends that you need to sew.
Hook changes – If you want to do a certain st on a row/round and it’s puckering or tightening – just change your hook size – larger to correct tightening and smaller to correct puckering.
Have scales handy – weighing your yarn to see how much a stripe or square uses will help you in identifying whether you have sufficient to finish or maybe just make that blanket a tad larger.
Pace yourself – crochet injuries are rare but too much crocheting can result in tired, arms, wrists, hands, shoulders and back. But if you have a tight timescale in which to make the blanket, use maths to work out how much you should do each day, and work out whether you can manage that comfortably.
Join as you go squares – If doing small squares that are join as you go, they can be less portable. But you could work each square up to the last round and join later – or do all rounds without joining and don’t fasten off, instead undo part of the last round and join in a joining session.
I hope you find these notes helpful and they encourage you to maybe be a bit more adventurous in choosing your next blanket project. If you want to see my crochet blanket designs you can find them here.
I also did a workshop on mandalas and those notes may well be published here soon! Until then…….
Happy crocheting xxx