
Have you made all your circles yet? Don’t worry if you haven’t, just go at a pace that is right for you. But if you have finished you can now start joining.
The pattern here is written in UK crochet terms and these are the abbreviations used
st(s) stitch(es)
ch ch
dc double crochet
tr treble
htr half treble
dtr double treble
ss slip stitch
ch-sp chain space
The motifs are joined as you go, with a final round in your joining colour. I used a mid grey sock yarn.
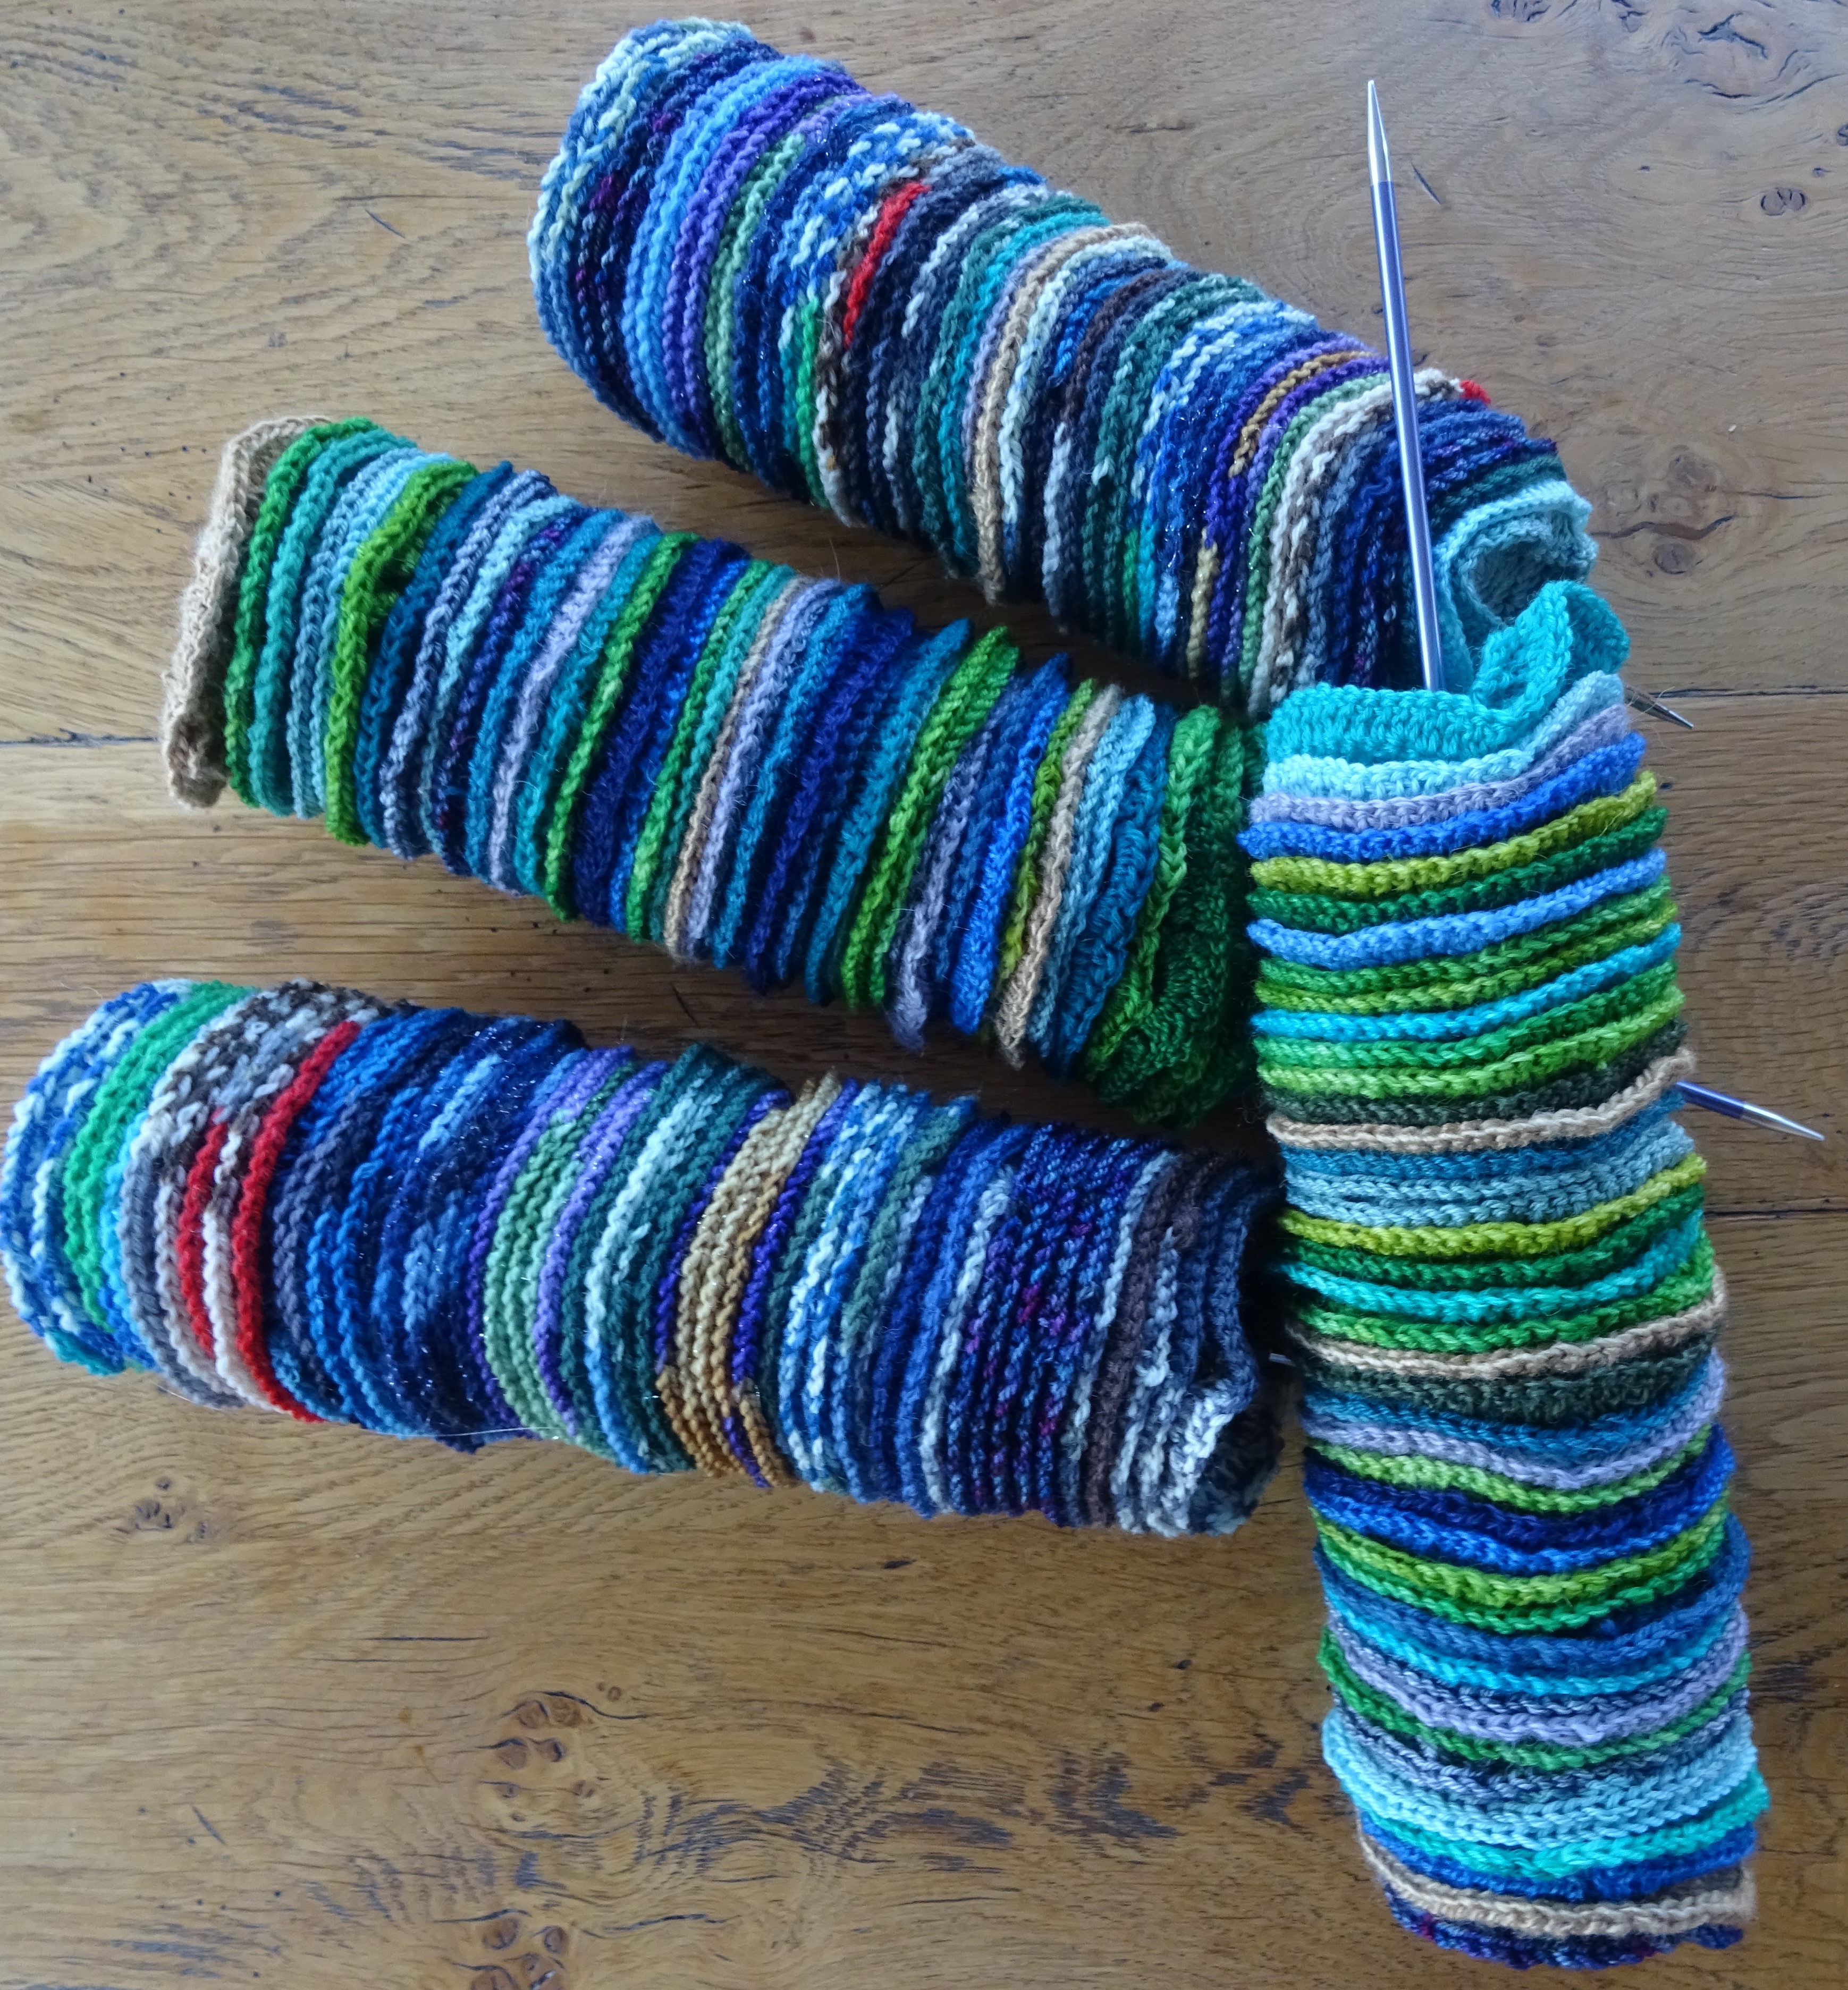
Make all the circle motifs first, then lay them out in your blanket shape, moving them around until you have a colour scheme you like. Then photograph them to remind you of your layout. You may also wish to thread them onto a knitting needle in the reverse order you will join them. Either one long circular needle or one needle per row of blanket.
The final round is the same for all motifs and you will end with 24 2ch-sps and 4 3ch-sps. The motifs are joined at all these ch-sps.
First Motif Final Round: join yarn into any st (for Circle 7 it is best to join into a dtr), 1ch (does not count as st), *1dc, 2ch, miss 2 sts, 1htr, 2ch, miss 2 sts, 1tr, 2ch, miss 1 st, (1dtr, 3ch, 1dtr, 2ch) in next st, miss 1 st, 1tr, 2ch, miss 2 sts, 1htr, 2ch, miss 2 sts; rep from * to end of round, ss to 1st dc to join, break yarn and fasten off.
Start by joining the first row of motifs along the top of your blanket.
As with many join as you go methods, for each ss join insert the hook from the right side (front) through to the wrong side (back) of the motif you are joining to.
Complete your first motif with the final joining round. Then work the final round of the second motif, joining on one side of the first at 8 points as follows:
Final Round: join yarn colour into any st, 1ch (does not count as st), *1dc, 2ch, miss 2 sts, 1htr, 2ch, miss 2 sts, 1tr, 2ch, miss 1 st, (1dtr, 3ch, 1dtr, 2ch) in next st, miss 1 st, 1tr, 2ch, miss 2 sts, 1htr, 2ch, miss 2 sts; rep from * once, 1dc, 2ch, miss 2 sts, 1htr, 2ch, miss 2 sts, 1tr, 2ch, miss 1 st, (1dtr, 1ch, ss into 3ch-sp on first motif, 1ch, 1dtr) in next st, 1ch, ss to next 2ch-sp on first motif, miss 1 st, 1tr, 1ch, ss in next 2ch-sp on first motif, miss 2 sts, 1htr, 1ch, ss in next 2ch-sp on first motif, miss 2 sts, 1dc, ss in next 2ch-sp on first motif, 1ch, miss 2 sts, 1htr, ss in next 2ch-sp on first motif, 1ch, miss 2 sts, 1tr, ss in next 2ch-sp on first motif, 1ch, miss 1 st, (1dtr, 1ch, ss in 3ch-sp on first motif, 1ch, 1dtr, 2ch) in next st, miss 1 st, 1tr, 2ch, miss 2 sts, 1htr, 2ch, miss 2 sts, ss to 1st dc to join, break yarn and fasten off.

Continue in this way, joining the motifs across rows and then adding new rows on the bottom. For motifs from the second row onwards most will have to be joined along 2 sides, just follow the same techniques as you join. When joining into previously joined corners I prefer to place the ss into the space between the motifs that are already joined and over the previous ss join to secure it.
Don’t forget there is a paid for pattern on Ravelry which is also being released in parts and has a US crochet terms available too. It also includes some charts for the joining round.
I would love to see photos of your little circles, please share them on Facebook and Ravelry. Next week is the border.
Until then, happy crocheting xxx
All patterns and photographs are copyright
