
This blog post shows you how to finish your bag. It’s a bit long, but it isn’t difficult. So please just take the time to read it and then begin the final stage.
First you need to strengthen the top edge of the bag, then you need to add handles. I did all of this in double crochet (US single crochet).
I am using English crochet terms – check back here if you need reminding what there are.
Here is how I did it:
The diagram below shows one side of the bag. Start each round at the point indicated by the arrow on this diagram.
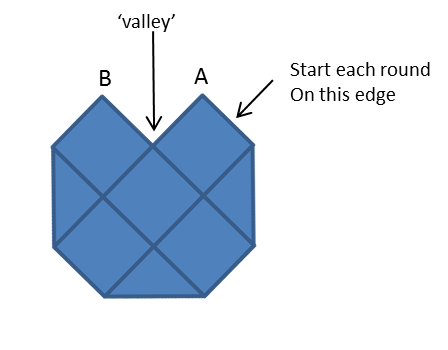
The first 2 rounds strengthen the top edge.
Round 1: Using Yarn D (mine was Pastel Green), work 1 round of double crochet, place 1dc in each tr or 1ch-sp along the edges. At the top corners of the squares (Points A and B) put 3 dc into each 2ch-sp and place a stitch marker into the middle of these 3dc. At the ‘valleys’ work 3dc together. Join the round with a ss.
Round 2: work another round of dc, working 1dc into each stitch around. At point A. put 2dc into the stitch marked, remove stitch marker and replace into the first of these 2 dcs. At the valleys, work 3dc together. At point B, put 2dc into the stitch marked, remove stitch marker and replace into the second of these 2 dcs. Repeat with points A and B on the second side.
Join the round with a ss, break yarn and fasten off.
Now you’ll make the handles.
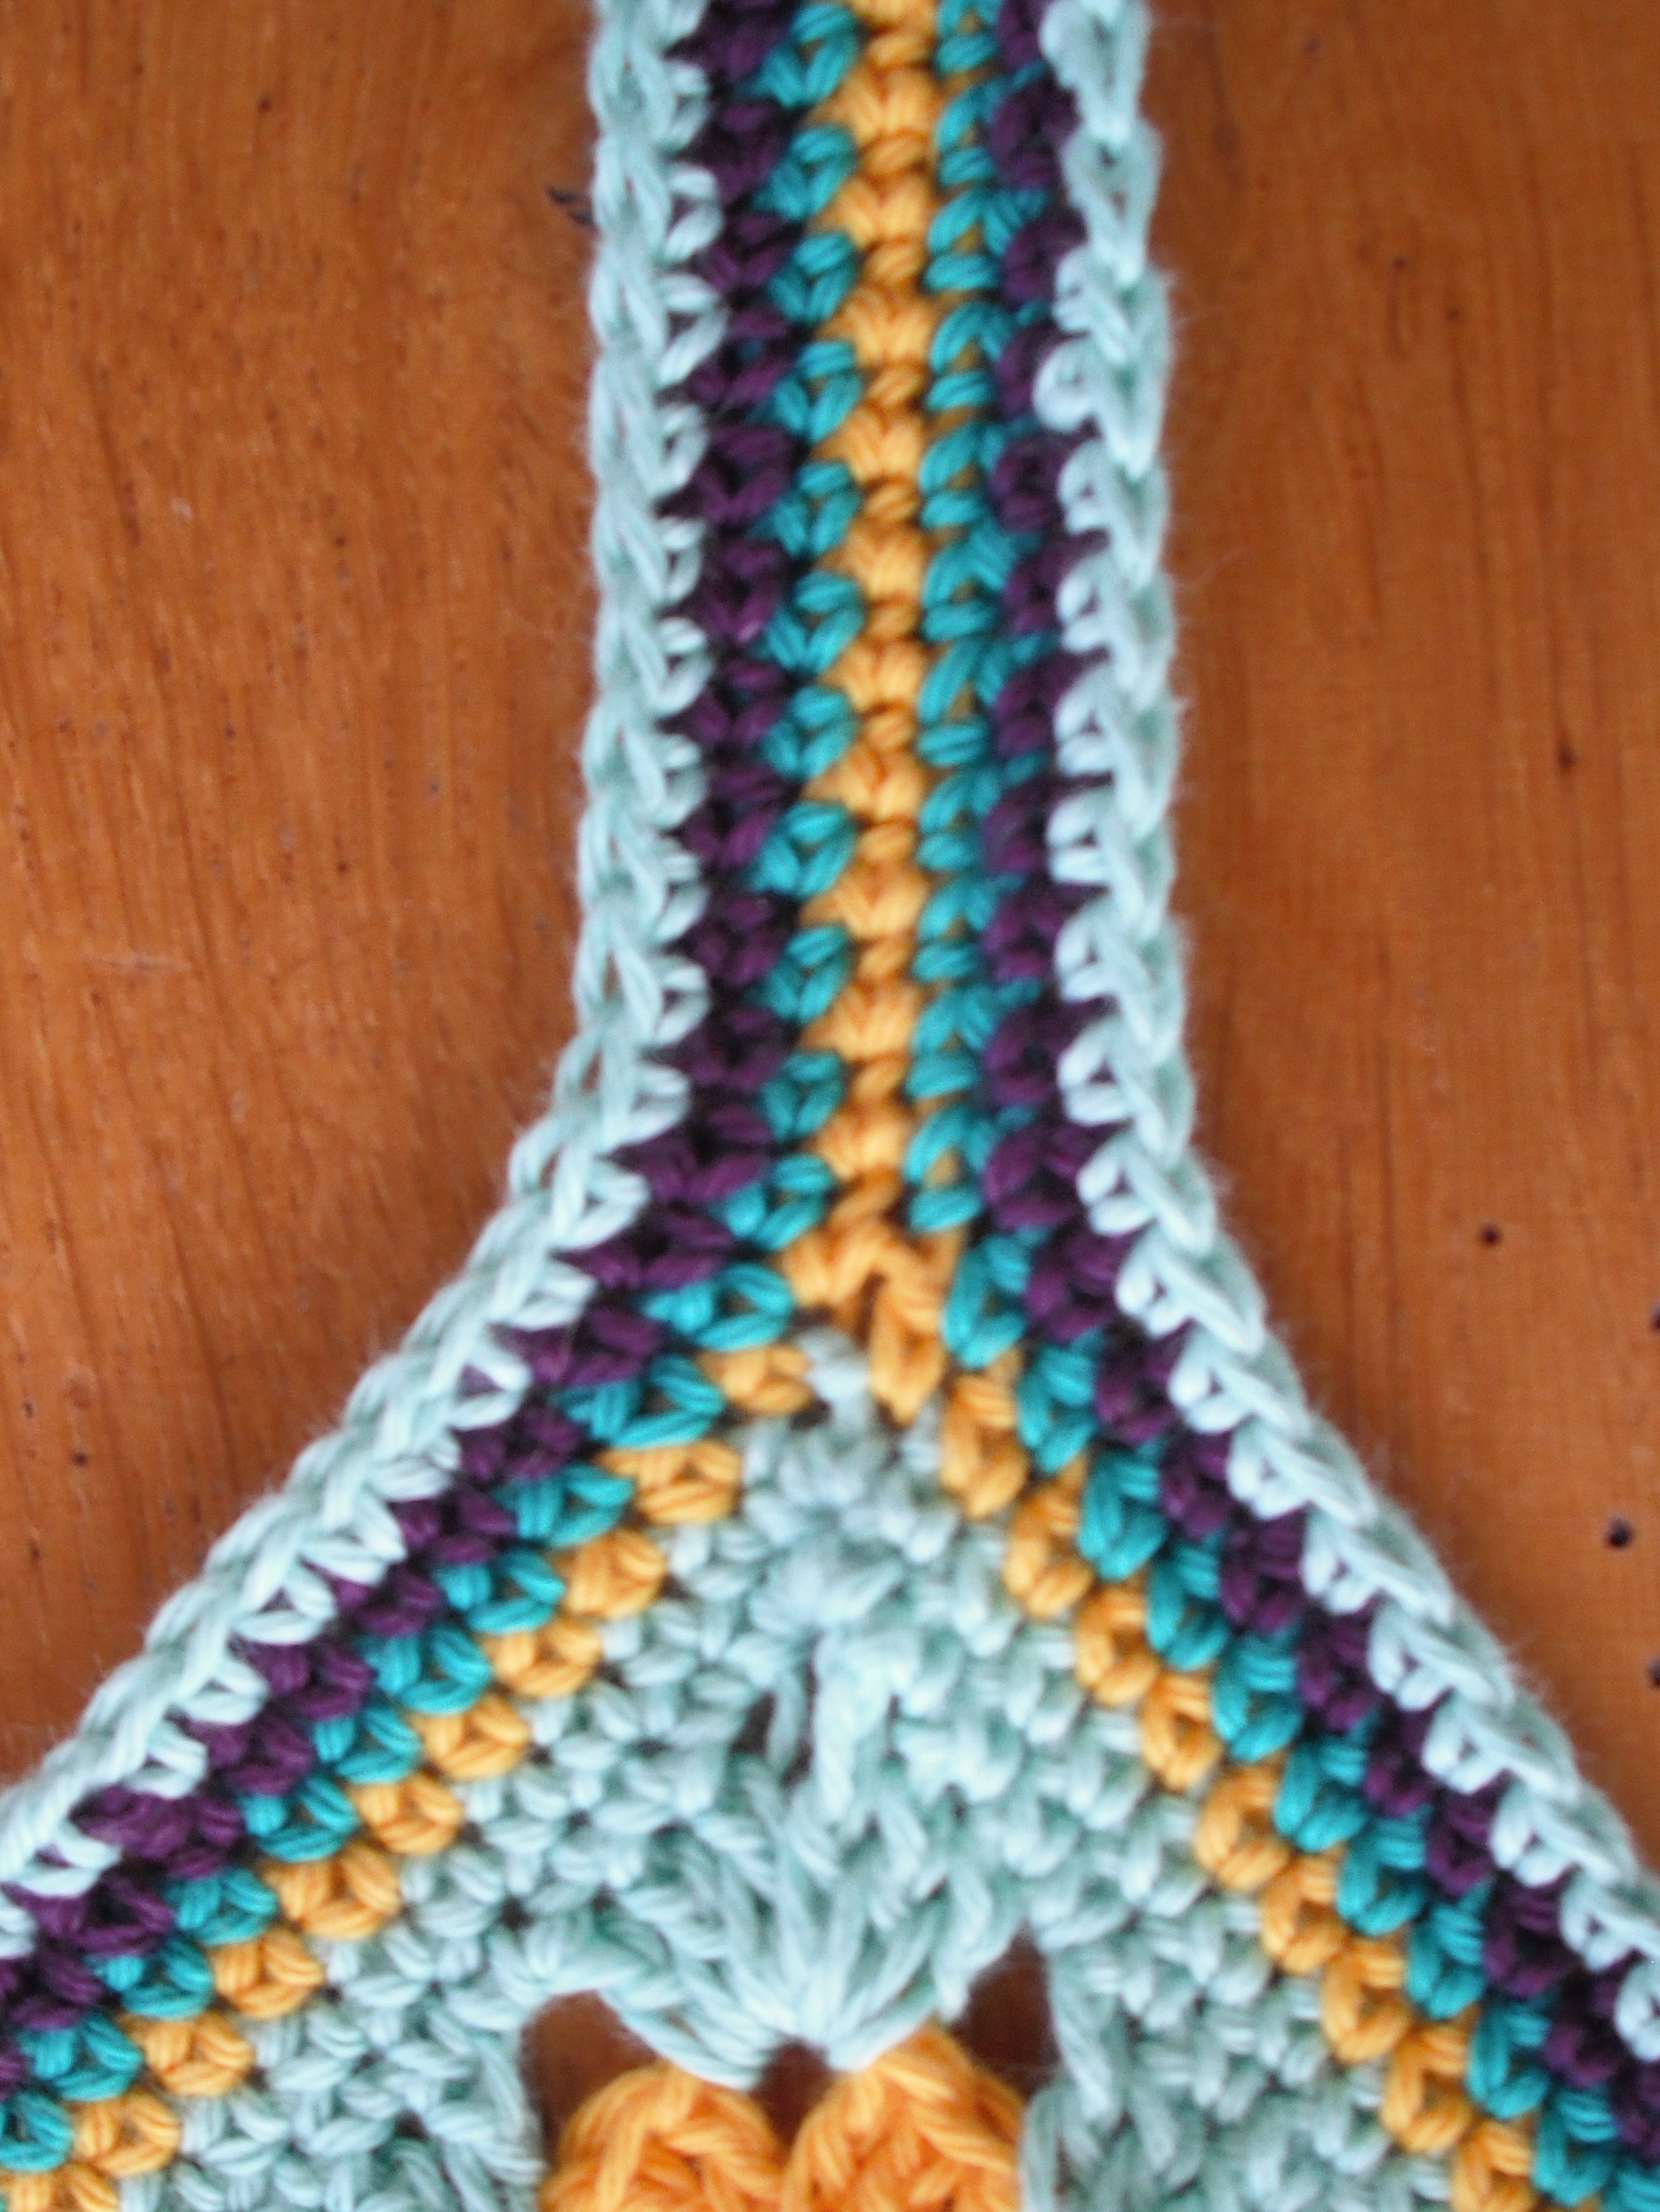
Round 3: Join yarn C (mine was Canary yellow) at the point shown in the diagram, work 1dc into each stitch up to and including the first stitch marker at point A, *move stitch marker to next dc along at point A, work 80ch, then miss all stitches between points A and B and work 1dc into stitch marked at point B (these 80ch will form the handle – you may wish to make them longer or shorter, so just check that you are happy with the length before continuing), work 1dc in each stitch down from point B, work 3dc together at the next valley**, work 1dc in each st up to the next point A and repeat the instructions from * to **, finally work 1dc in each st back to the start, join with ss, break yarn and fasten off.
That was the tricky bit – now you will work the top edges of the handles.
Round 4: join yarn B (mine was Sea green), work 1dc in each st around, working 3dc together in the valleys. Break yarn and fasten off.
Round 5: Join yarn A (mine was Heath), work 1dc in each st around, working 3dc together in the valleys. Break yarn and fasten off.
Round 6: Join yarn D (mine was Pastel green), work 1dc in each st around, working 3dc together in the valleys. Break yarn and fasten off.
The final stage is to work the inner edges of the handles (the edges between points A and B that you left unworked on round 2) – there are 2 of these and you work both of them the same as follows:
Rejoin Yarn C (canary yellow) to the first stitch marker (the one you moved at point A), work 1 round of dc, placing 1dc in each st or the underside of the (canary yellow) chain of the handle, and working 3dc together in the valley. Now work 3 more rounds of dc – in yarn B, then yarn A, then yarn D (remember to work 3dc together in the valley).
You may find that you want to add more rows of dc to make the handles larger. Mine were perfect for my use.
You may wish to personalise your bag, and there are lots of ways you can do this. I made a little flower with a Dorset button in the centre.
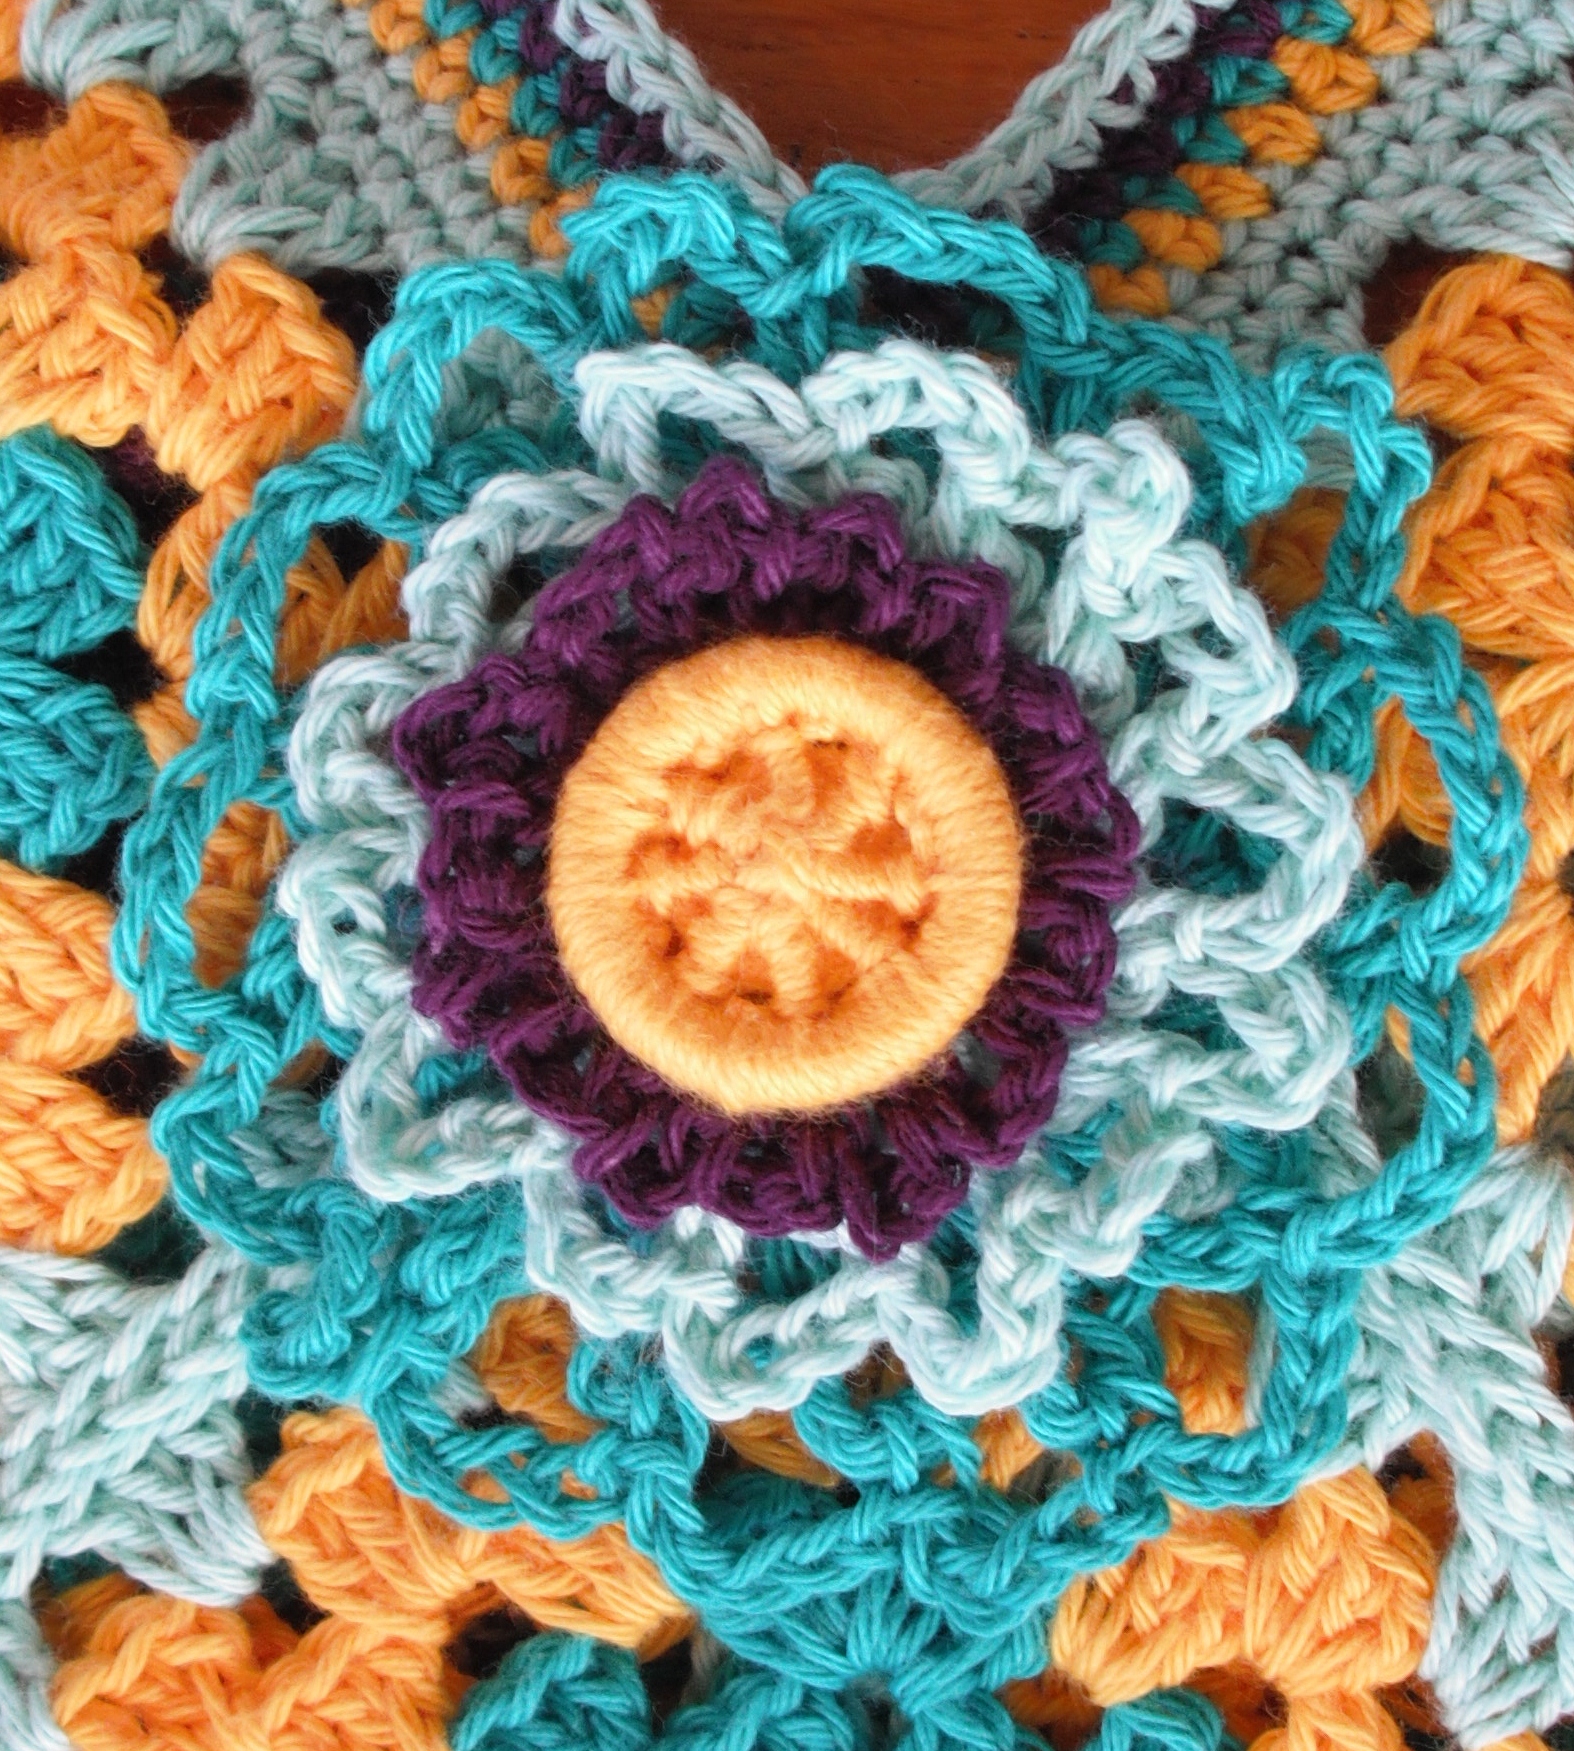
First make a Dorset button – there are some excellent instructions here. I made mine in canary yellow.
Now make a simple flower. I used this motif pattern:
Foundation ring: make a 4ch foundation and join into a ring with a ss
Round 1: 2ch (counts as 1htr), 14 htr in ring, join to 2nd ch from start with a ss. (15htr)
Round 2: 4ch (counts as 1dc, 3ch), *1dc in next st, 3ch; repeat from * to last st, 1dc in last st, 1ch, 1htr in 1st ch from start (forming the last 3ch-sp). (15 3ch-sps)
Round 3: 6ch (counts as 1dc, 5ch), *1dc in next 3ch-sp, 5ch; repeat from * to last 3ch-sp, 1dc in last 3ch-sp, 2ch, 1tr in 1st ch from start (forming the last 5ch-sp). (15 5ch-sps)
Round 4: 6ch (counts as 1dc, 5ch), *1dc in next 5ch-sp, 5ch; repeat from * to end of round join to 1st ch from start with a ss. Break yarn and fasten off.
To construct the flower, make 3 different sized motifs in different colours.
One using the first 2 rounds (I used Heath).
One using the first 3 rounds (I used Pastel green).
One using all 4 rounds (I used Sea green).
Place the motifs on top of each other, place the Dorset button on top of all 3 and sew together. Then sew to the bag. And voila – the bag is made!

Of course, you could personalise your bag in any way you like, add a lining, lengthen or shorten the handles, add buttons, flowers – anything! Whatever you do, please show me what you make on my Ravelry forum.
Happy crocheting xx
