This year’s blanket CAL has been a long time in the making, I have been so slow, and I have no excuses. Maybe it is simply that I have slowed down during these strange times we are living in and prefer to enjoy every stitch as I make it. But it is progressing to the finish line and it’s about time to share some of it with you.
First – my inspiration.
Some years ago when I was a stash building addict, I bought an Opal Sock Yarn Advent Calendar containing 24 mini balls of colourful sock yarn. I thoroughly enjoyed opening the calendar each day and finding a different coloured ball. I really didn’t know what to do with the mini balls, they remained a colourful collection in my stash but eventually I found a simple flower motif and decided to make lots of these colourful flowers. It became one of those projects you pick up between larger projects and after a long time I managed to make over 100 of these flowers. I decided to join them so I designed a border to make each flower a square. I bought some pale grey yarn to create the border and join the squares as you go. A very long time after I started to open those advent calendar ‘doors’ a lovely lap blanket emerged which I gifted to my sister. I never took any notes of this project, nor did I take any photographs. I just enjoyed the long lingering project.
Roll on a good number of years and I find I have accumulated plenty of scraps of yarn of all sorts – the vast majority of them being sock/4 ply or fingering weight – all roughly the same meterage per 100g in a variety of colours and yarn types. Much of this is because I have finally found my sock knitting mojo – I have made over 20 pairs in the last 2 years and most for myself. And I have small feet so I have plenty left over from 100g balls of sock yarn! So this was the year I decided to use up all these sock yarn scraps in my CAL (ok it’s not the first time I have done this remember Wrapped in Memories?).
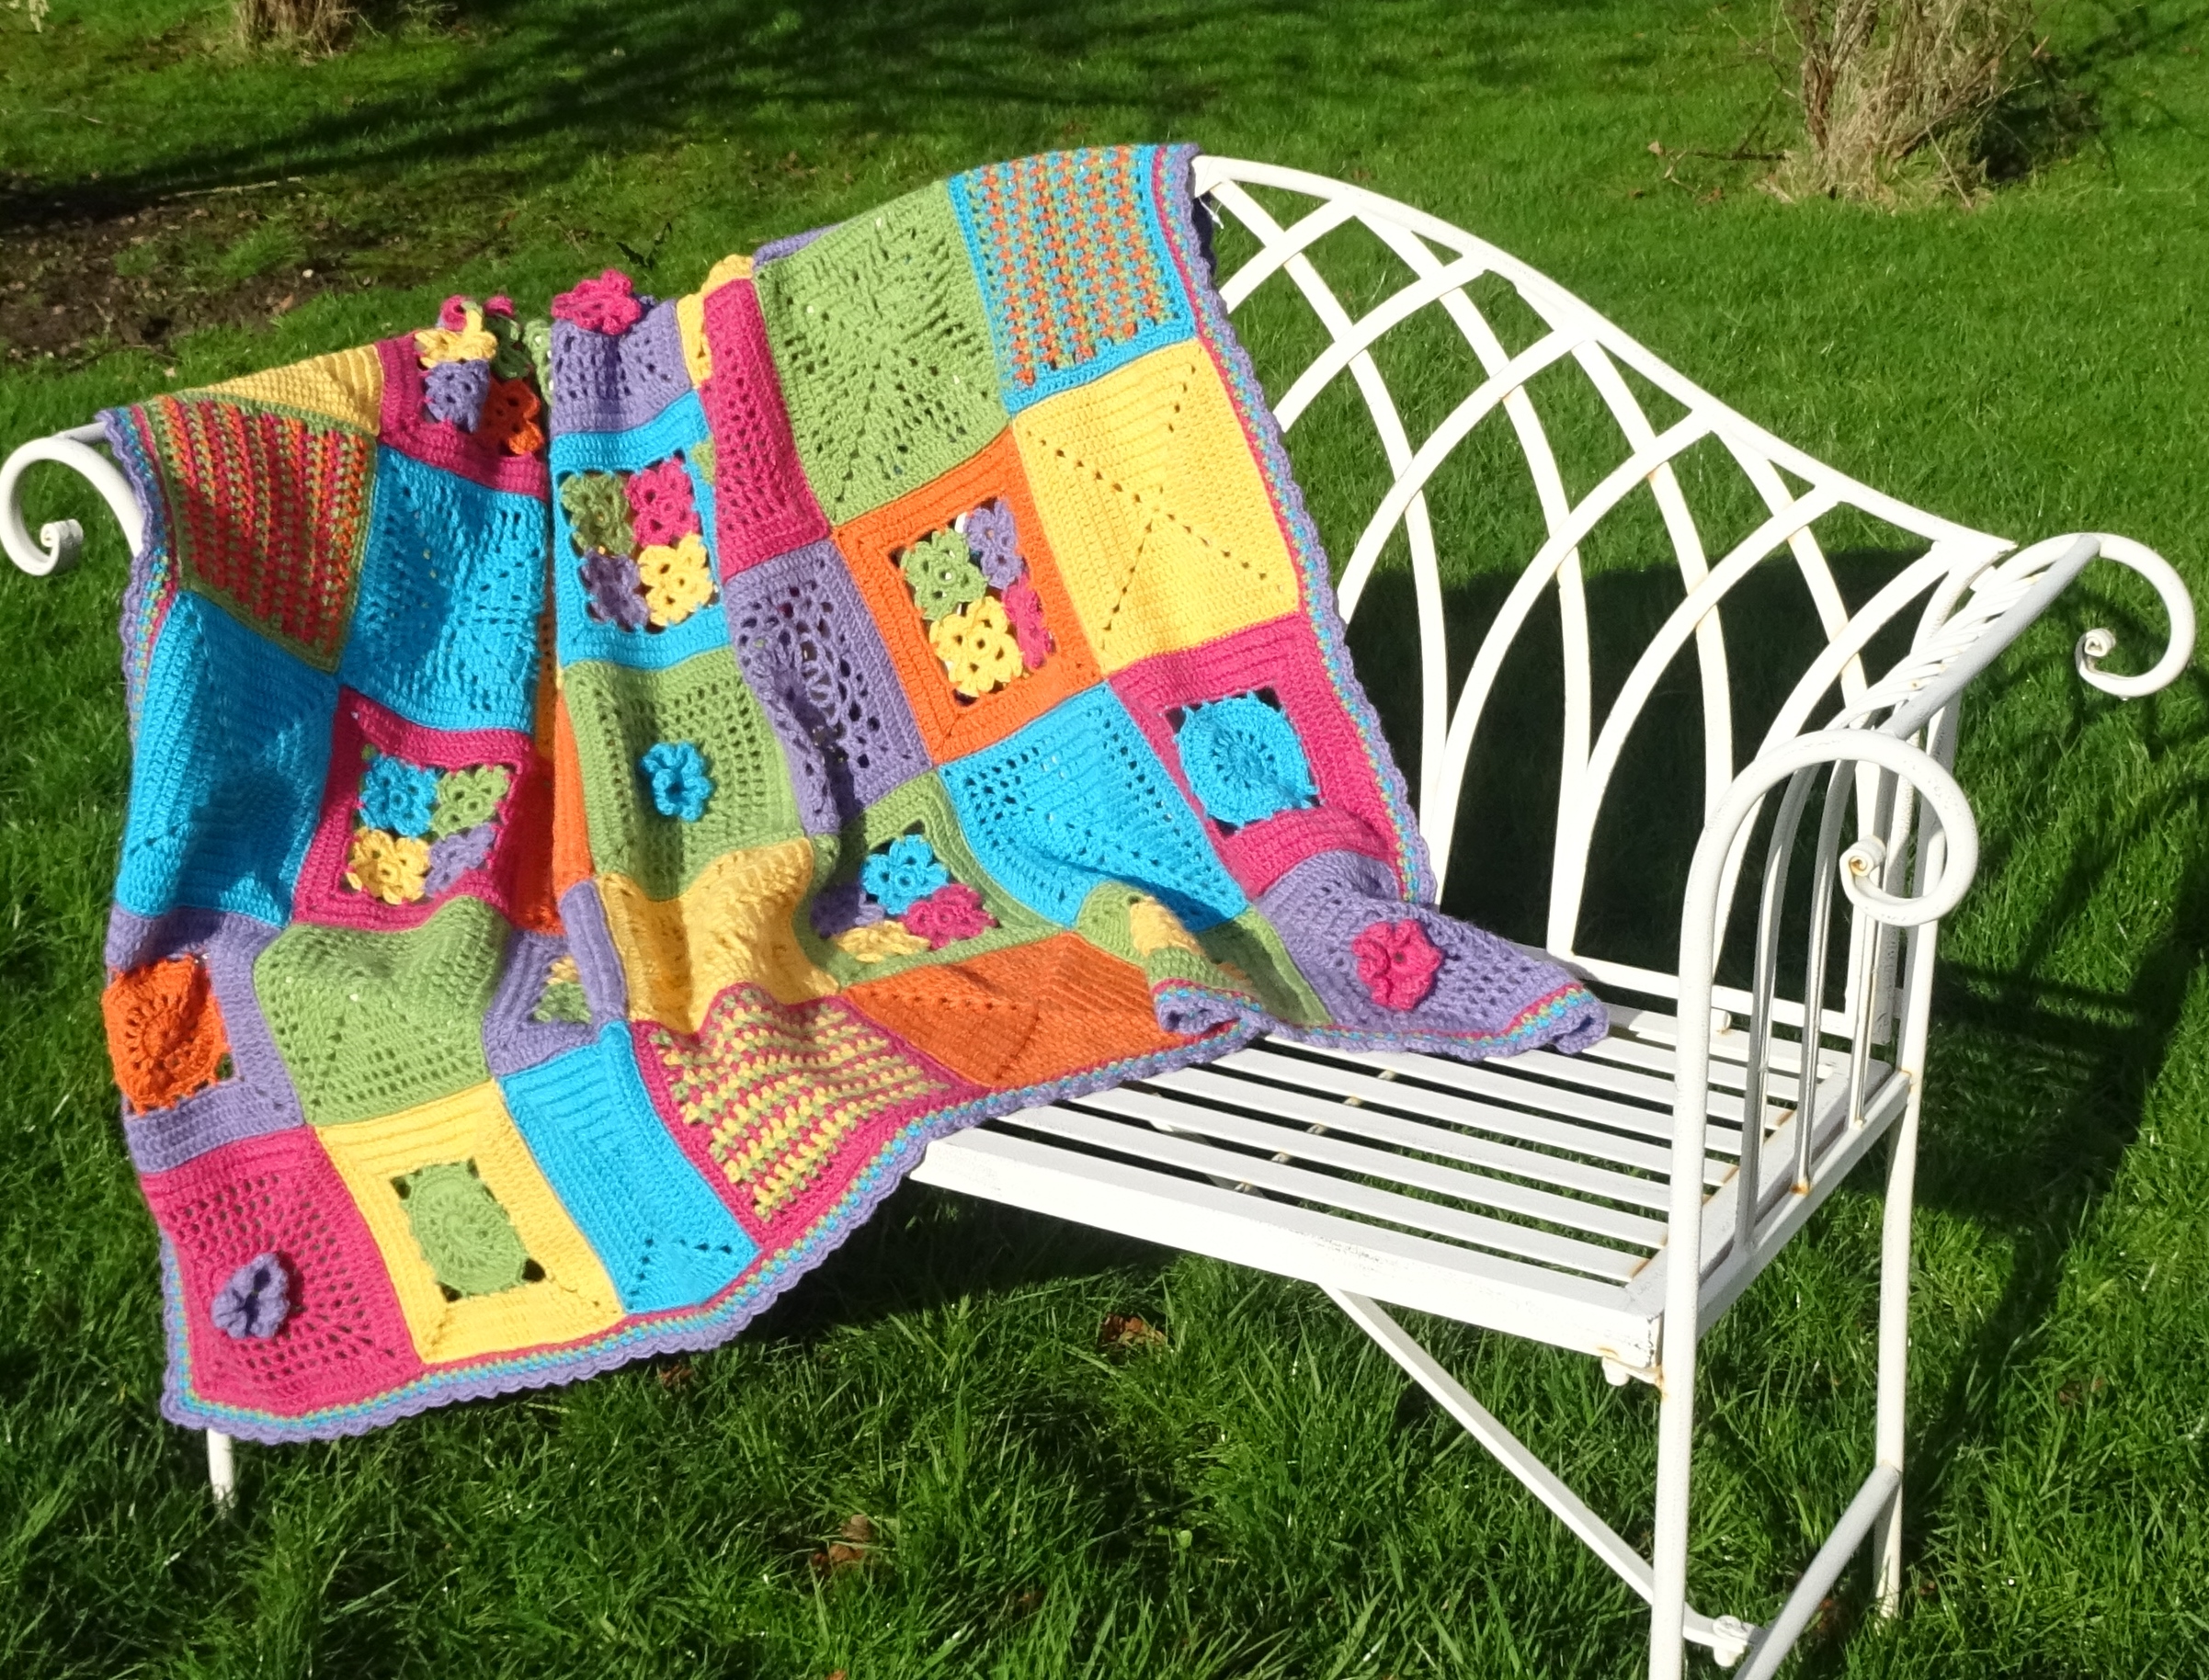
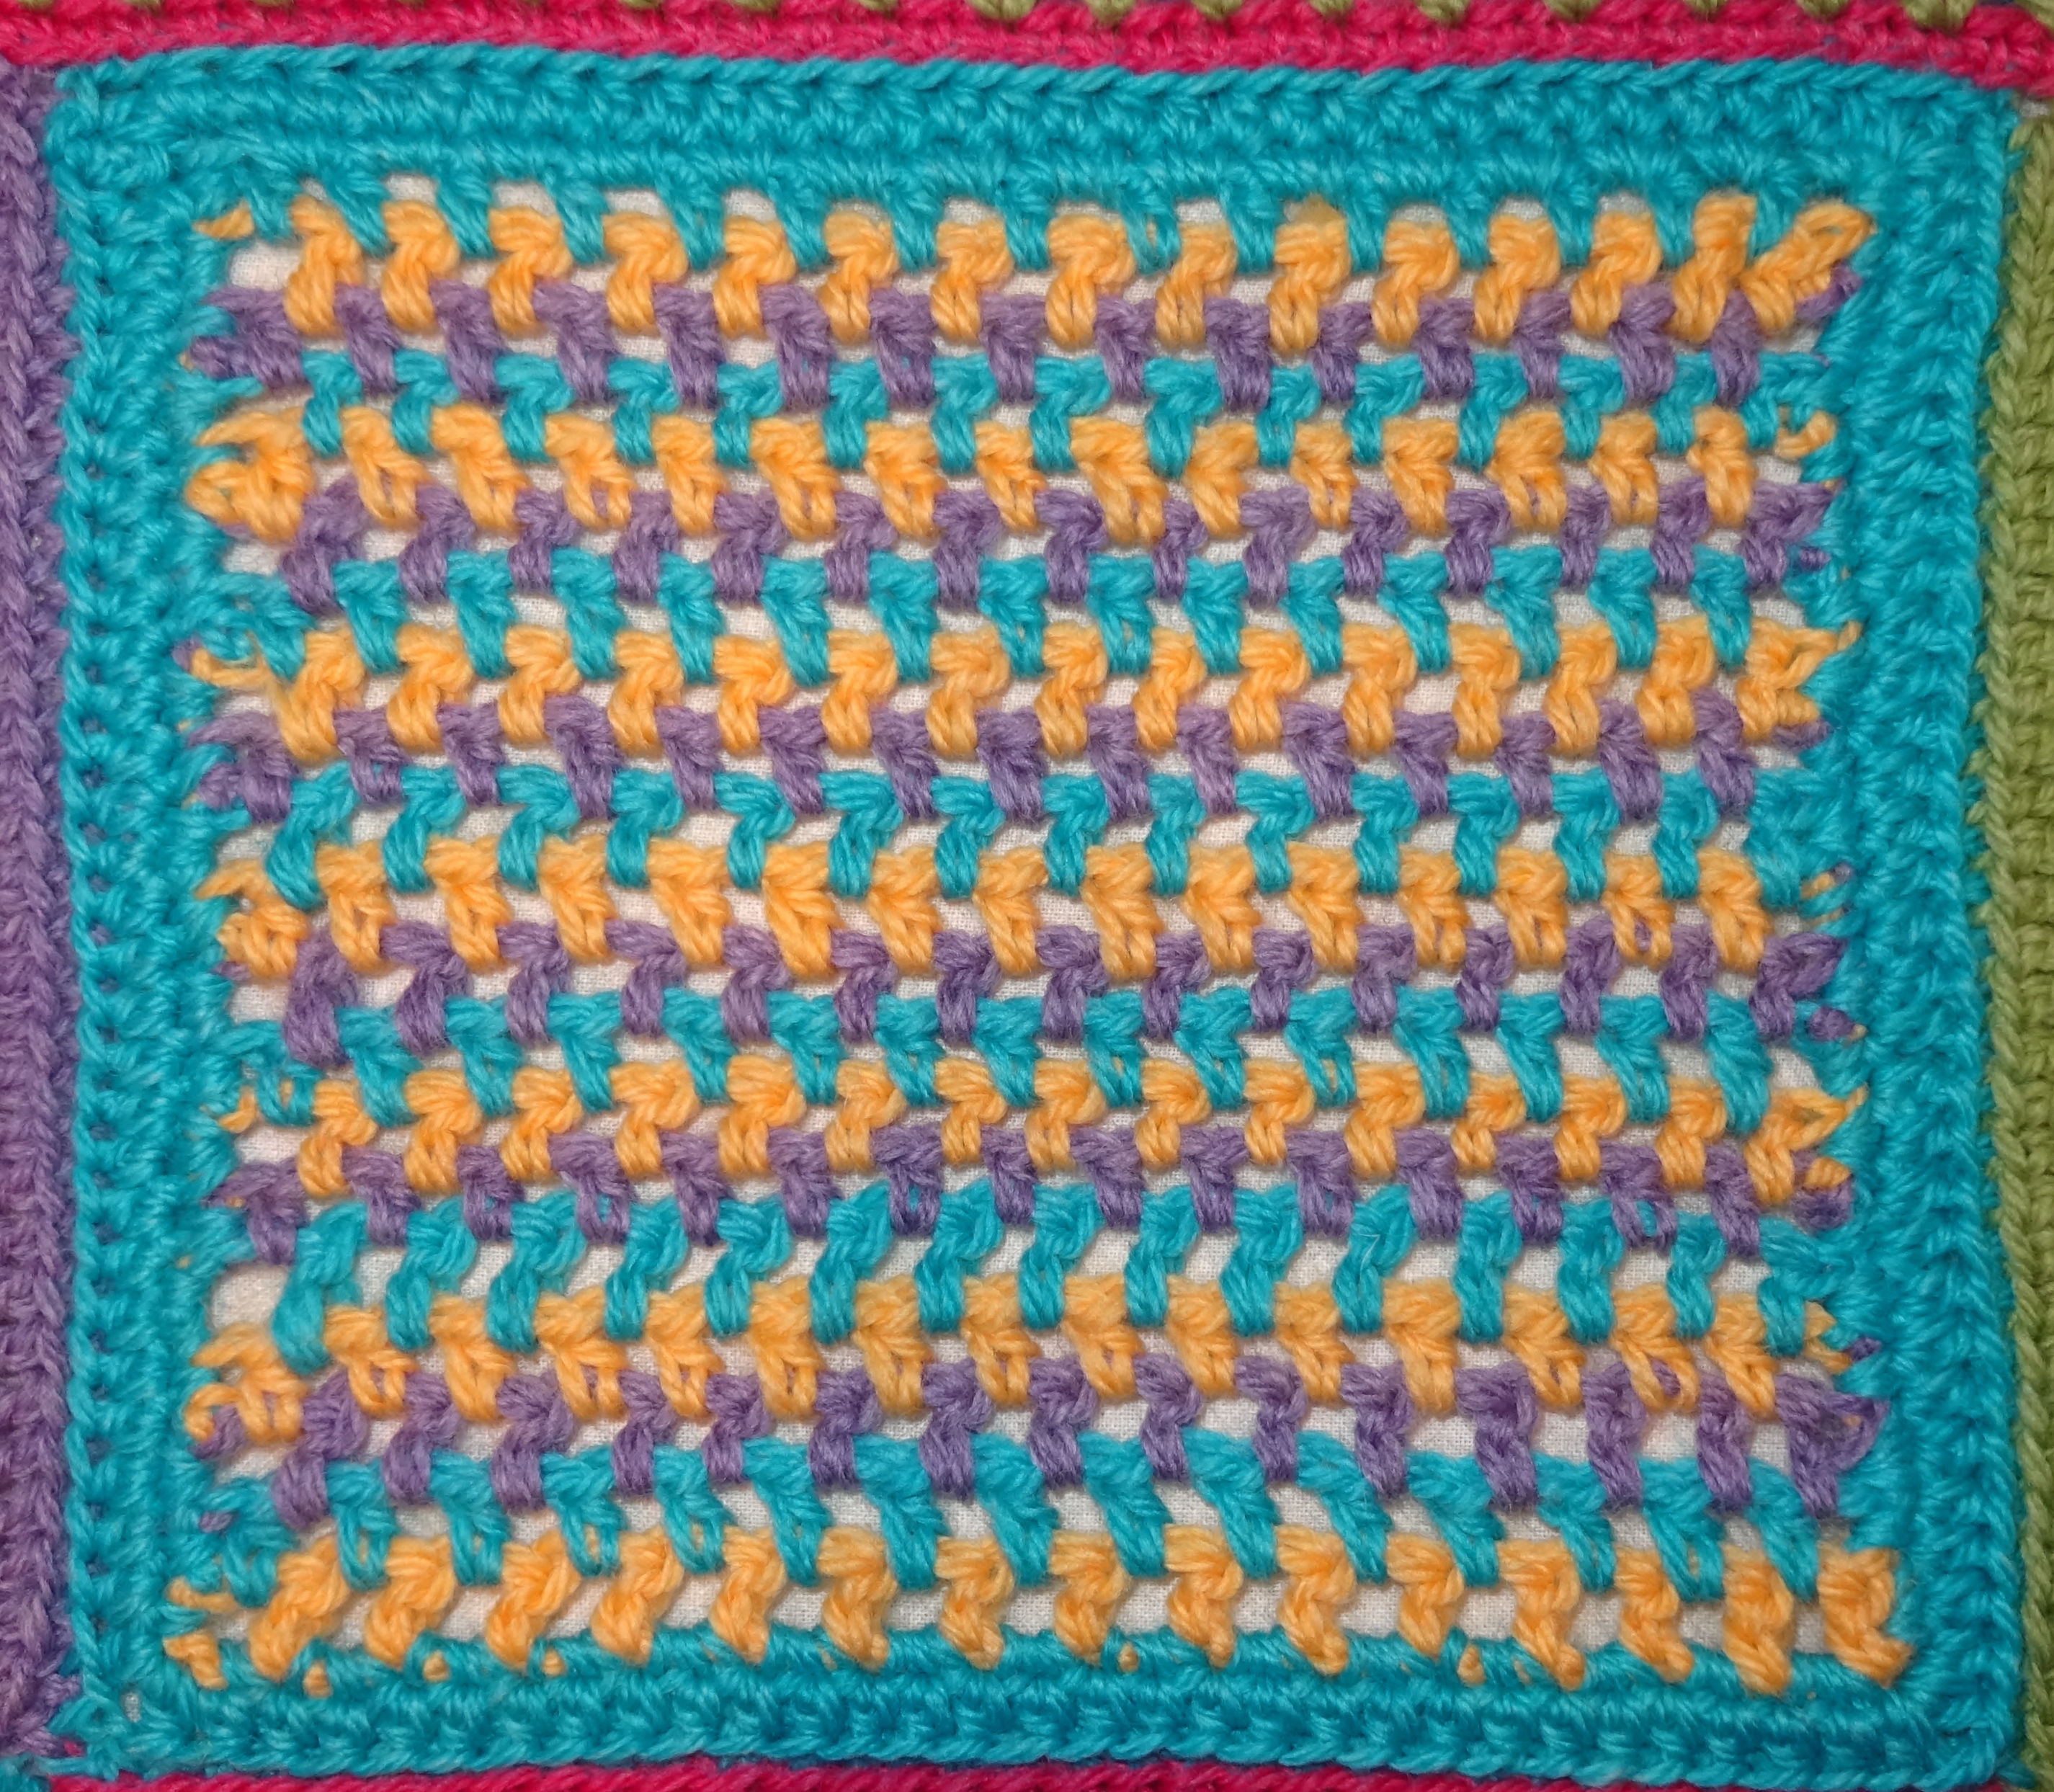
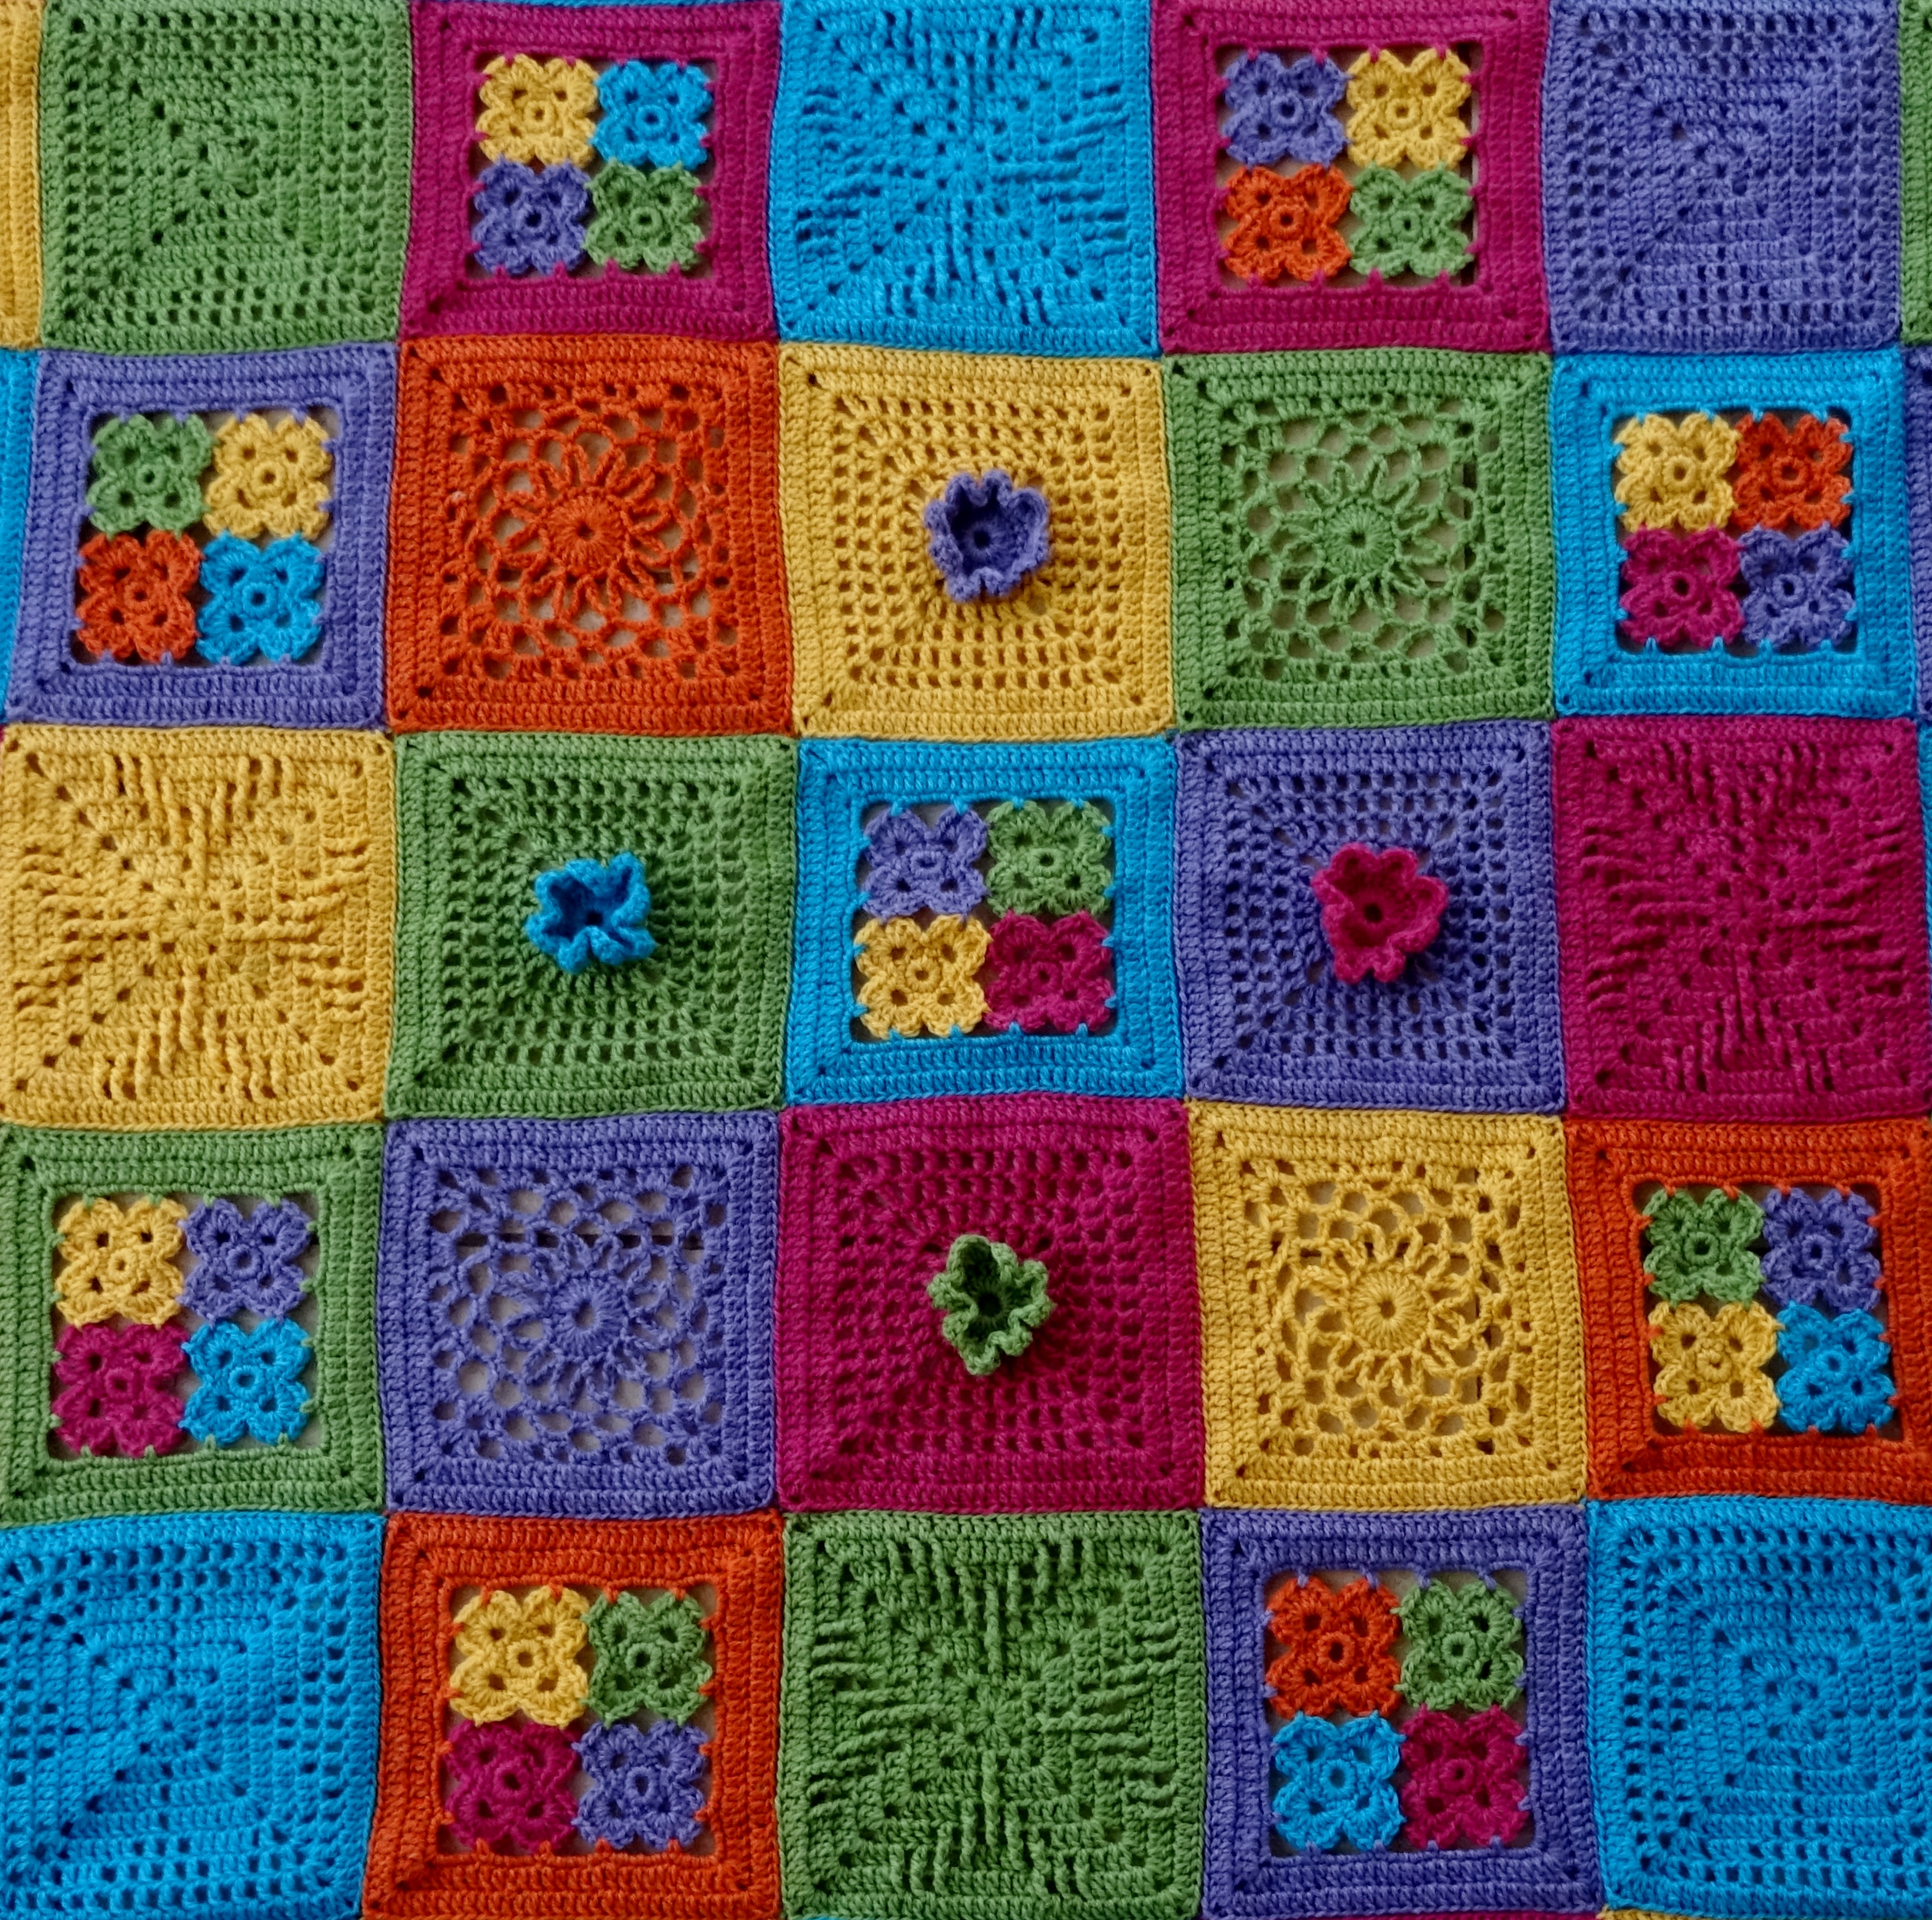
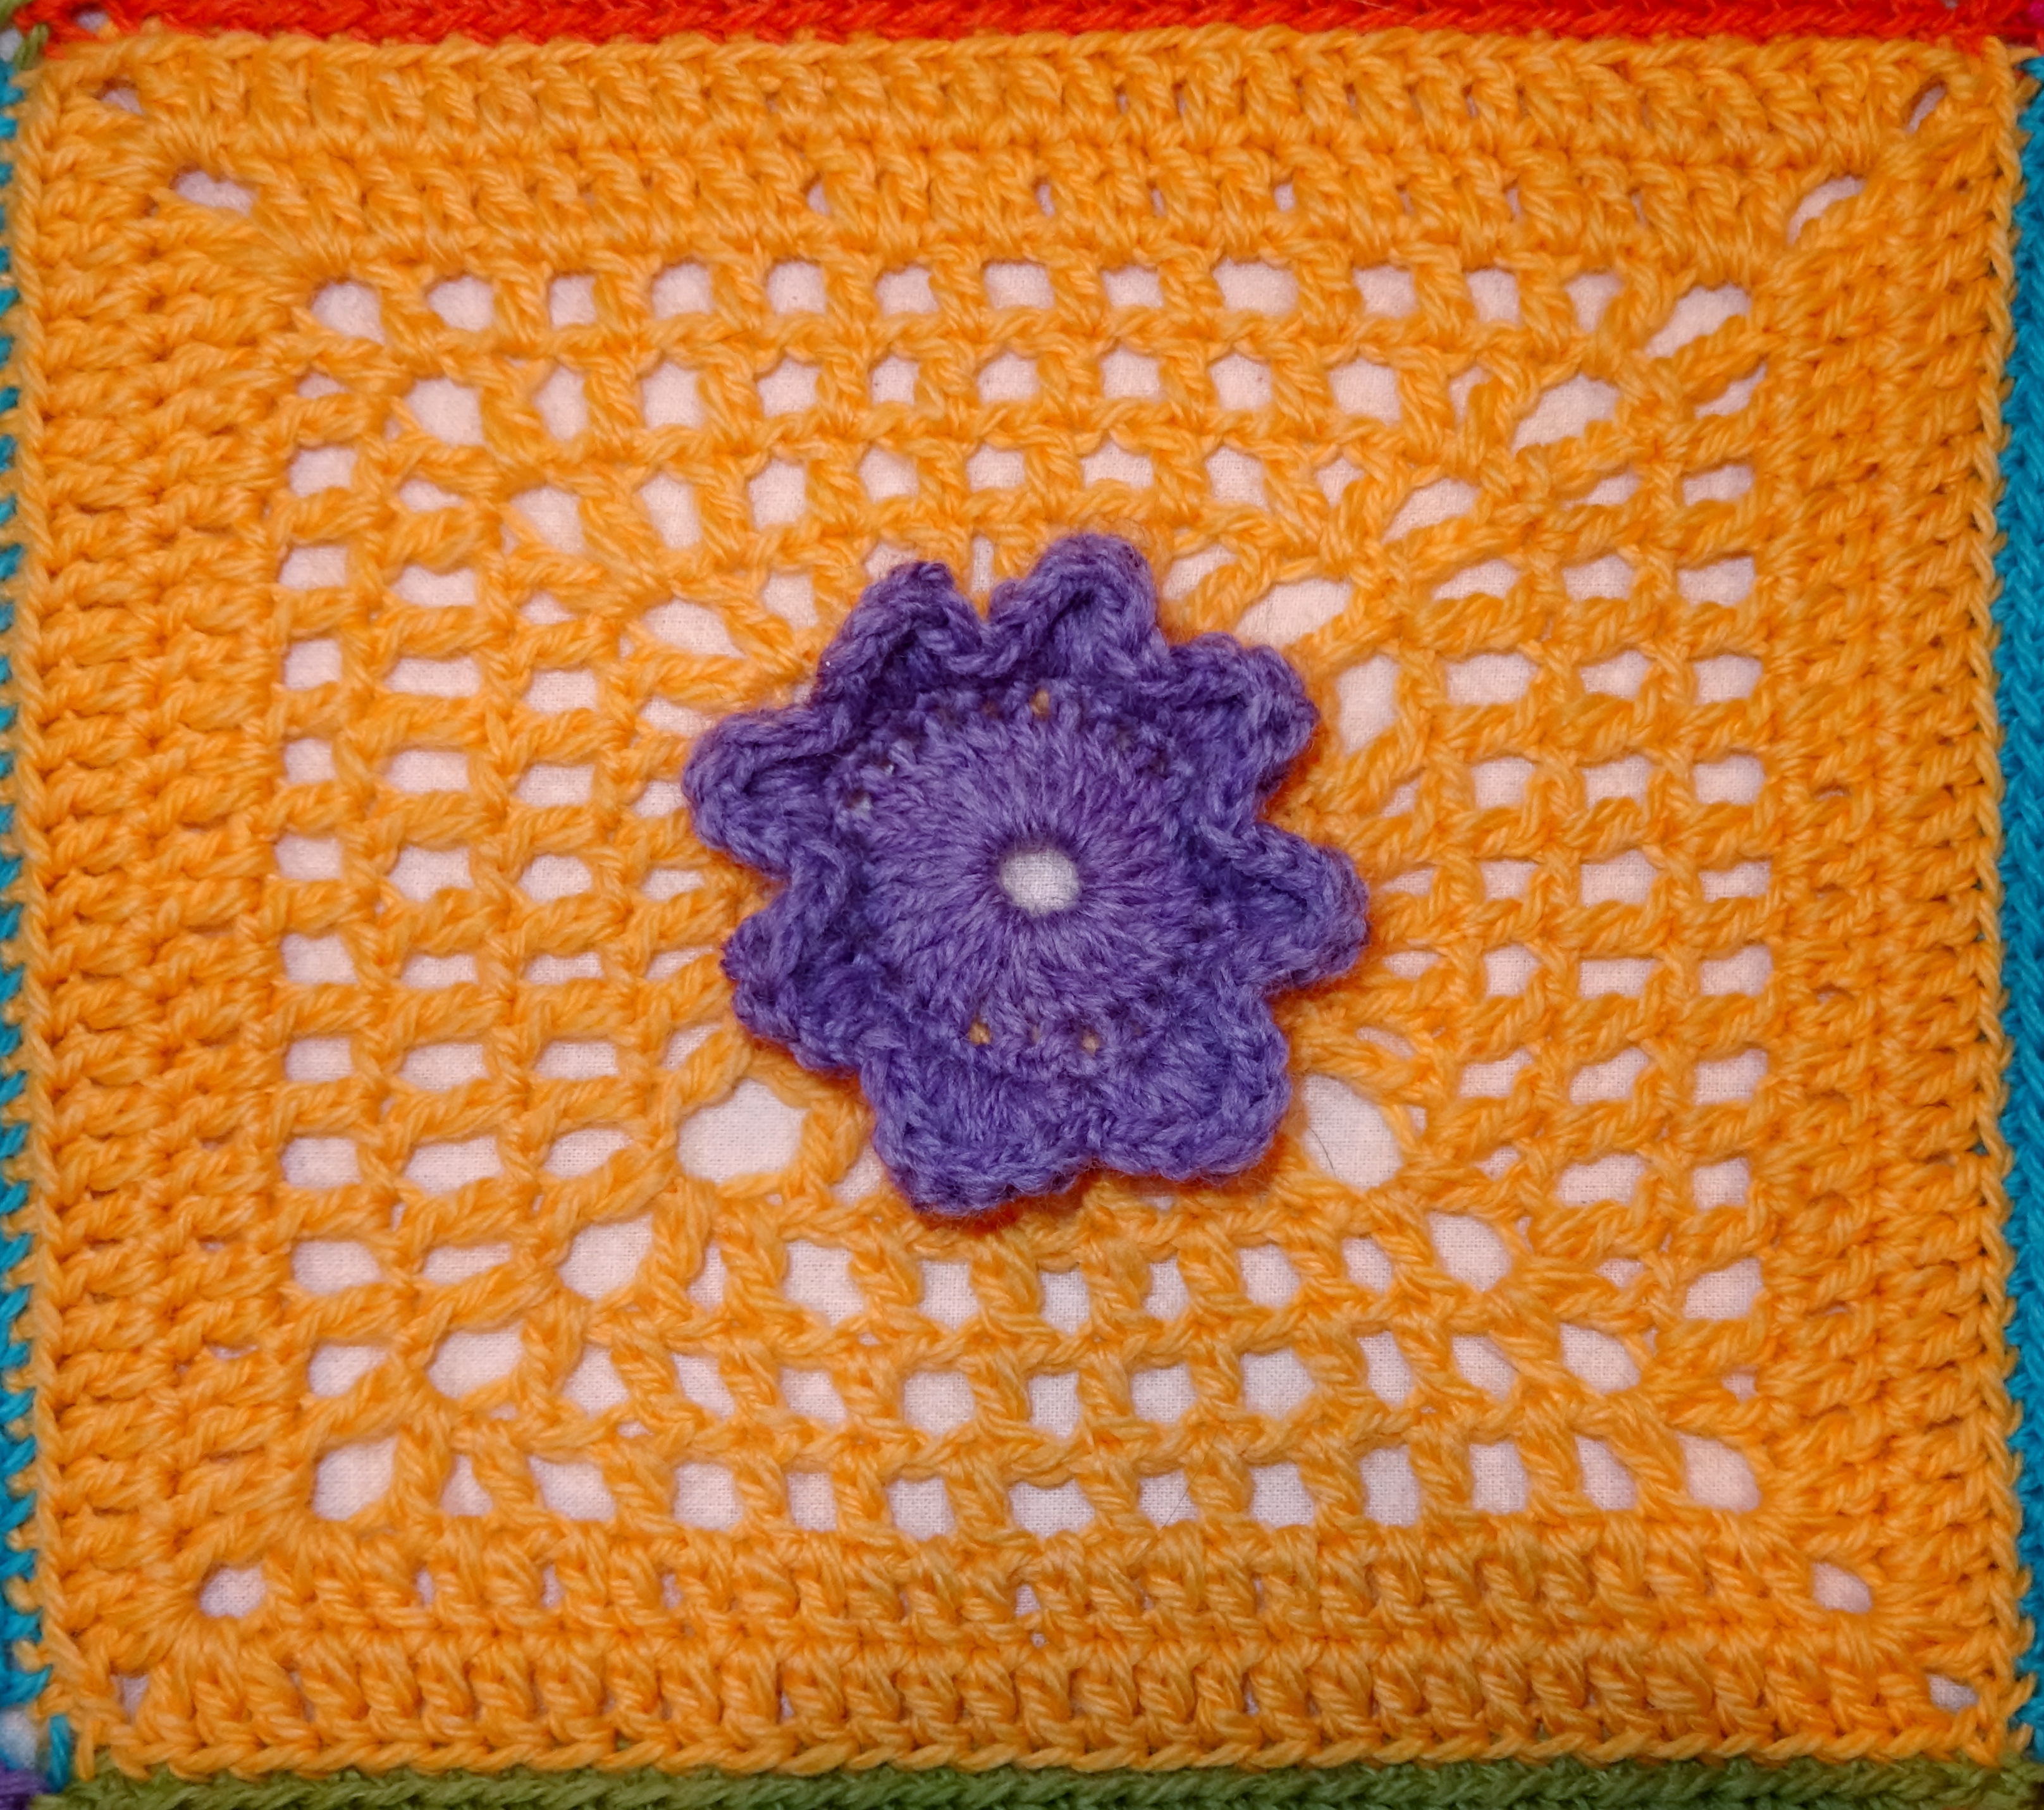
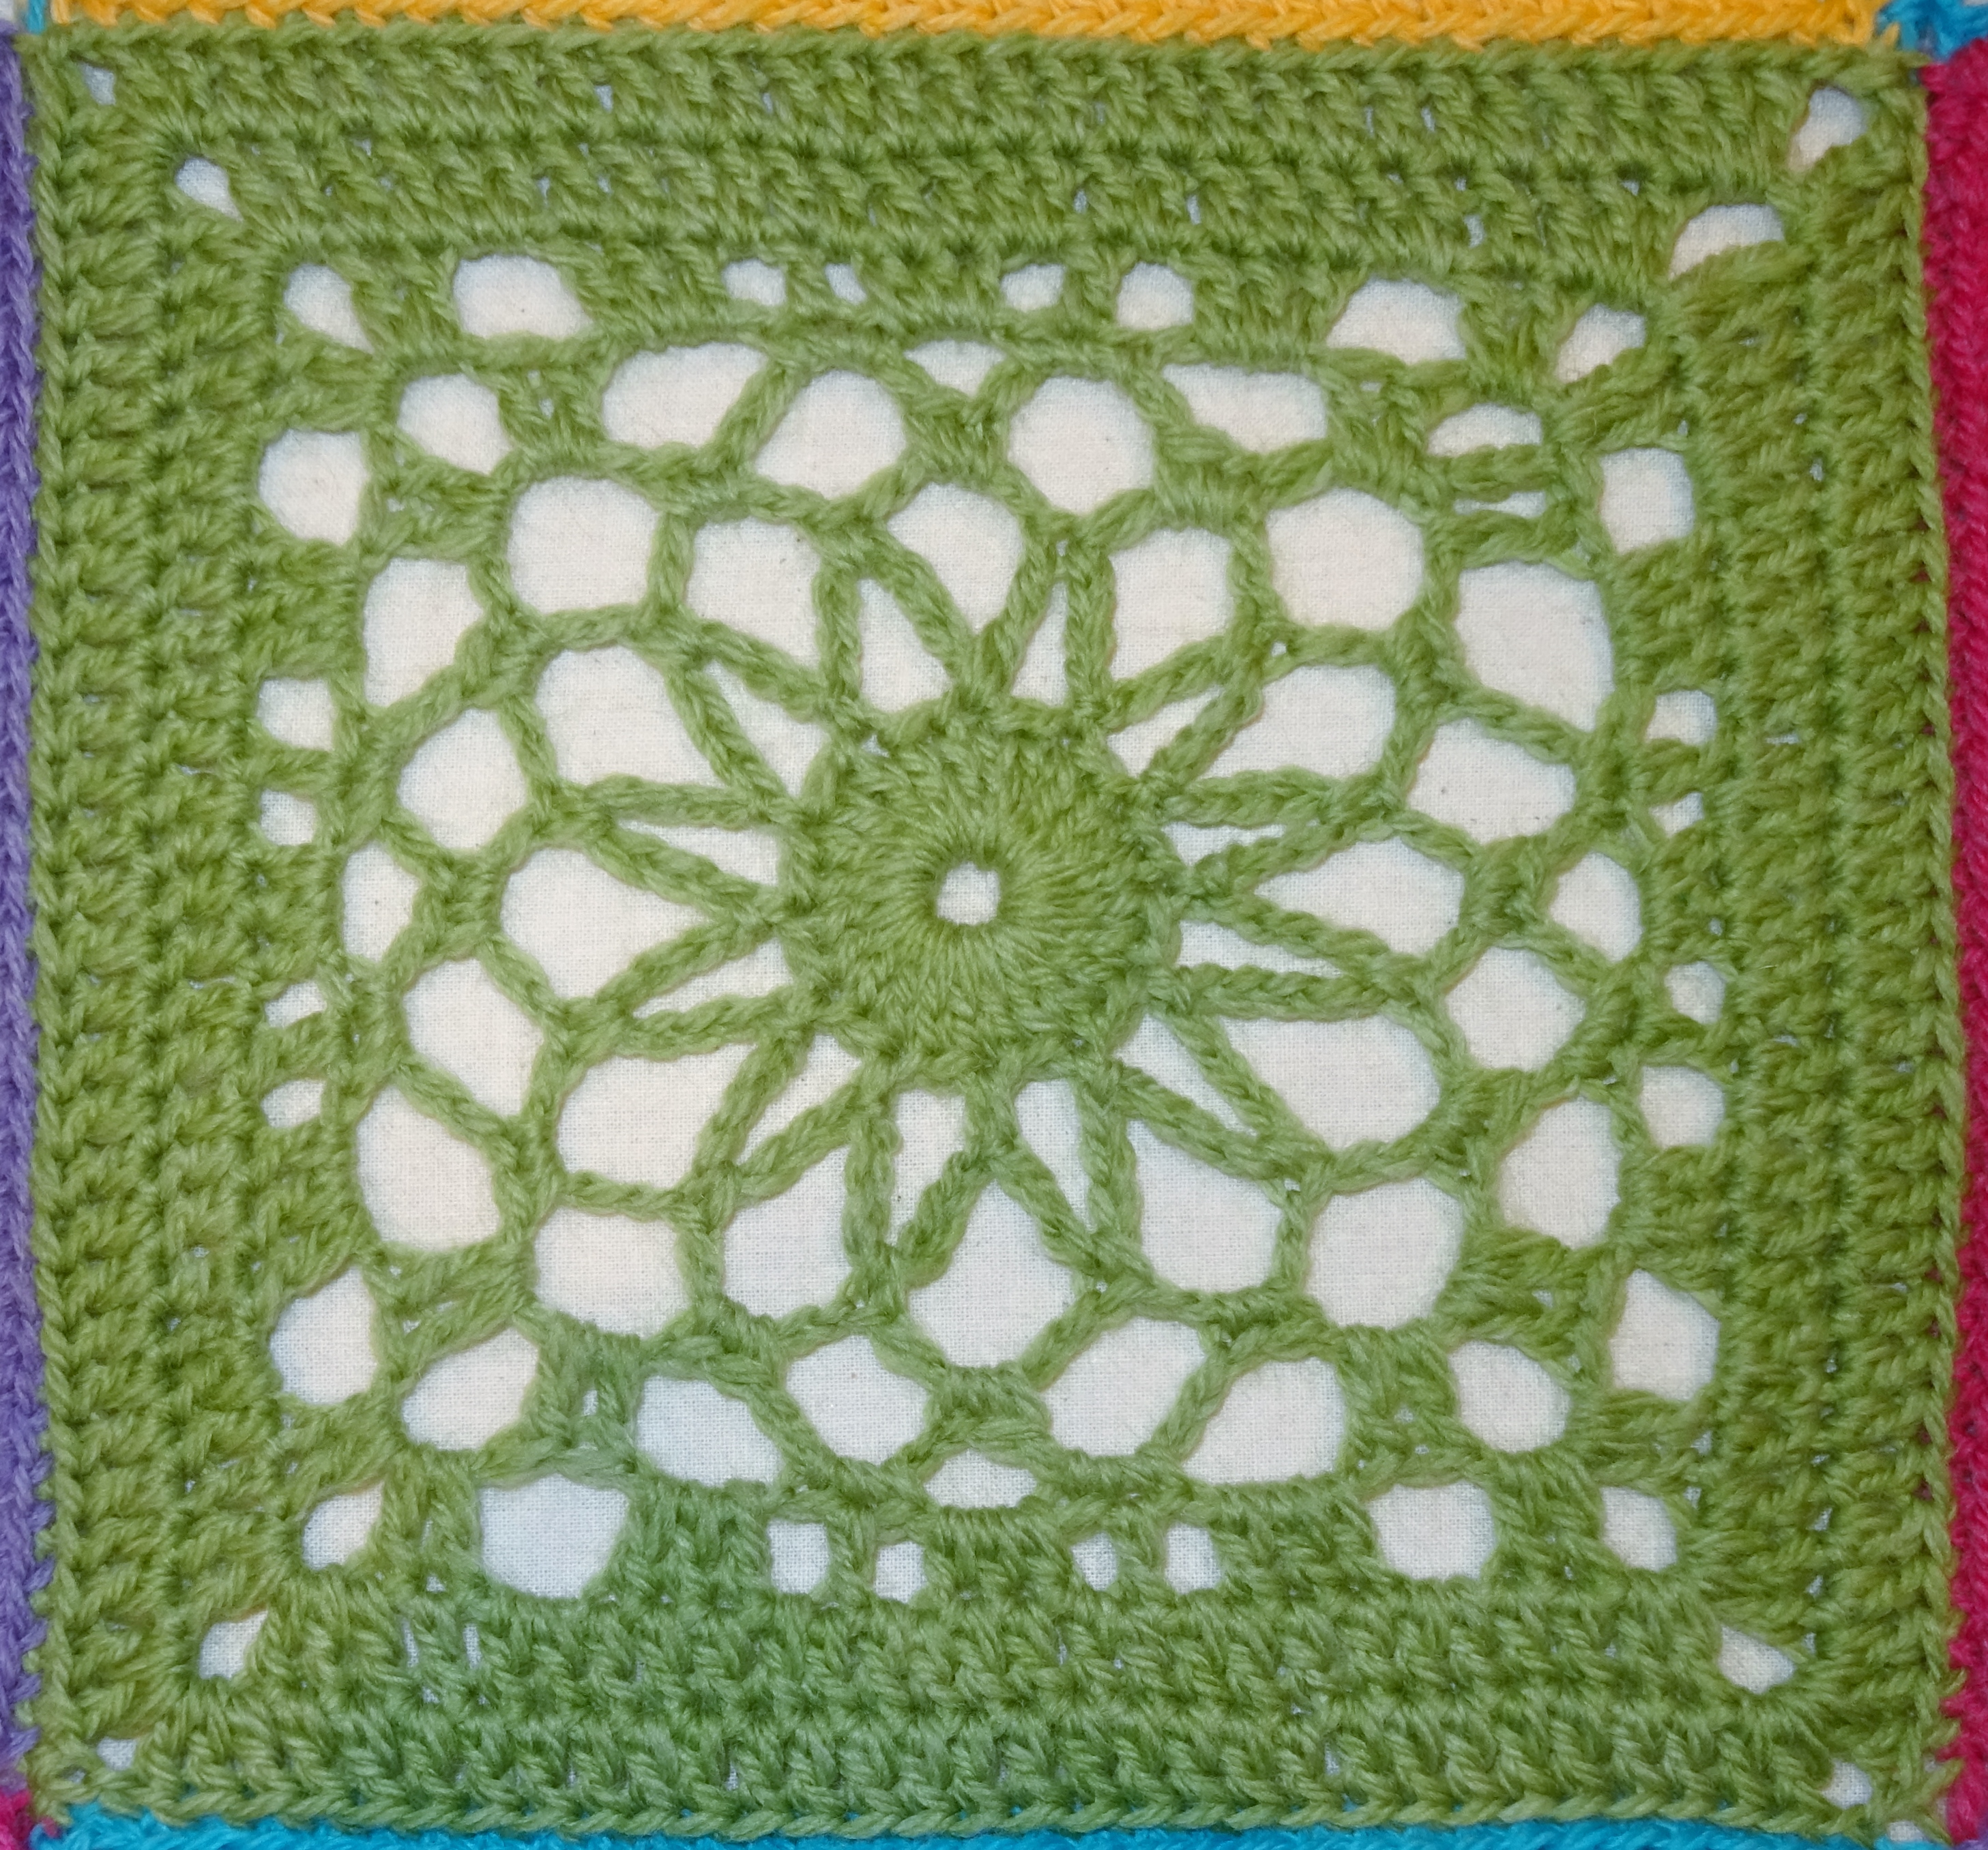
I wanted a really relaxing project, something straightforward that can be done at crochet/knitgroup (I’m sure you’ve all experienced the frogging after taking a project with only a modicum of complexity to a crochet/knitgroup meeting!). I also wanted some uniformity so that the scrap project looked like it was meant to be made as a blanket not just a mess of colours. And I wanted to use the same border to each motif, in the same colour just like I did with the Opal mini ball project. Grey was a good choice for this, I think white or cream would be a stark contrast to the colours and make them stand out too much and I really do not like the stained glass effect of black, but grey helps the colours to blend gently on the eye.
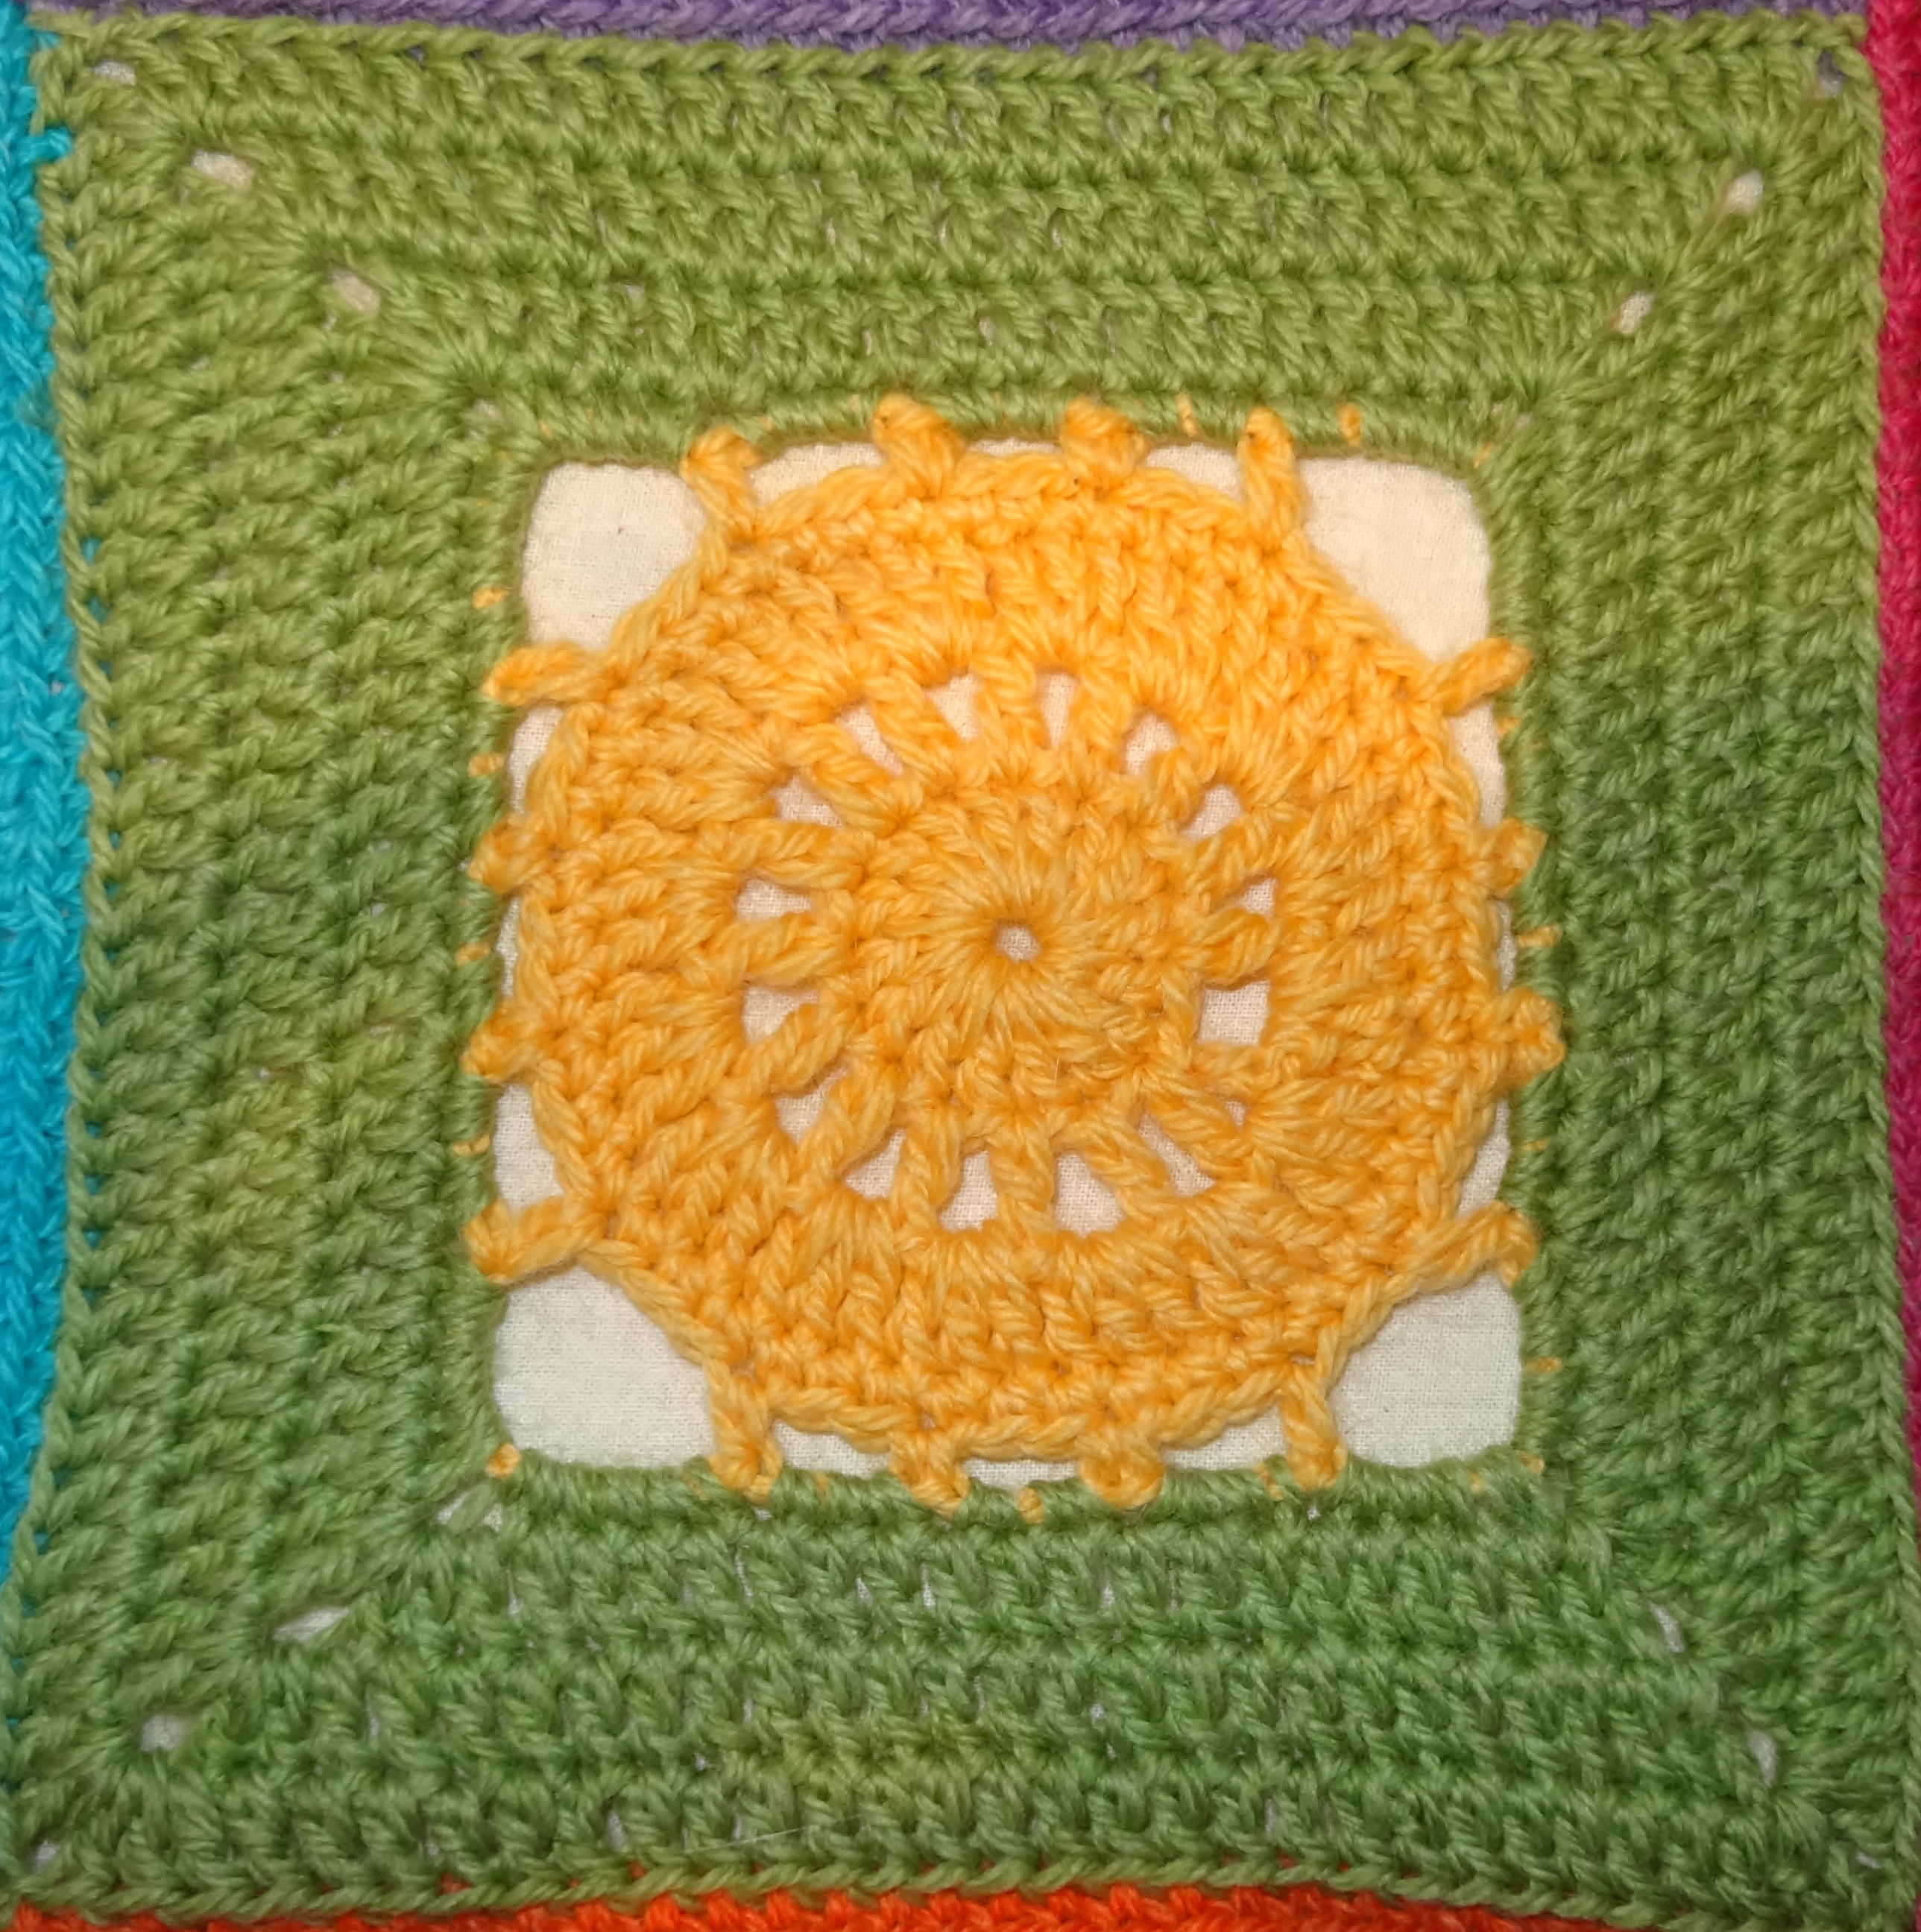
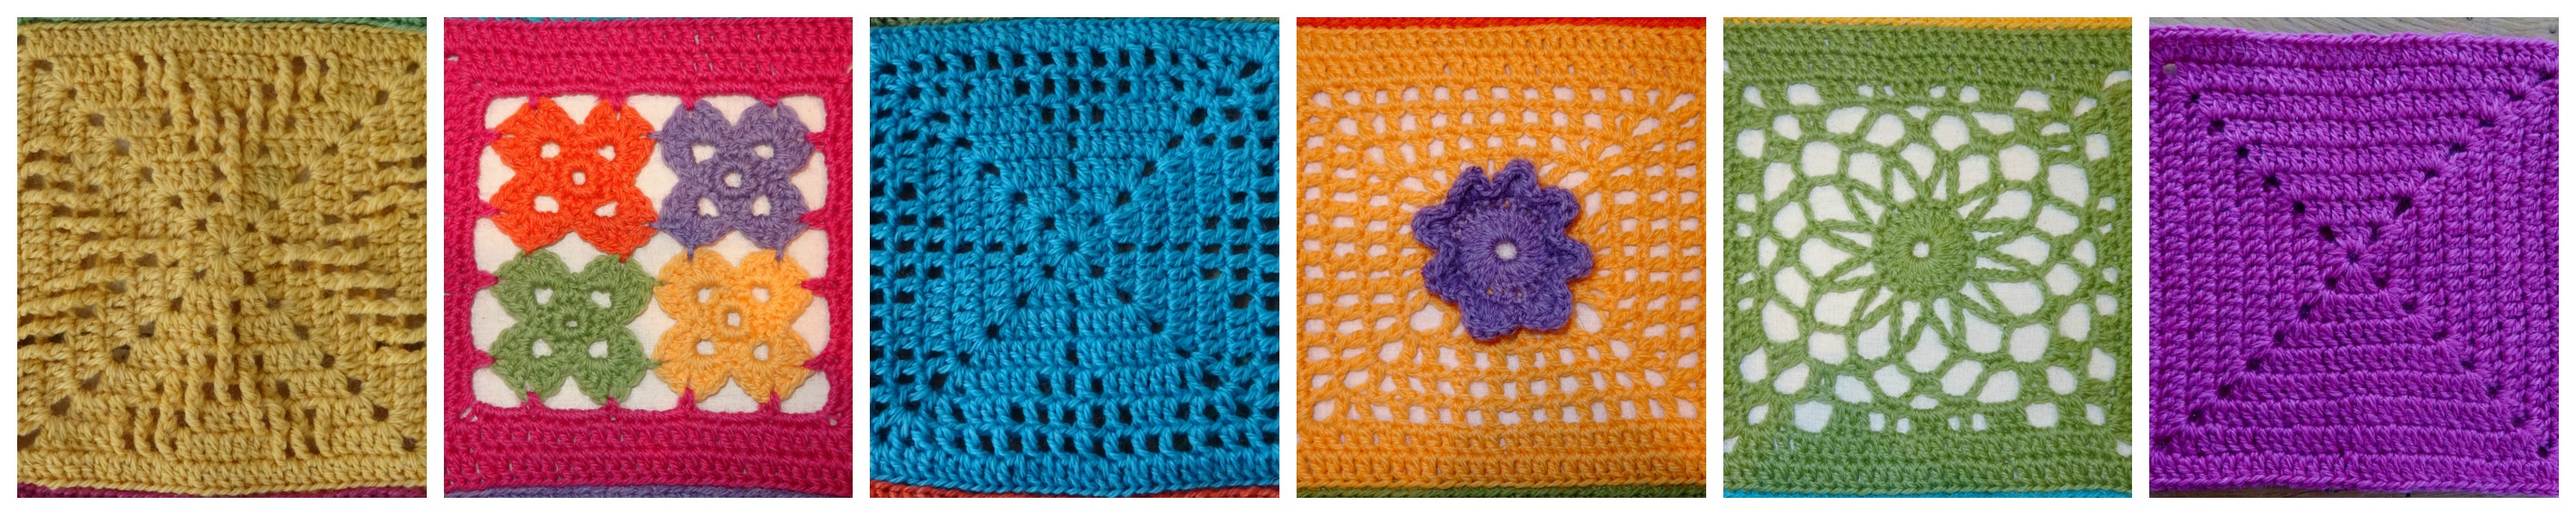
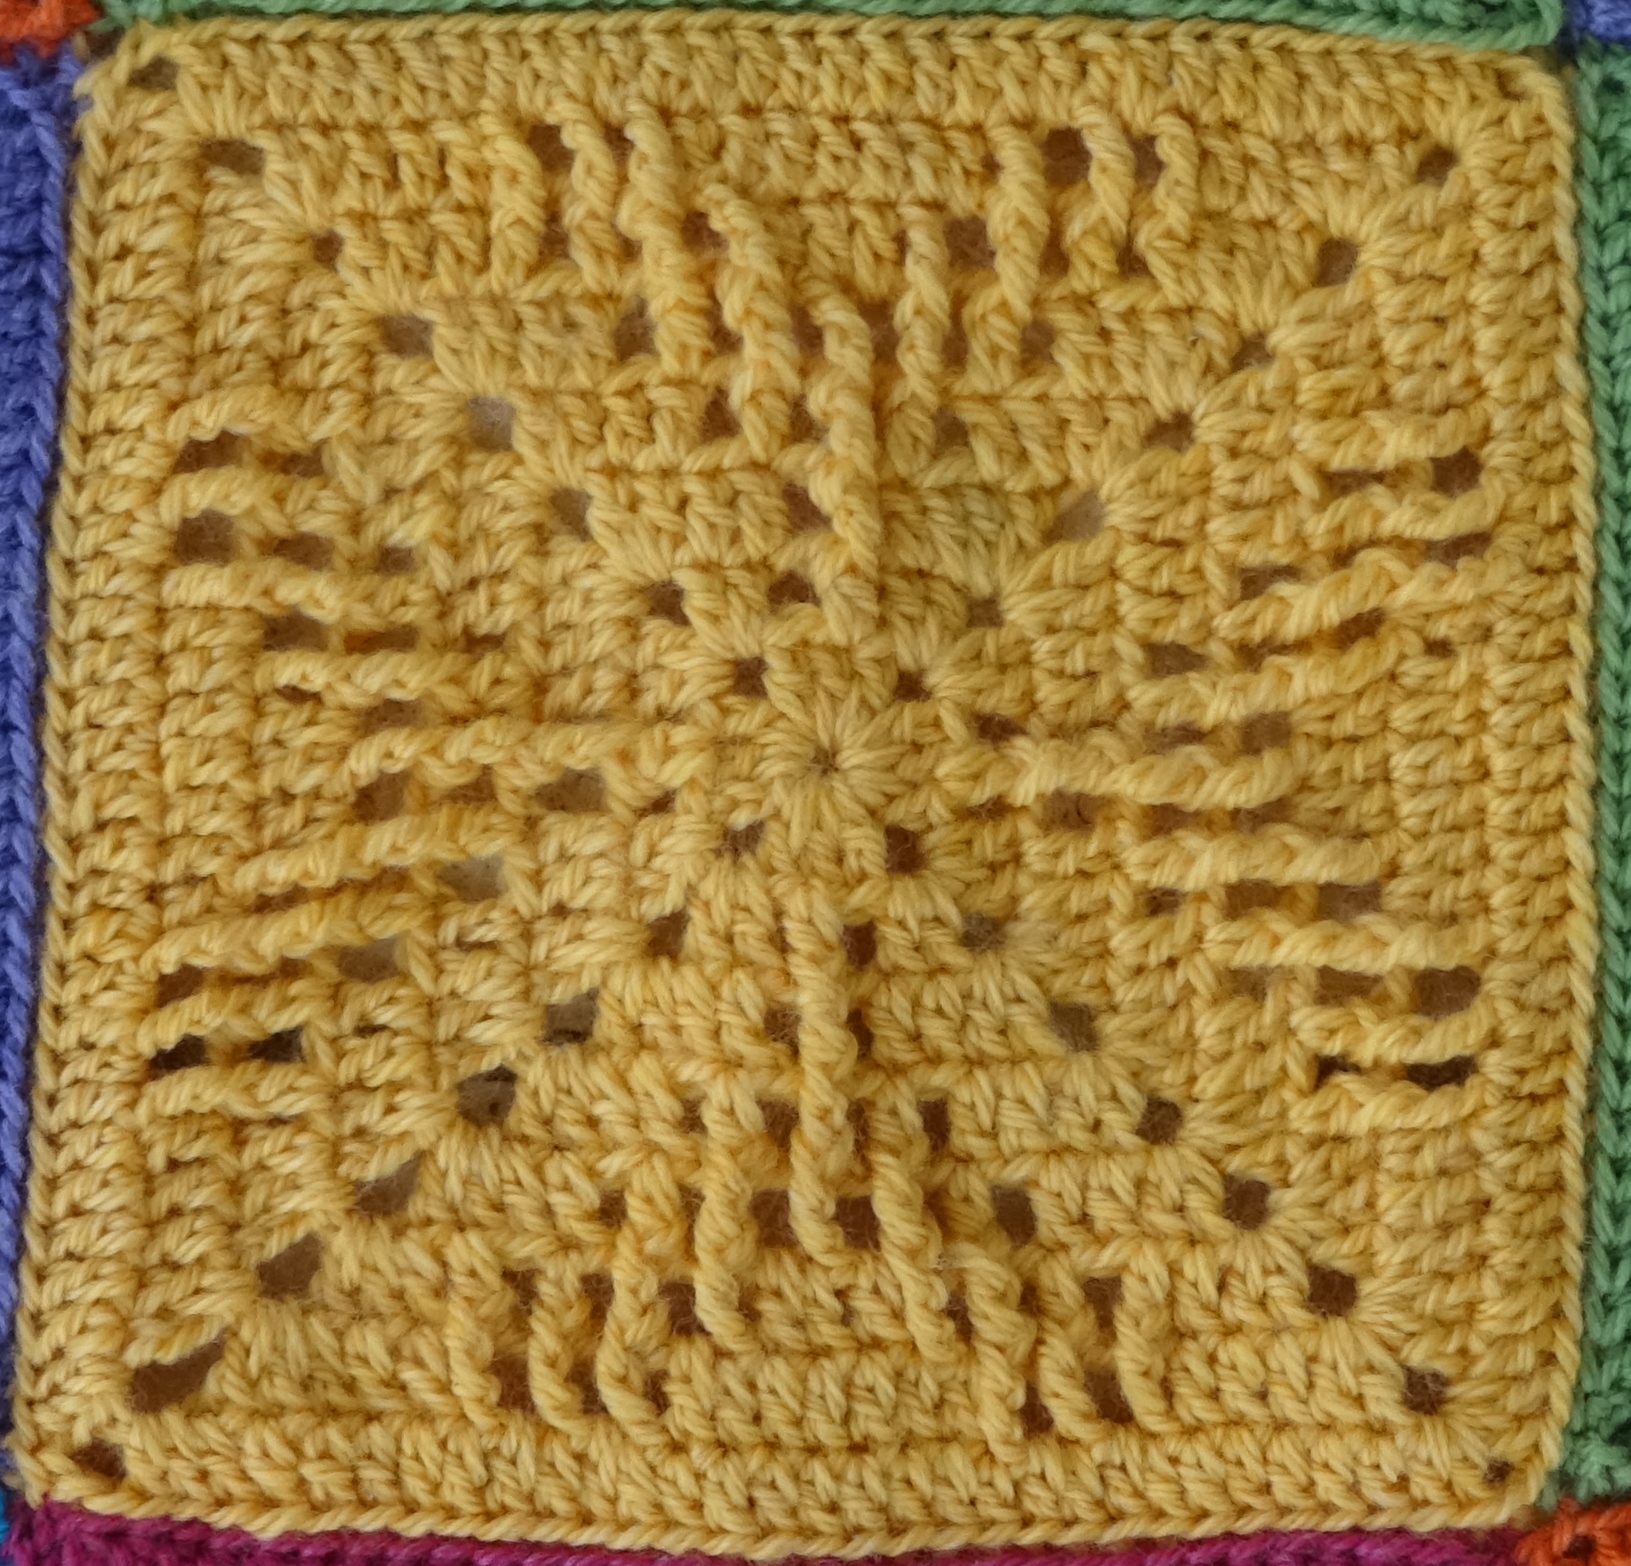
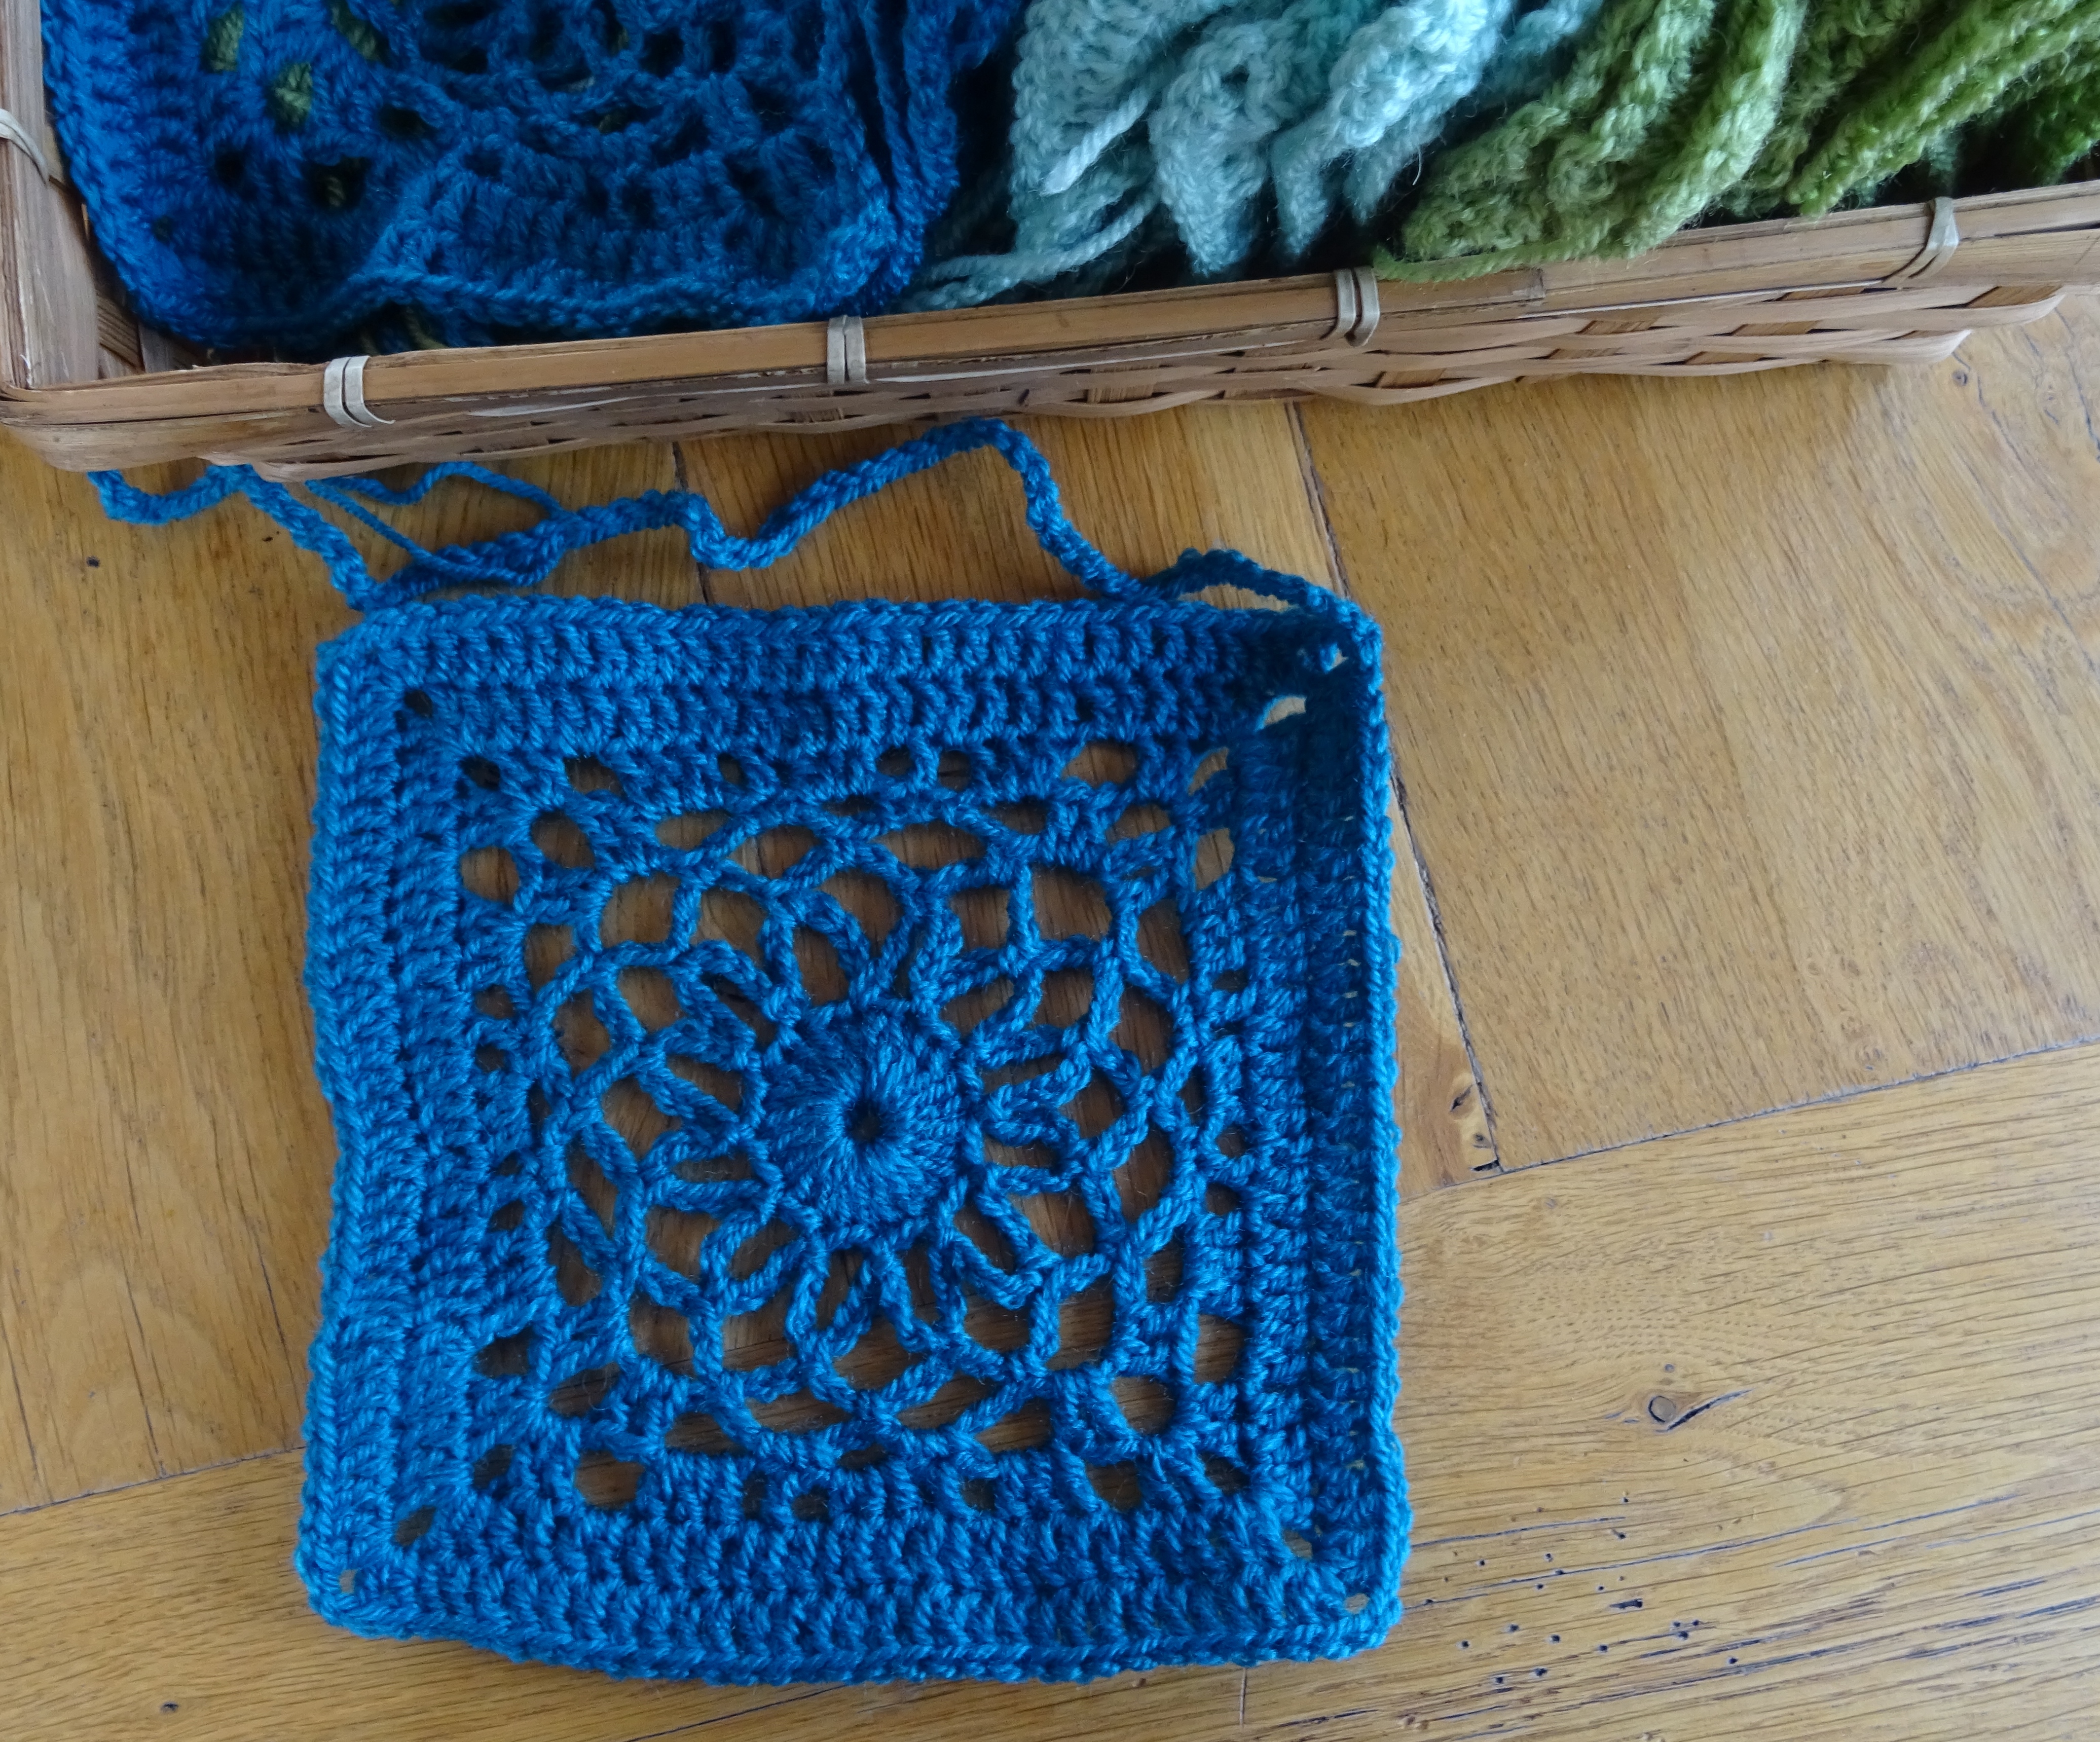
The motifs are all the same shape. I started doodling a crochet circle and decided straightaway that circles should be the theme. So the CAL blanket progressed, the pattern is written and I have a few testers lined up (but shout if you’d like to help).
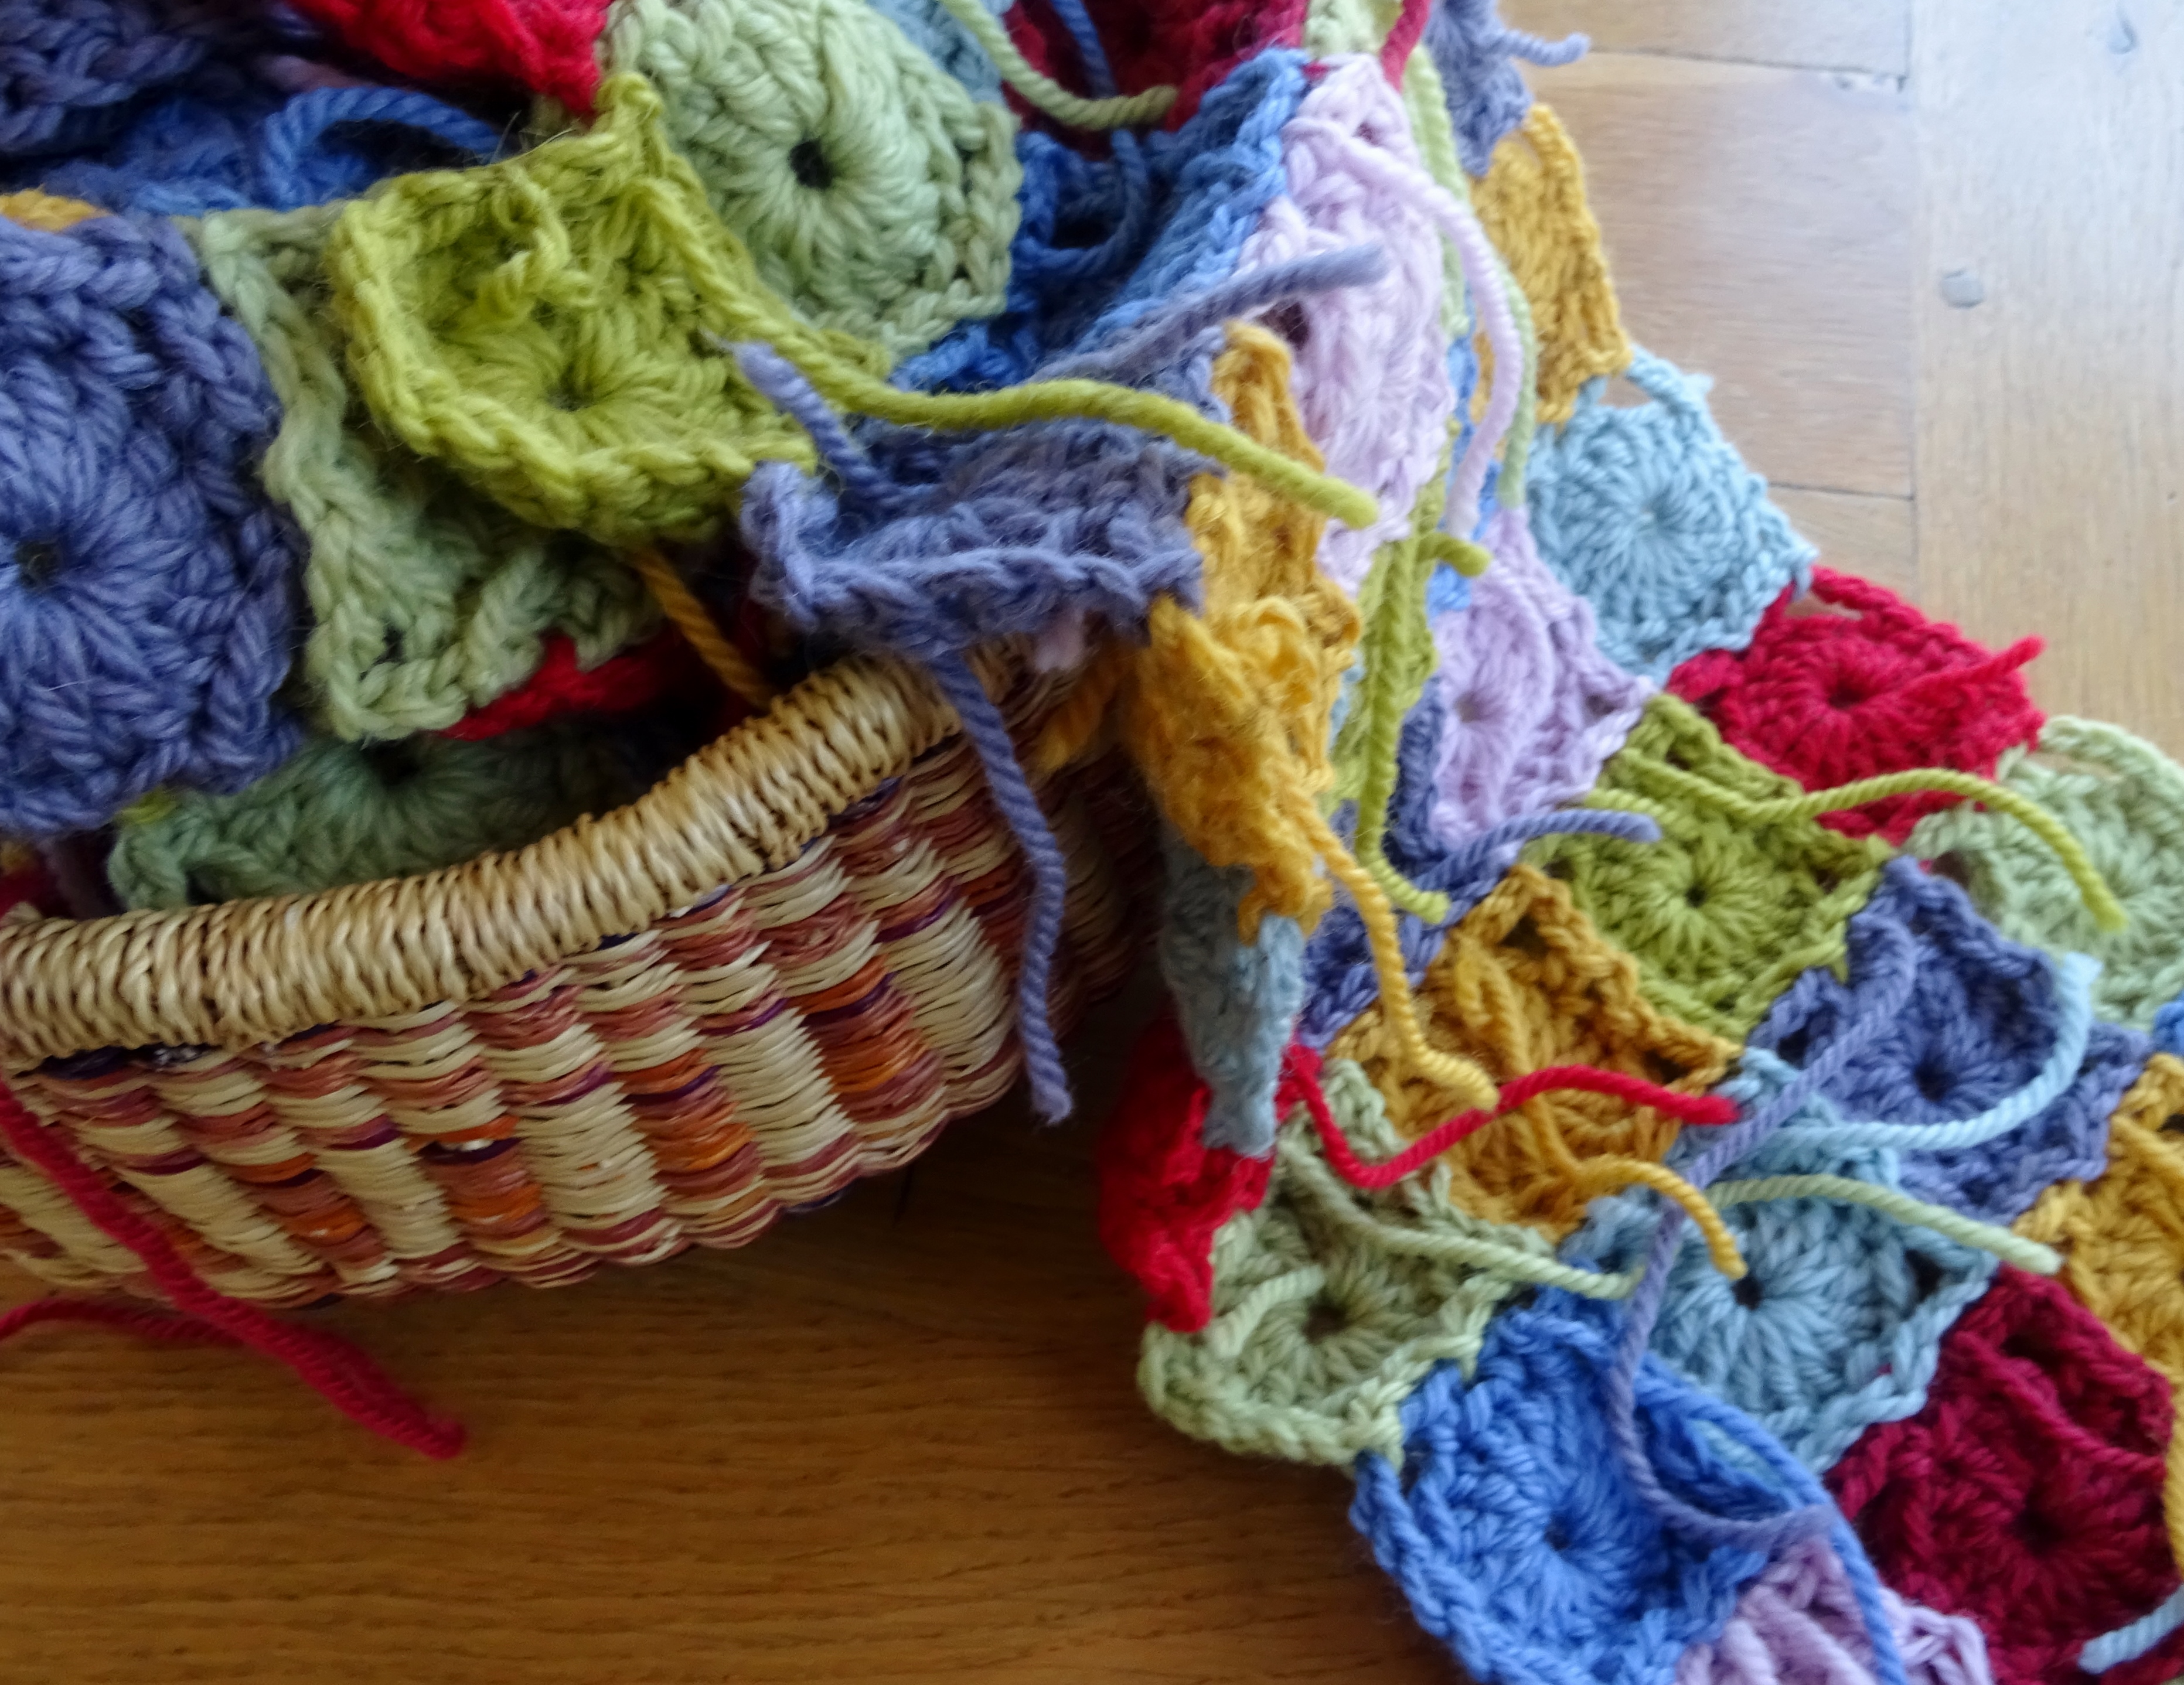
Want a sneak preview? Well these are all my motifs, all lined up ready for the final joining round. They are now all joined and the blanket is almost complete.
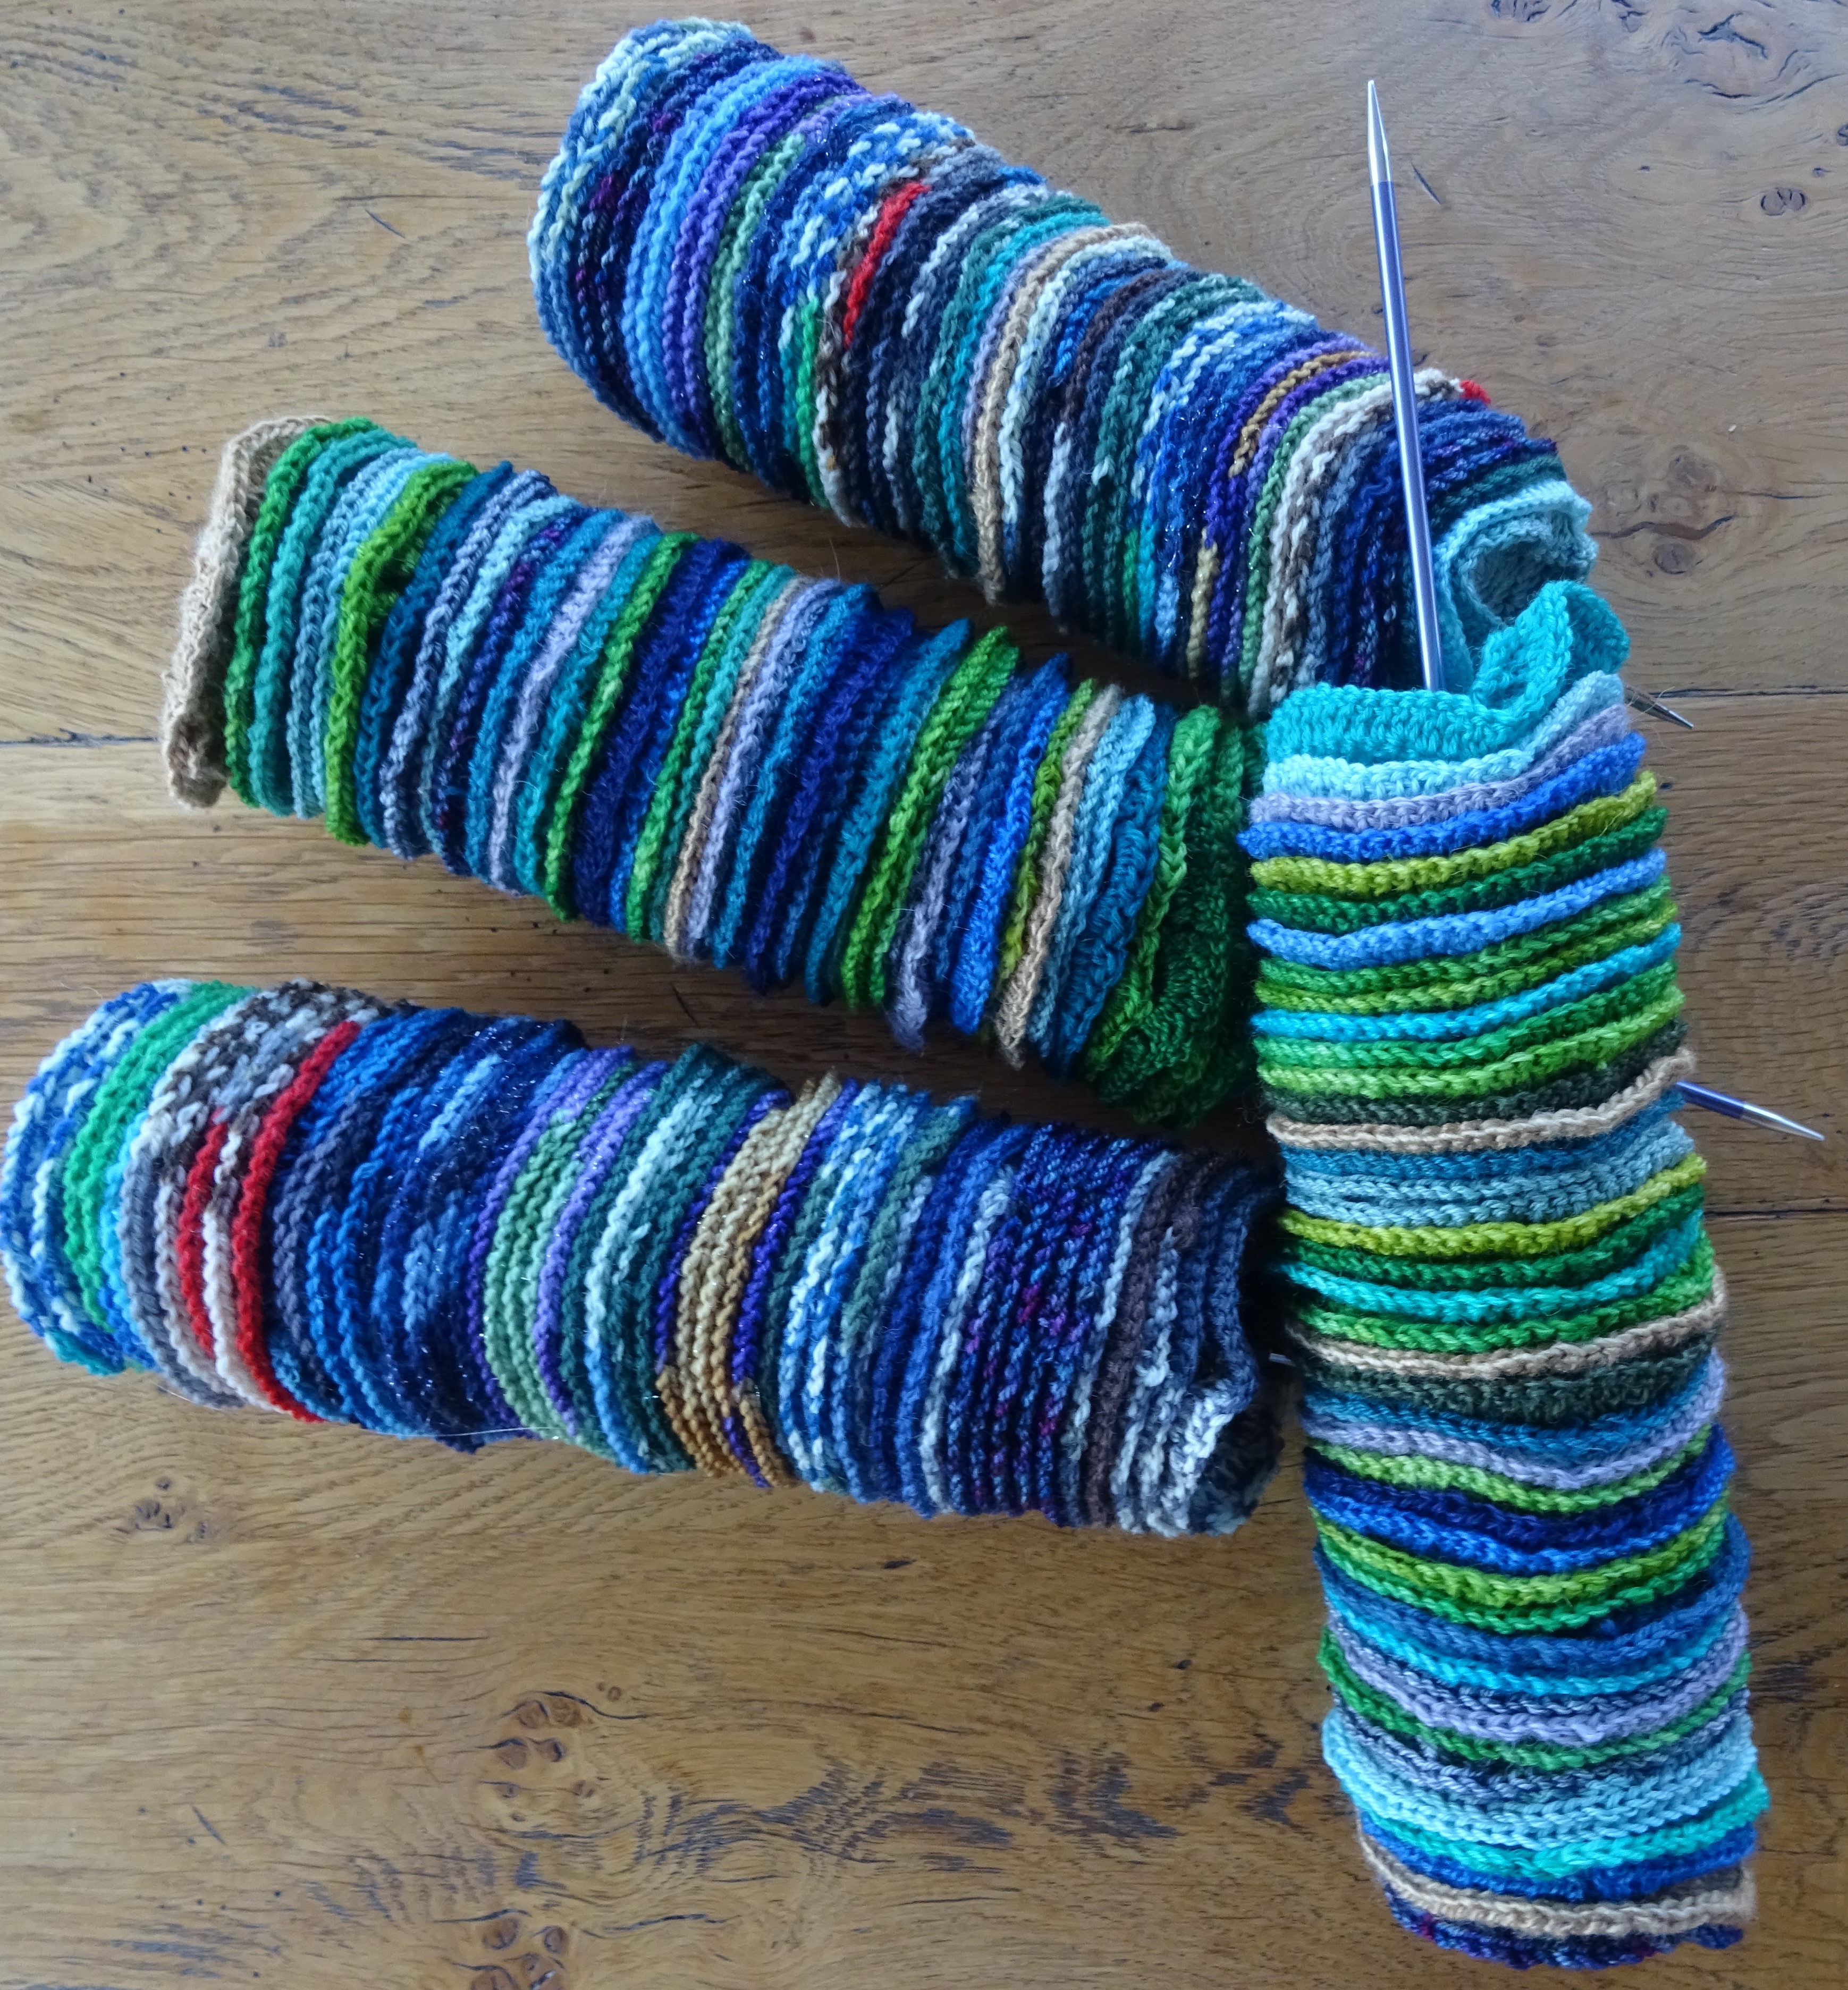
The CAL will be free on this blog, although a more detailed paid for pattern will also be available. My next post will give you more details of the CAL start date and timescale, but for now enjoy the sneak preview of all my little circles!
Happy crocheting xxx